Showing posts with label Therm-o-web products. Show all posts

Wednesday, July 6, 2022

Train Case

Hello all you travelers. This week on the Therm-o-web Blog is Travel Week, so I thought I would make a Train Case (or Cosmetic Bag). I have always wanted to try making a train case and now you can try making one too.

So travel on over to the Therm-o-web Blog to check out the tutorial. I used a YouTube video from JS Daily to create this train case, but I have a lot of tips and suggestions that I wrote down so you can create this case a bit easier. I know I will be referring to my own tutorial tips for the next Train Case I make, lol!

I think it came out looking quite adorable.

This Train Case can be made like the video with divided elastic in the inside lid for holding cosmetic brushes and the bottom divided elastic to hold bottles of nail polish and foundations, but I changed my Train Case to include a mesh pocket in the lid instead and didn't add the elastic for the bottles in the bottom. 

Here are the fabrics, zipper and some of Therm-o-web products that I used
 to create this Train Case.

Inside there are a few of pockets too, but I left off the divided elastic section that holds bottles as I don't wear nail polish or foundation makeup. So you can make yours either way, or make one of each.

Check out the tutorial on the Therm-o-web Blog.
Pin It Now!

Tuesday, June 28, 2022

Sparkle it Up USA with the Salty Sailor Mini Ditty Bag


Hello my Sparkly friends and followers, I have a project to share with you today over on the Therm-o-web Blog. This bag is the Salty Sailor Mini Ditty bag by Needle & Anchor. That is mouthful to say isn't it? Lol!

I made only one change to this bag and that is to make mine a couple of inches longer so that it would fit my little scanner and cord, and in doing so I added one additional magnetic snap, so okay I guess that makes 2 changes? LOL!

I used HeatnBond's EZ Tee Stabilizer for the interfacing when making this bag. I LOVE that interfacing for bag making! It's a woven fusible interfacing. I also used HeatnBond Pressing Paper, HeatnBond Fusible Fleece, StitchnSew Non-Woven Craft Sew-in Firm Interfacing

I used my Oliso iron to fuse the interfacing and fleece to the fabric pieces.

Here is my little scanner all happy and snug in it's new Sparkly home. That red fabric has metallic silver stars on it.

 So pop over to the Therm-o-web Blog to get the tutorial to make your own ditty bag.


Pin It Now!

Thursday, April 28, 2022

Gifts for Her: a Sew Powerful Purse

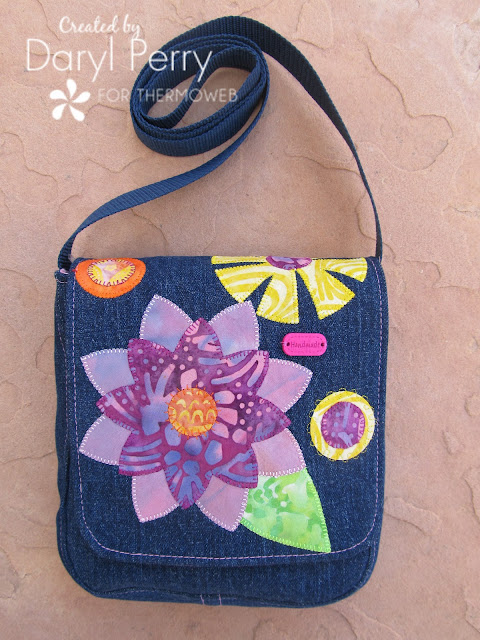
Hello my sweet purse makers; it's Gifts for Her week over on the Therm-o-Web blog. I am sharing a few of my tips on making a purse from The Sew Powerful Purse Project for yourself or to donate to this wonderful charity that allows girls in Zambia to stay in school with your help of making purses to donate to the girls there. You can read all about this organization and the work they do here.

The finished Intermediate style purse with the beginner flap that I decorated with appliqué flowers & circles.

Making purses for Sew Powerful is something near and dear to my heart and I LOVE to sew the purses every chance I get. I hope you will enjoy making one or more purses too. There is no better gift to give than one that can change a girl's life for the better.


Isn't my Oliso iron in turquoise just so pretty? I just love it!

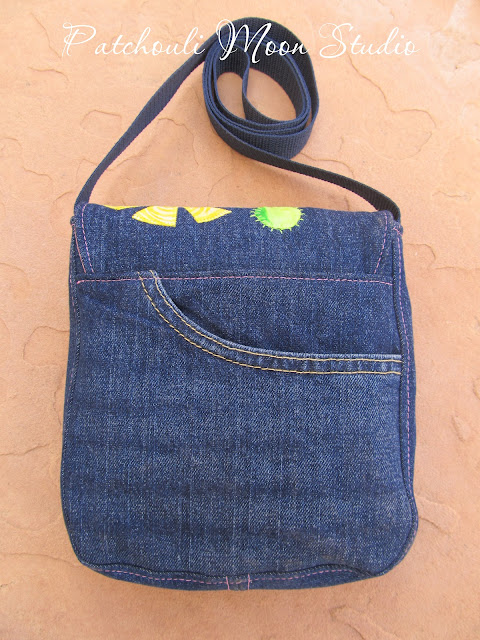
I upcycled denim jeans to make the outside of the purse and put the front pocket on the back of the purse. I topstitched the gusset too.

One of my tips is that I make a full lining (rather than adding a separate top fabric, as the intermediate directions call for) as it is quicker to sew.

So pop over to the Therm-o-web blog to check out my Sew Powerful Purse and all of the tips I share on how I make these purses.

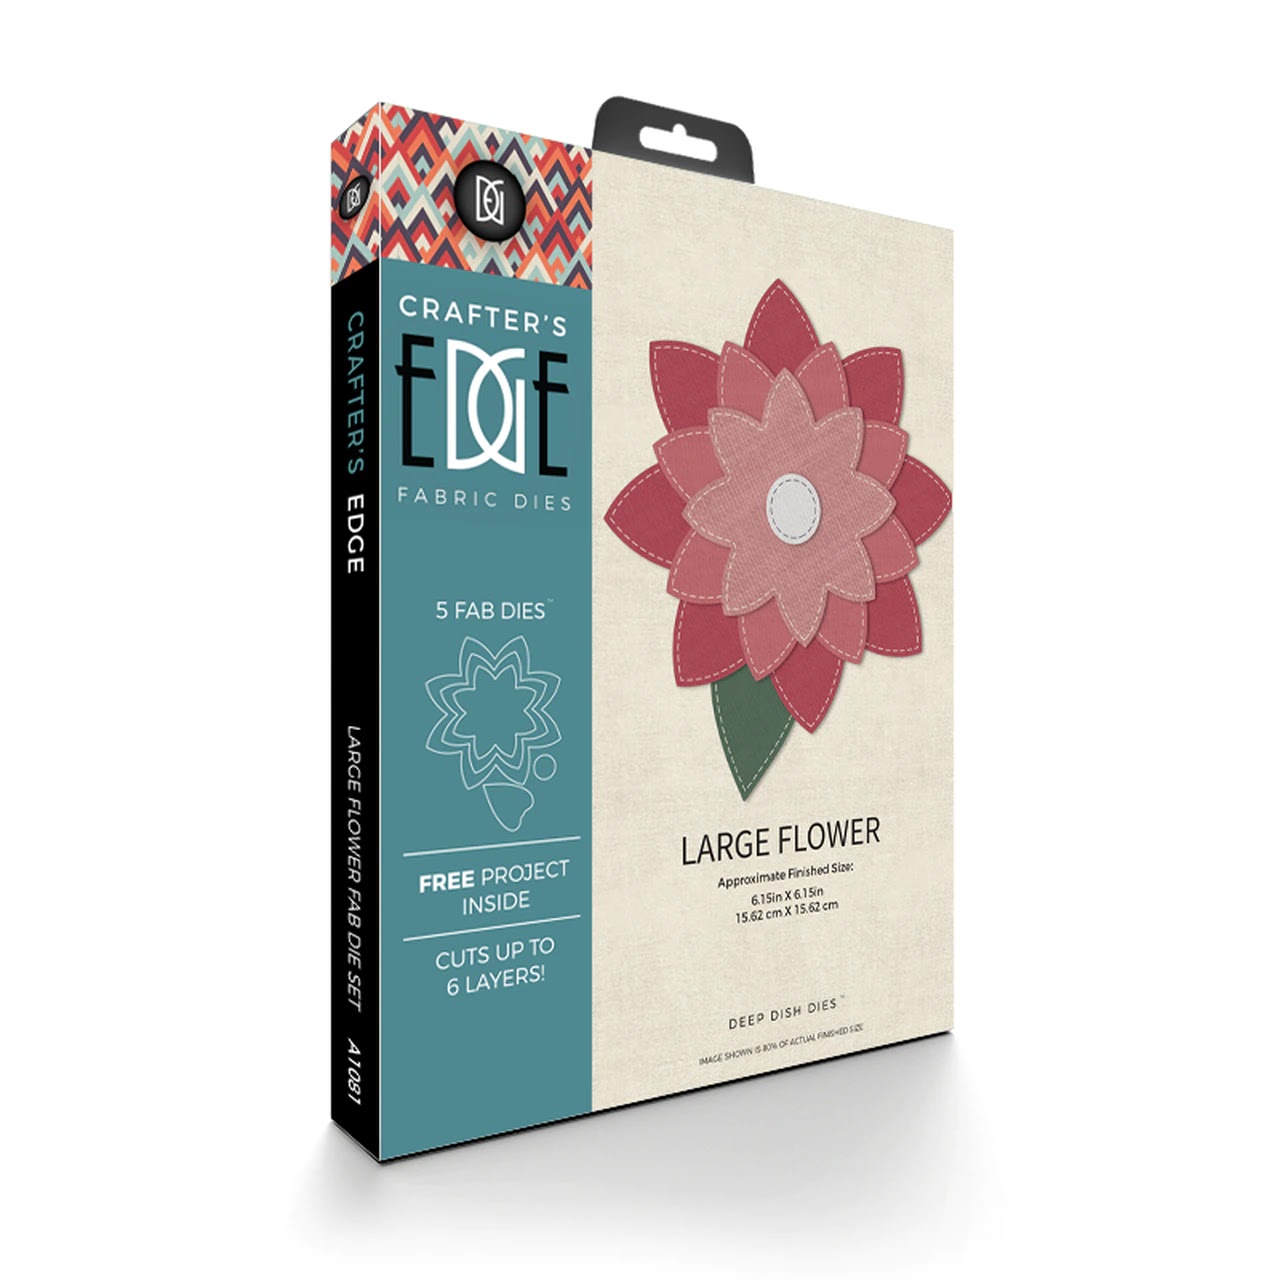
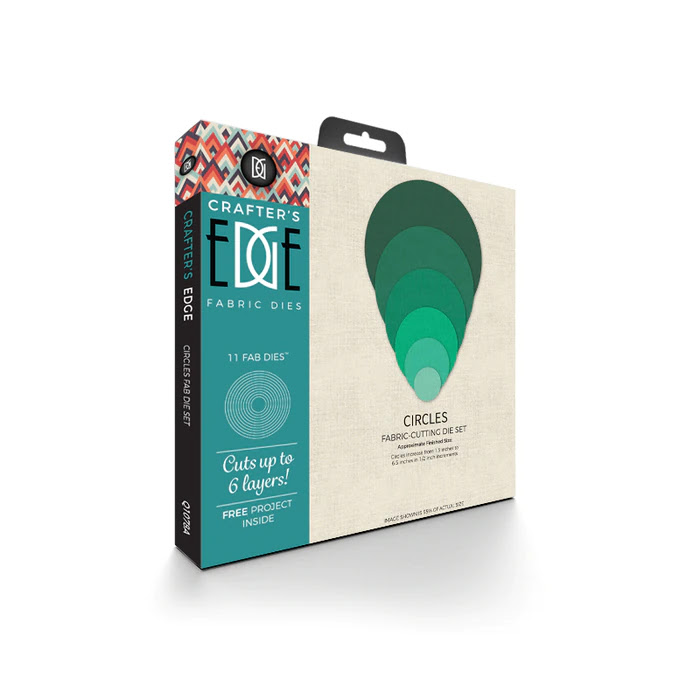
I used Crafter's Edge Large Flower die cut for the appliqué flower and a few Circle die cuts too, including the circle I cut to create a flower appliqué. You can find my tutorial for the circle flower here.


Pin It Now!

Friday, April 22, 2022

Gingham Tea & Friends: Tea Cozy Shaped Wall Quilt

It's Gingham week over on the Therm-O-web blog. So I created this tea cozy shaped wall quilt using Crafter's Edge Tea Time die cuts and 1/2 Square Triangle die cut too; along with HeatnBond® Lite for fusing the appliqué pieces and StitchnSew High Loft sew-in fleece (which now comes 60" wide by the yard). 


Products I used to create this wall hanging. I love that cute turquoise Oliso Iron to help me fuse the appliqué shapes in place.


Be sure and check out my tutorial over on the Therm-o-web Blog.


Pin It Now!

Friday, March 18, 2022

Mountain Scene from Central Oregon

It's Vacation Week  over on the ThermOWeb Blog this week and I am sharing my Mountain Scene from Central Oregon with you.

This was the 2014 Row by Row free quilt pattern from The Stitchin' Post in quaint Sisters, Oregon (home to the largest annual outdoor Quilt Show in the world). I have been wanting to make this as a small quilt, rather than a row in a larger quilt, since 2014. So thanks to ThermOWeb, I had a great reason to get this quilt made!

I hung this quilt above the door in our bedroom, so I can see it every day as I awake. The mountains here are Broken Top. the 3 Sisters, affectionately named: Faith (North Sister), Hope (Middle Sister) and Charity (South Sister), and Mt. Washington.

If you want to make your own mountain scene from from Central Oregon quilt, pop on over to the ThermOWeb blog for all the info.


Turquoise Oliso Iron pressing applique pieces
I love my turquoise Oliso Iron and matching ironing board cover! I love that Oliso makes irons in such pretty colors! 


ThermOWeb products used
ThermOWeb products used:
 HeatnBond® Lite Iron-on adhesive for appliqué (fusible web) OR~ HeatNBond EZ Print Lite (fusible web for inkjet printer)

Happy Vacationing, or Staycationing!


Pin It Now!

Wednesday, February 16, 2022

Knitting (Book) Pillow

Thanks Carla (of Creatin' in the Sticks) for hosting this blog hop!

I knew what I wanted to make for this Tickled Pink blog hop, which is a Knitting Pillow. I am sure you have all seen a Reading Pillow before, which is the same idea that you place a book in the pocket of a pillow, usually this is for a child, but I wanted a place where I could place my knitting instructions while I knit. 

I wanted to add an appliqué on the pocket too, so I chose the Love appliqué word die cut from Crafter's Edge. I did make this before Valentine's Day, so it was a nice Valentine's Day project. 

The pillow not only can hold instructions in the pocket, but the pillow provides support of your hands as you knit or stitch with needle and thread by hand too.

I fused HeatnBond Lite fusible web onto the back of my fabric and then placed the Love die cut on the back side to cut it out (with my Crossover II die cut machine by Crafter's Edge). When using letters, numbers and words, you must cut from the back side so that it reads correctly from the front side.

I love the Crafter's Edge die cuts as they cut so nice and the edges are perfect!

I quilted the pocket to StitchnSew High Loft Sew-in Fleece from Therm-o-Web. You can't see the quilting that well from the front, but it makes for a sturdier pocket.

The back side of the quilting kind of looks like wood grain.

Next, I fused the appliqué to the front of the pocket and then stitched in blanket stitching all around the appliqué. My Mini Oliso Iron is perfect for fusing or ironing small pieces. I love the turquoise color, it goes with the yellow walls and turquoise trim of my sewing  cutting & ironing room. (I sew in the room across from this one, lol!)

I chose to use a blue thread for the blanket stitching so the word pops more. I think the fabric I used for the Love appliqué kind of looks a bit like knitting (stockinette stitch).

All done. I added a carry handle at the top. I stuffed in a pillow form that was a bit larger.

The back side is an overlapped style, so no zipper needed.

A small, thin booklet will fit in the pocket.

Knitting instructions placed in a clear sleeve protector fits into the pocket too.

The Die Cut used for this project from Crafter's Edge, is the Love die cut.
Please visit all the participating blogs on this hop:


Pin It Now!

Tuesday, February 1, 2022

Small Zipper Bag with Handles

It's Crafty Bags & Tags week over on the Therm-O-Web Blog. I created this cute little bag using Liquid Vinyl, woven interfacing and soft interfacing on the lining fabric.

Using a fabric with a white background such as this cute bicycle print was the perfect project and fabric to use Liquid Vinyl on. You paint it on, let it dry, add one or two more coats and it makes your fabric water resistant or water proof, (depending the number of coats you use) and any dirt can be wiped away with a damp cloth.


I added a cute bicycle button and some rivets, and of course my beaded zipper pull with a charm.

This is the perfect little craft bag size to hold clips or a sewing kit, etc.

Painting Liquid Vinyl on Bicycle print fabric
Easy to apply Liquid Vinyl with a brush. Paint on one coat let dry and then apply one or two more coats of Liquid Vinyl, letting dry between coats according to the directions.

Use a pressing sheet to press the vinyl fabric once dried.
Pin It Now!

Monday, January 10, 2022

Blue String Quilt Table Runner

Are you Feeling Blue? Well how about you grab some of your blue colored fabric scraps and make this string table runner to lift your spirits? It's Feeling Blue week over on the Therm-O-Web blog and if you pop over there you can get my full tutorial on how to make a Blue String Quilt Table Runner of your very own.

Made from a variety of blue fabric scraps with a pop of pink.

The table runner finishes at 16 1/4" wide x 39 3/4" long, but you can easily adjust the finished size blocks that you make or the number of blocks you make to change the size of the runner to fit your table.

Adding these fusible flower appliqué shapes are optional, but I did include the templates in the instructions.


These are the Therm-O-Web products that I used in making the Blue String Quilt Table Runner:
Pin It Now!
Related Posts Plugin for WordPress, Blogger...