Thursday, February 29, 2024

Flap of Friendship #2 for Sew Powerful Purse Project

Today is the last day to sign up for the Flaps of Friendship to create a flap to send to a new friend through Sew Powerful Purse Project. I signed up on Monday for making a second flap to mail off and this is the flap that I created. 

Here is the first flap I made and info about the Flaps of Friendship 

I grabbed the background fabric from a group I belong to that was a donation. The flap wasn't quite high enough, but I added a strip of fabric to the front and the lining of the flap to make it the size it needed to be. The top of the flap will be folded over to the back and won't show from the front side anyhow. I thought the background fabric was perfect for making this flap as there are words written on it, such as: Friends, Friendship, Love, Hope, and then some script written that isn't completely readable, but looks nice.

Ta da!

I added a machine decorative stitch around the circle flower center and hand French knots in a variegated thread. I added some buttons and crystals too.

The flap lining is the same as the background fabric, with an added strip of blue print to make it the size required.

Close up to see the words of Friends (in white lettering), Friendship, Love, & Hope. It's the perfect fabric for making a new friend.

I heard from the 1st person who was supposed to send a flap that she made to me and she had pneumonia, poor thing, so she said the flap will arrive by Monday. So I will finally be able to complete that purse. I don't know who will send me a flap for this time for this 2nd flap, so hopefully I will get both purses completed soon. So stay tuned to see the flaps that I receive and the completed purses that I make using those flaps.

Happy sewing!


Pin It Now!

Tuesday, February 27, 2024

Sew Powerful Purses #8-29 (2024)

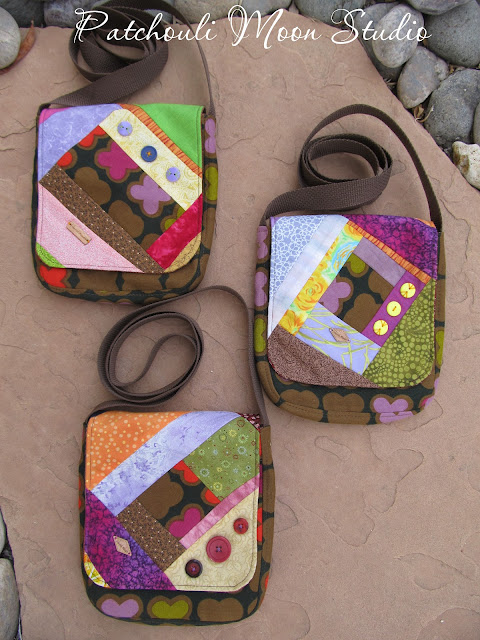
Good Morning Lovelies! Last year on the freebie table at a group I belong to, I found this lightweight canvas print material (brown, green, orange, lilac & bright pink). I wasn't wild about the brown color, but I liked the other brighter colors in this print and the material was very sturdy for making the purses, so I took it and I was able to make 21 purses in the Intermediate style purse, but with the Beginner flap. I used a bit of the scraps leftover in each flap and then added other prints of those brighter colors to make these Happy Scrappy Flappies pop and shine🤣! Got them done and photographed outside yesterday morning before the winds started to blow! Just the minute I was done, here came the winds and they haven't stopped blowing yet🤪. March & April here in NM is our windy season and they have arrived a bit early this year. So trying to get good photos outdoors will be challenging. The first photo is the back side of one purse showing the print I used in all the purses. I stitched a few of the webbing straps with decorative stitches. I stitched a few of the buttons with little flowers too. On to the 21 purses made using this print, plus one Tiger purse too!

Here is the back side of the purse with the print I mentioned. All the purses look the same on the back.

#8-10

#11-12

#13-15

#16-17

#18-20

#21-22

#23-25

Close up of 3 buttons. That top left button was an unusual button with the holes going around in a circle. It was part of a bag of buttons and apparently the only one. I sure like it.

Extra large button that I sewed on making a flower using French knots.

Decorative stitch on webbing strap.

Decorative stitch on webbing strap.

Decorative stitch on webbing strap.

Decorative stitch on webbing strap.

Decorative stitch on webbing strap.

#26-27

#28

#29

Back of Tiger purse above, with a back pocket.


Pin It Now!

Friday, February 23, 2024

Cross My Body Bag

Christine Welsh of ChrisW Designs has done it again with the Cross My Body Bag! The bag measures approx. 22cm (8 ¾”) W X 22cm (8 ¾”) H X 10cm (4”) D. Features a quilted bag (optional, but makes a sturdy bag), an ingenious recessed zipper closure with no gaps, a hidden front zipper pocket, Christine's signature back phone pocket and an interior zipper pocket. Need a slip pocket? You can add one inside if you want to. I did. I made my bag in scrappy pink & purple batik fabrics with a vinyl accent. You can use all cotton fabric, or use whatever material that you and your machine like. Grab it now while it is on sale. No code needed!

Here is the bag I made~

I used batik scraps of pinks & purples to create this bag. The vinyl accent hides the zipper pocket in front.

the back of the bag sports a phone pocket, which is Christine's signature pocket.

The bottom, front, back and sides of this bag I quilted in a serpentine stitch.


This recessed zipper has an ingenious way of putting it together and there are no gaps at the sides as most recessed zipper closures have.

Back phone pocket.

Inside zipper pocket.

Front hidden zipper pocket is behind the vinyl trim.


Vinyl strap connectors at the sides.


I added a slip pocket with a pen division. A slip pocket is not included in the pattern as it is optional.


The pattern is on sale for a limited time, so if you want to make your own Cross My Body Bag, hop over to ChrisW Designs and get the pdf while it's on sale. Plus there is a video tutorial too! NO code is needed. And please scroll through all the photos to see the other tester bags too.


Pin It Now!

Thursday, February 15, 2024

Sew Powerful Purses #2-7 for 2024

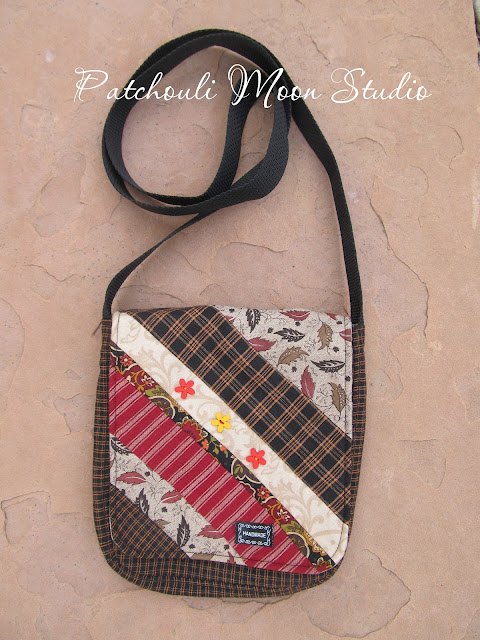
I recently finished making 6 purses for Sew Powerful, to start of the New Year. I love to sew scrappy style purse flaps, like most of these purses have. I also like to add appliqué to a flap, with or without scrappy piecing. I made several wild animal appliqué purse flaps last year using a panel of fabric that had several animals on the fabric. I thought I had made them all, but found this Zebra one (and another Lion one that I am sewing right now too), that I hadn't finished. I think this and the Lion are the last of these, but who knows? I might find another one somewhere later? LOL!

I think this is the last of the Zebra purses, but I wouldn't bet on it, lol!

Flap up to show the lining flap and front of purse
I somehow got the heart lining fabric on this upside down! I am so careful about not doing this, so I must have been spaced out when I was cutting this lining? Oh well, it's just the lining so it's not critical!


I love that group of animals at the top galloping across. There was a strip of these animals on that wild animal panel (that the Zebra and other animals) were on and I thought this would be great to use in my scrappy flaps.


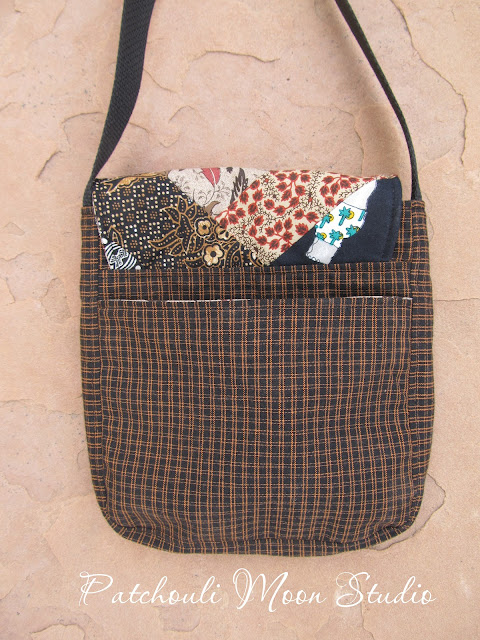
Back of purse showing back pocket
Here is the back side of one purse that I added a slip pocket to. Most of these purses above also have added back pockets as well. I do add a back pocket if I have enough fabric to do so. I might just make some scrappy back pockets instead if I don't have enough of the exterior fabric leftover. What do you think? Would be another way to use up even more scraps!

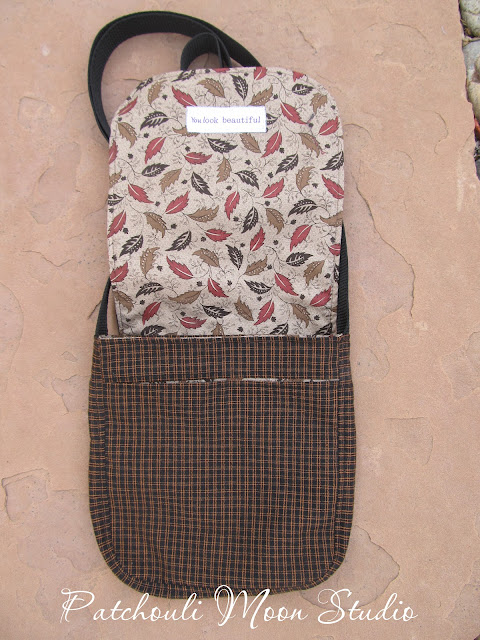
Flap up to see the lining flap and front of purse
This shows the lining flap and the front of the purse with the front slip pocket.
I will continue to add those labels on the flaps, "You look beautiful", until I run out of them. I bought 1,000 labels a few years ago to use on these purses as well as other bags I make. I still have a ton of them, so I won't run out anytime soon. When I do run out, I may make my own labels using stamps that I have instead. Or not add any label? We'll see...
 
Until next time, Happy Scrappy Sewing, everyone!


Pin It Now!
Related Posts Plugin for WordPress, Blogger...