 |
| This little topper measures 12 3/8", measuring from the straight top to the straight bottom and 14" measuring from the pointed tip on one side to the other pointed tip on the other side. |
Pin It Now!
 |
| This little topper measures 12 3/8", measuring from the straight top to the straight bottom and 14" measuring from the pointed tip on one side to the other pointed tip on the other side. |
 |
| This is just the top I laid out on my floor. |
Monday Oct 17
Patchouli Moon Studio (meow, that's me)
Tuesday Oct 18
Wednesday Oct 19
Thursday Oct 20
Friday Oct 21
Pinker n' Punkin Quilting & Stitching
Now for sale in my PayHip Shop.
Hello my sweet purse makers; it's Gifts for Her week over on the Therm-o-Web blog. I am sharing a few of my tips on making a purse from The Sew Powerful Purse Project for yourself or to donate to this wonderful charity that allows girls in Zambia to stay in school with your help of making purses to donate to the girls there. You can read all about this organization and the work they do here.
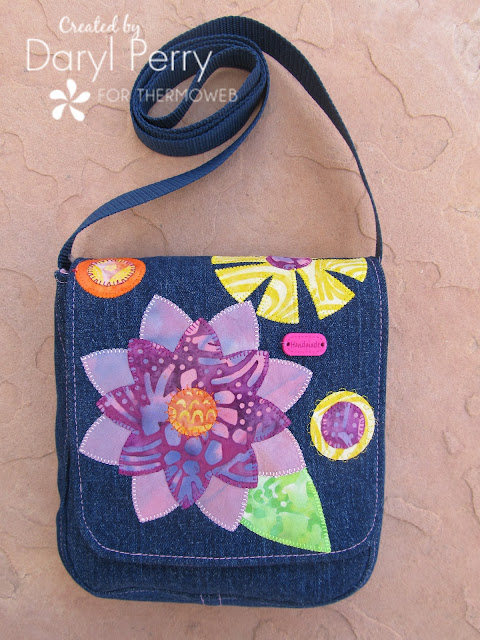 |
| The finished Intermediate style purse with the beginner flap that I decorated with appliqué flowers & circles. |
Making purses for Sew Powerful is something near and dear to my heart and I LOVE to sew the purses every chance I get. I hope you will enjoy making one or more purses too. There is no better gift to give than one that can change a girl's life for the better.
 |
| Isn't my Oliso iron in turquoise just so pretty? I just love it! |
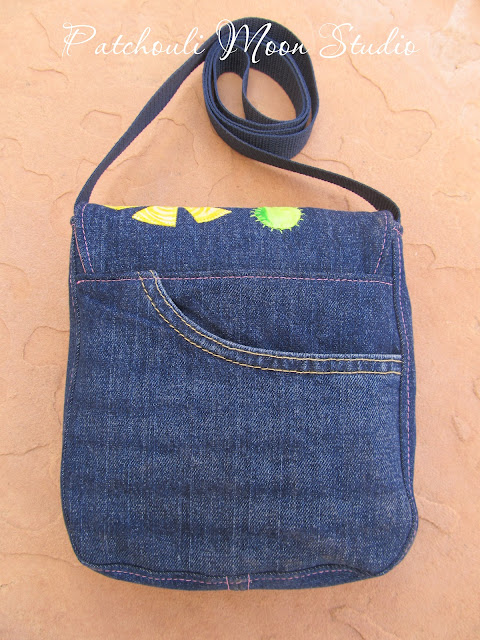 |
| I upcycled denim jeans to make the outside of the purse and put the front pocket on the back of the purse. I topstitched the gusset too. |
 |
| One of my tips is that I make a full lining (rather than adding a separate top fabric, as the intermediate directions call for) as it is quicker to sew. So pop over to the Therm-o-web blog to check out my Sew Powerful Purse and all of the tips I share on how I make these purses. I used Crafter's Edge Large Flower die cut for the appliqué flower and a few Circle die cuts too, including the circle I cut to create a flower appliqué. You can find my tutorial for the circle flower here. |
 |
| I thought the jar looked a bit plain, so I cut out a couple of flowers from felt and tacked it in place with a button. Yes that bit of a pop of color was just what I wanted there. |
 |
| I just love the cute clouds! I had to add some wording too, so Lucky it was. |
 |
| The mini hearts were perfect for making some 3 and four leaf Shamrocks. |
 |
| The finished flower made from a circle. |
 |
| To make the flower, first cut a circle. I first fused fusible web on the back of the circle and then I cut the circle using a die cut. |
 |
| Then fold the circle in half. |
 |
| Fold the circle in half again. |
 |
| Open the circle. If you want those cuts deeper towards the center, refold and snip a bit more off. |
 |
| This is the fabric I used on the back of the mug rug. |
 |
| This mug rug traveled to it's new home in Texas from New Mexico. |
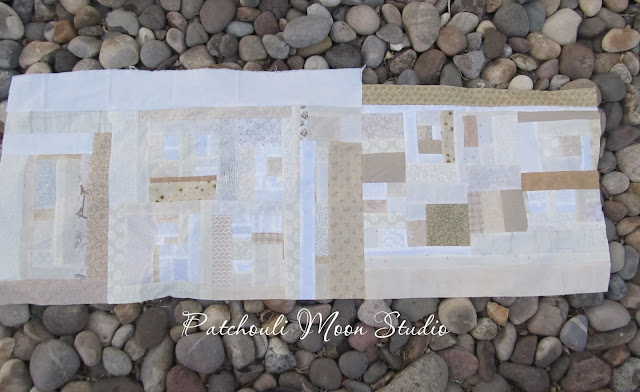 |
| Scraps of all sizes were sewn together free-form or crumb style to create the background to my table runner first. |
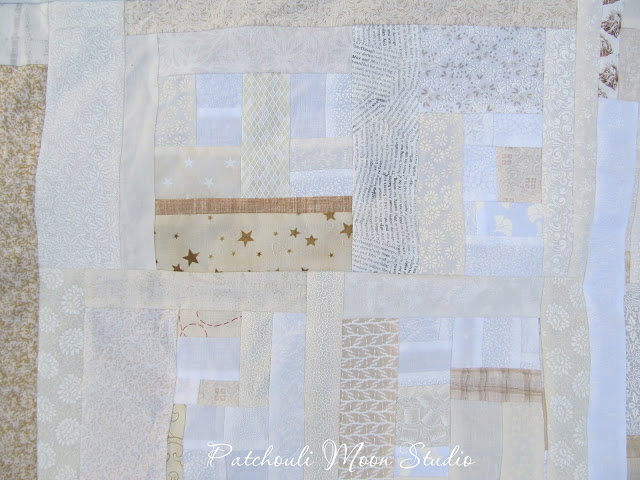 |
| Closer look at one section. |
 |
| Another section up close. |
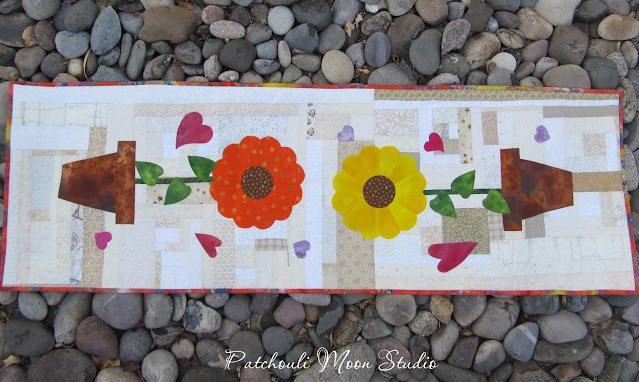 |
| Here is the finished runner. I don't even have a table to photograph it on because my table is round. :0P |
 |
| 1" & 1.5-inch Strip Cutters: 1" strips were used for the stems and folded into the center. 1.5" strips were used for the rim of the pots. |
 |
| The leaf from this Large Flower die was used for the leaves of the sunflowers. |
 |
| The Sunflowers were made using the largest of the Rounded Dresden |
 |
| I used the Tumbler die cut for the pots. |
 |
| I used some Whimsical Hearts. |
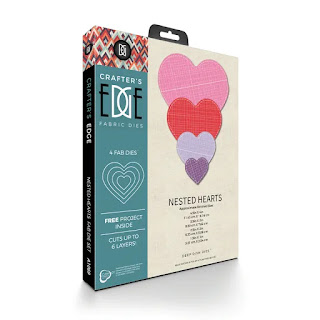 |
| I used the smallest heart from the Nested Hearts. |
Monday June 21
Becky’s Adventurers in Quilting and Travel
Tuesday June 22
Quilting & Learning - What a Combo!
Wednesday June 23
Thursday June 24
Patchouli Moon Studio (you are here)
Friday June 25