Monday, September 12, 2022

Sew Powerful Purses #129-138 for 2022

Hello sweet peeps. I made 10 more purses for the Sew Powerful Purse Project Sew-a-thon, which brings the Sew-a-thon total to 37 purses so far and 138 total purses made this year so far. I am still sewing purses all month long, so count along with me as I make more purses. Then I will take a long break from purse making the next couple of months, lol!

People have asked me how I can get so many purses sewn each day, well let me tell you:
  •  I sew fast and I have a straight stitch Juki sewing machine that sews at 1500 RPM's. I used to have a similar Brother machine, but it died after 13 years of constant sewing (and fast sewing). 
  • Plus I also sew assembly line fashion, so that helps me to sew faster. 
  • Plus I know this purse pattern by heart as far as sewing it, so I never need to look at the directions at all anymore. 
  • I also use webbing for the straps, so no straps to sew before adding the straps.
  •  I add rivets on the sides through the strap in the purse so I don't have to take the time to sew those little X boxes on the sides. 
  • I also cut out 113 purse kits to have ready to sew last month, so all I am doing is sewing this month and not having to cut anything out, which takes longer than the sewing. 
  • I cut the main lining fabric in a full piece, so I eliminated having to sew the top piece to each lining piece as that was more sewing to have to sew the tops to the lining and more time to cut out those top pieces too. So I enlarged the lining to make it one continuous piece (I cut 2 linings, a front and a back). I make the intermediate style purse with the full exterior gusset, by the way.
  • I also bundle up my kits into what topstitching thread color I need and sew with that one color for all the kits that need it before switching to the next thread color, so that saves a lot of time too. 
  • I sew the buttons on by hand in the evenings while watching Netflix or Amazon movies.
  • Hubby does most of the cooking, so I don't have to spend time in the kitchen or shop for food as he does that too. He enjoys it. 
  • I get up super early in the morning when I am at my best for sewing and go to bed early too.
  • I have many decades of piecing, appliqué, quilting, and bag making experience as well so I know what I am doing and how to do it.
Anyhow, on with the latest 10 purses:

3 with black topstitching thread.

The back side of 2 of the black purses. One with a black jean pocket and the other pocket on the right I had to piece together in order to create a back pocket, so green rickrack to the rescue to cover up the pieced seam and it adds some bling at the same time.

The purse above with the jean pocket on the back, I also added a flower appliqué to the front pocket under the flap. If you look at the first photo of 3 purses, you can see a tiny bit of the pink peeking out from under the flap of the middle purse.

Inside the purse with the flower appliqué on the pocket I used a jewels fabric print. I was given a couple of yards of this fabric and wasn't sure how to use it as there were many large jewels in different colors on the fabric. It didn't quite work for flaps, so I made the lining for a few purses out of it. Thanks to Karen H. for the fabric.

These 2 were stitched with a teal color thread. Only had 2 in teal.

On to the purple color topstitching thread. I stitched 5 purses with purple.

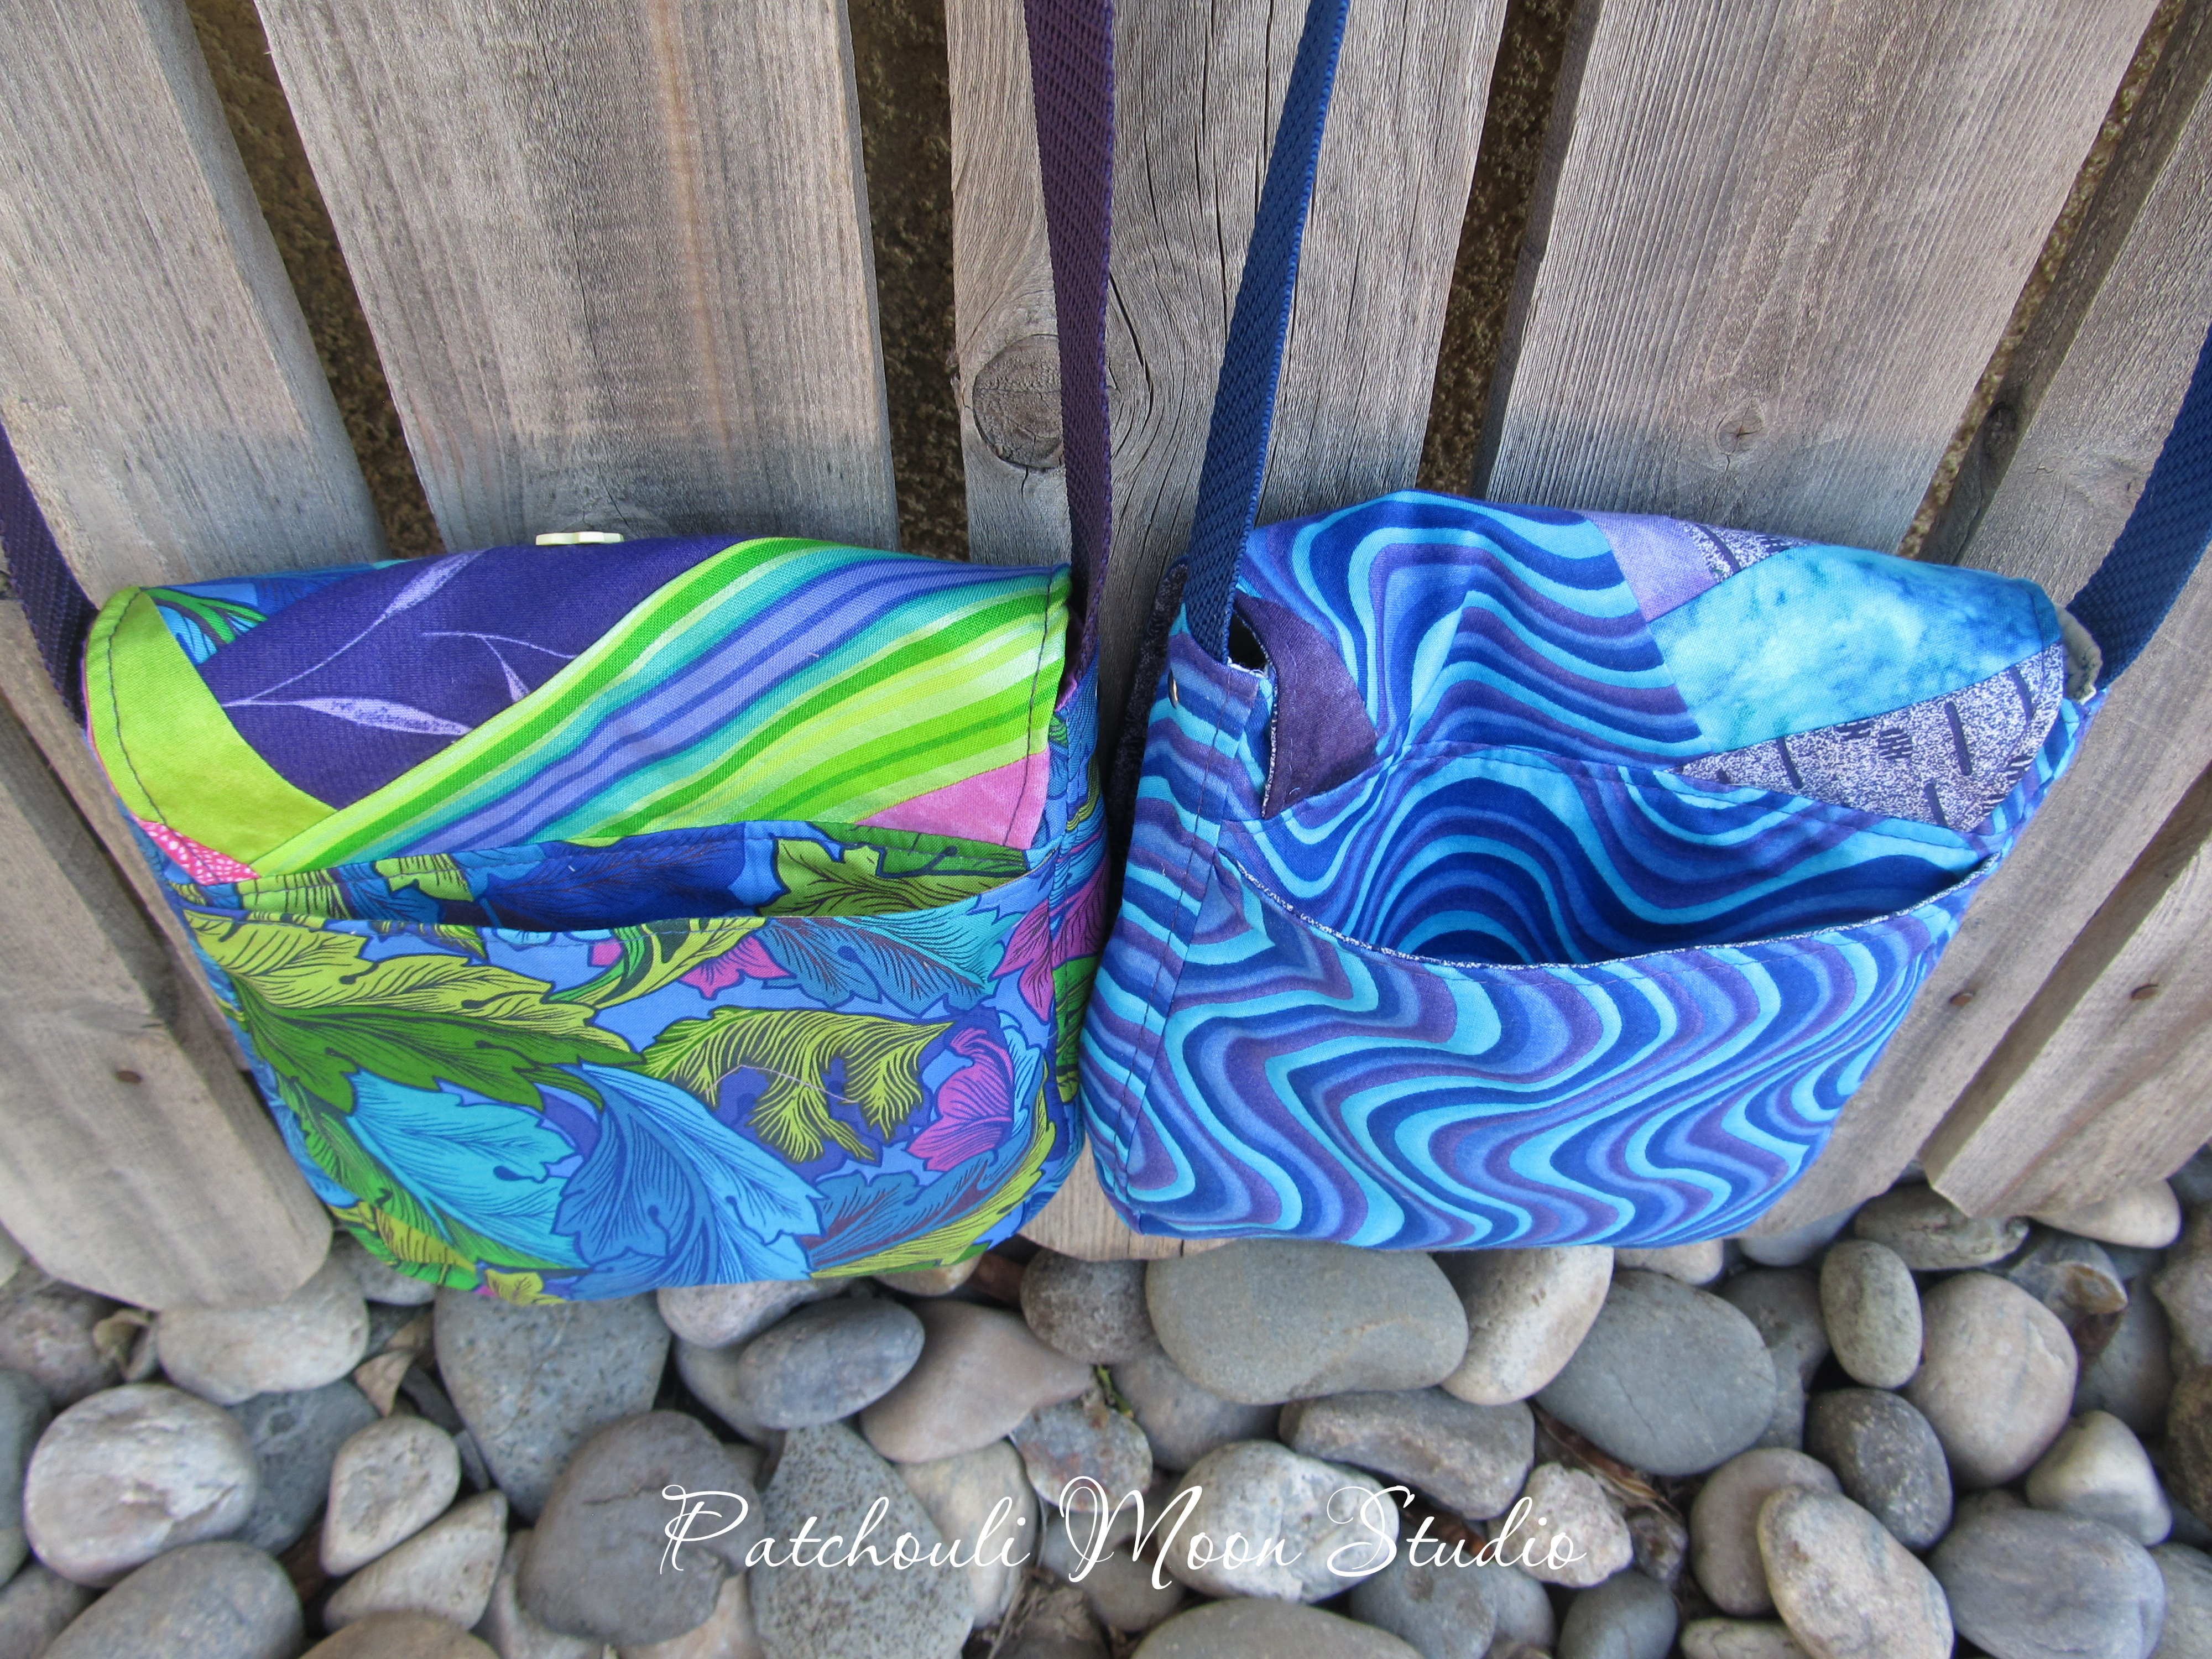
I don't take the time to photo every purse inside, but wanted to show these as I loved the fabrics. Inside the purse on the left, I had to piece the lining to make it large enough and used a piece of the exterior fabric to do that. It adds something fun inside.

The same 2 purses showing the back pockets of each. I don't always have enough fabric to add a back pocket, but I will when I have enough fabric. I actually sewed a couple of other purses and found the back pockets of 2 purses had fallen on the floor and didn't discover them until I had sewn the purses already. Oh well, not going to rip out a purse just to add pockets, lol! I might just sew those pockets on the inside lining of another purse.

3 more with purple thread.

Close-up of the words that aren't actually buttons, but came with some buttons I had so I sewed them down the best I could.

More purse sewing tomorrow, so ta-ta for now.
Pin It Now!

Sunday, September 11, 2022

Sew Powerful Purses #118-128 for 2022

Hello my lovelies, I finished another eleven purses for the Sew Powerful Sew-a-thon this month for National Sewing Month (September). These 11 are in browns. The first 16 were in blues. So that is 27 purses completed so far for the Sew-a-thon, which bring my total purses made this year to128, so far. 

I was given lots of homespun fabric, mostly plaids and am still working my way through using them. I thought I had used them and then found a few more, so those will go into mostly linings for these purse. I want to start sewing fabric purses using bright colors again!

Here are the latest 11 purses:


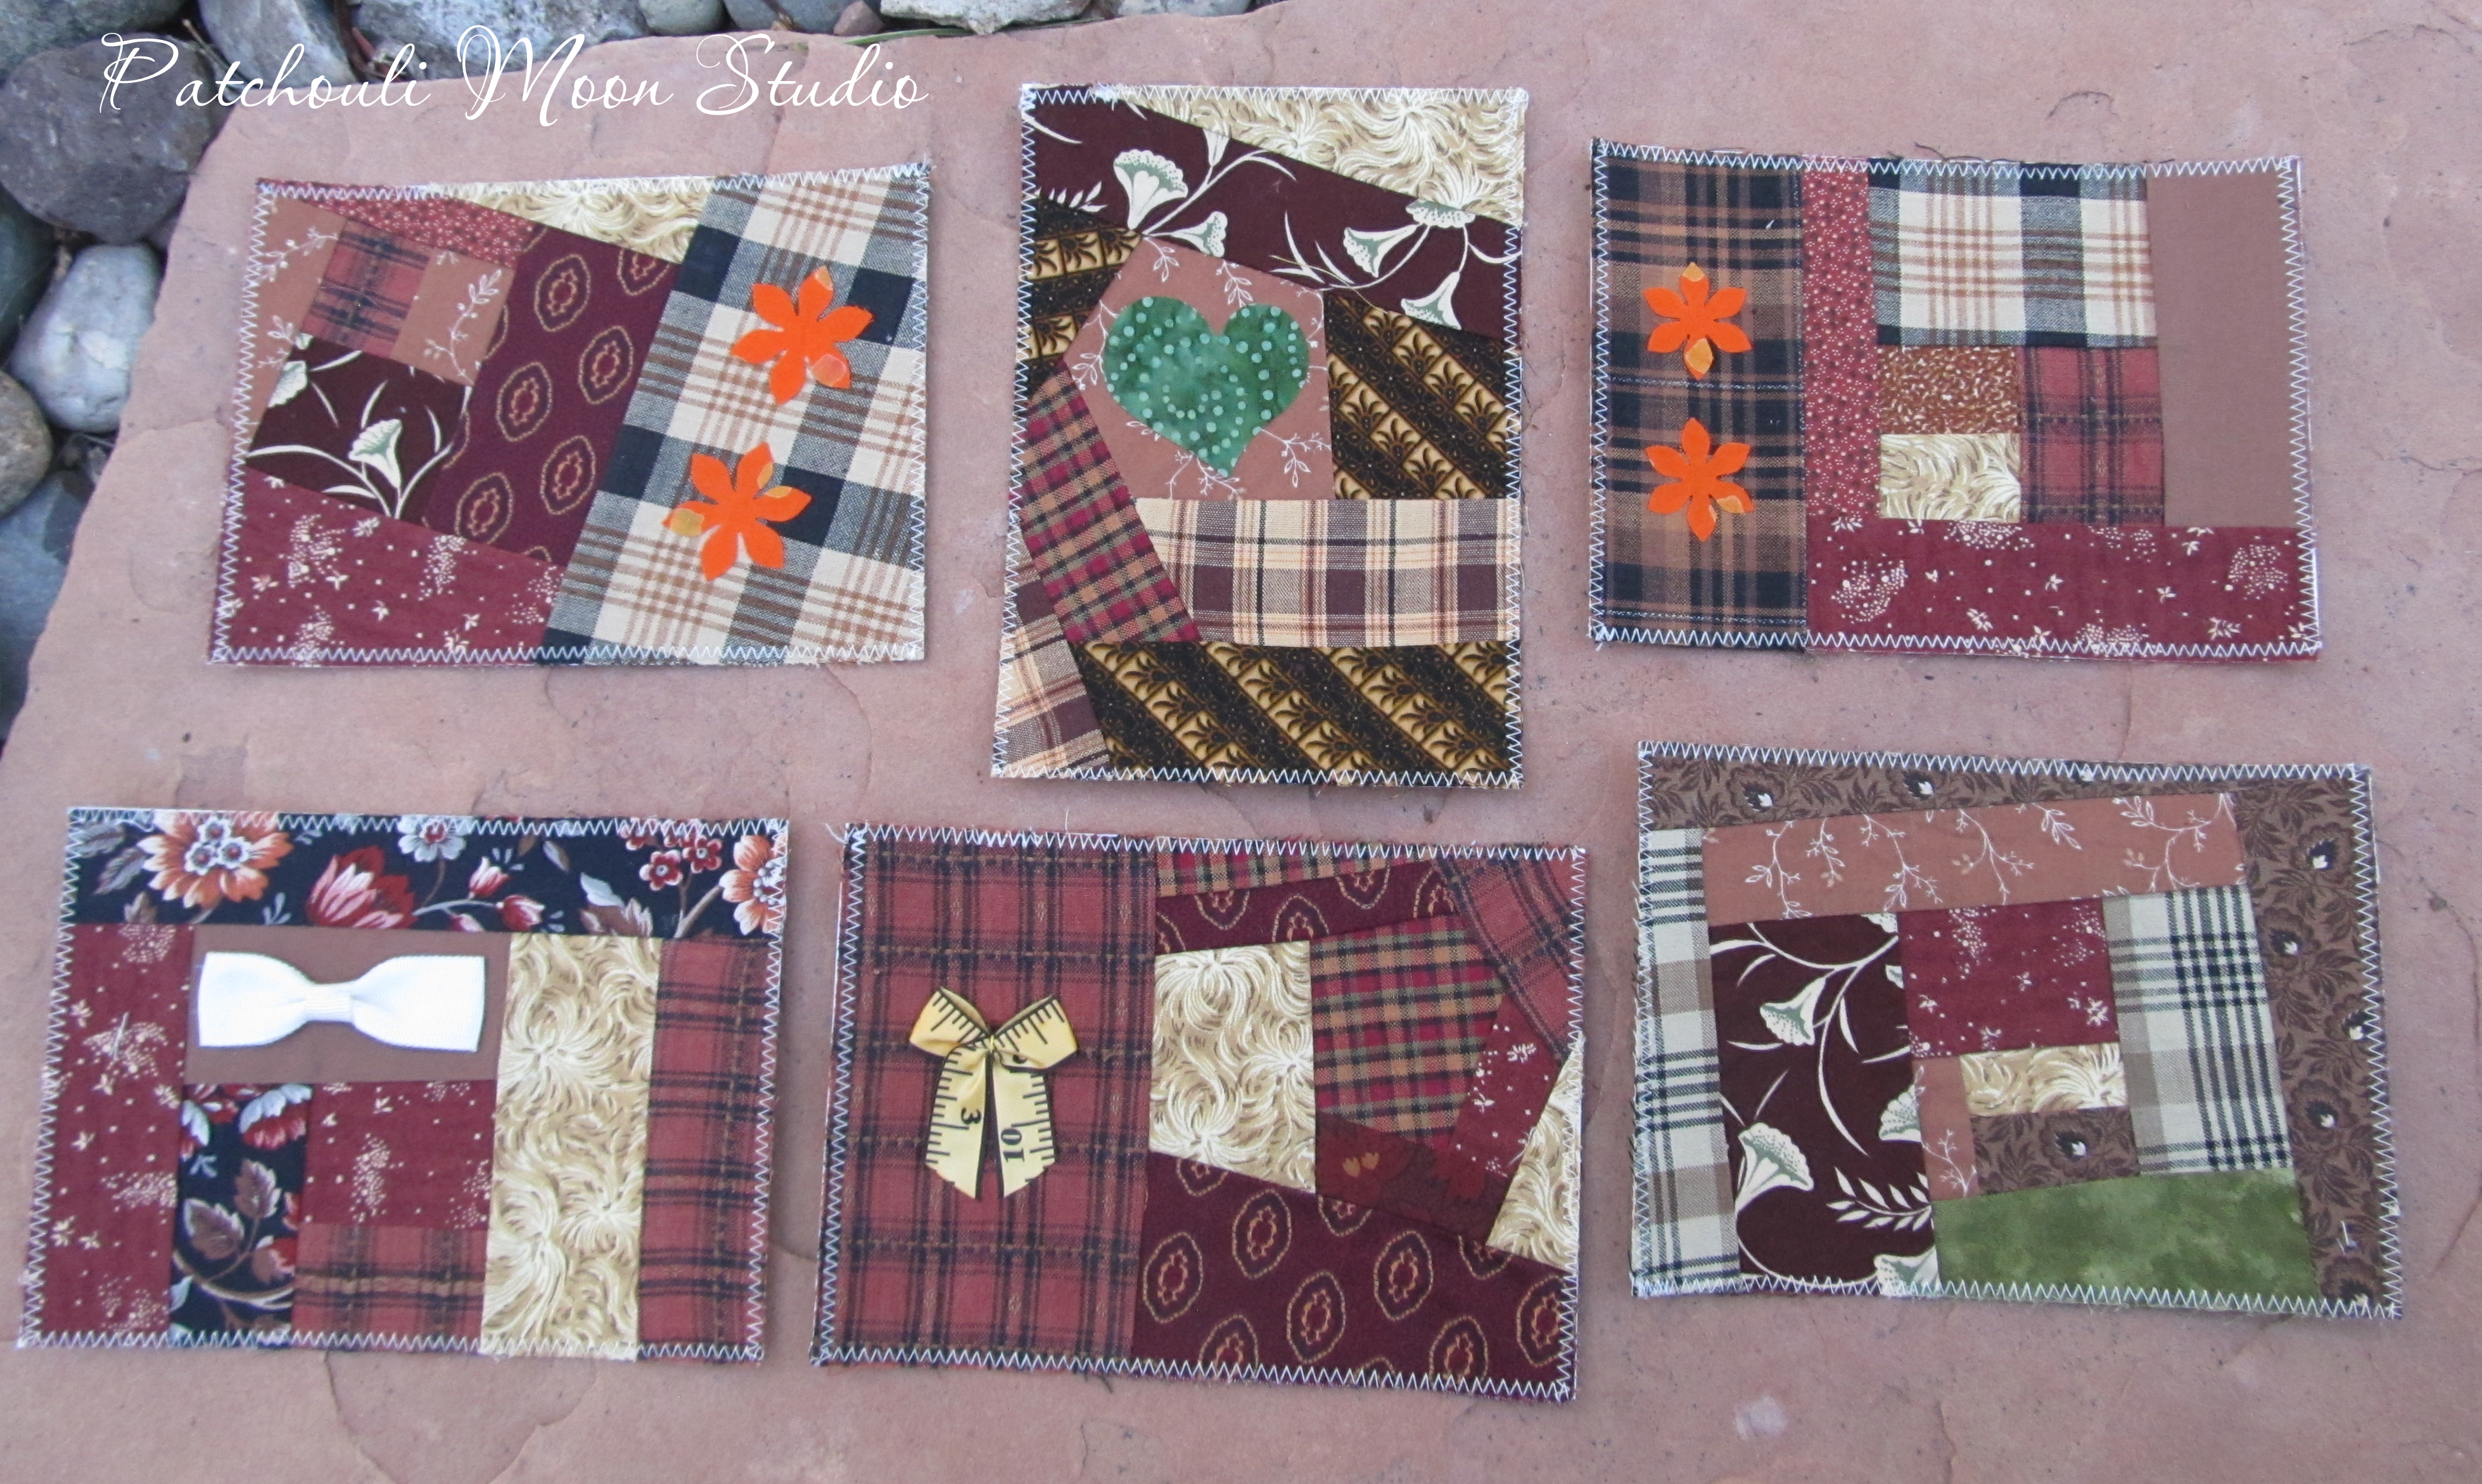
Here are a few more fabric postcards I made to match some of the purses I made.
Pin It Now!

Saturday, September 10, 2022

The Phoenix Bag

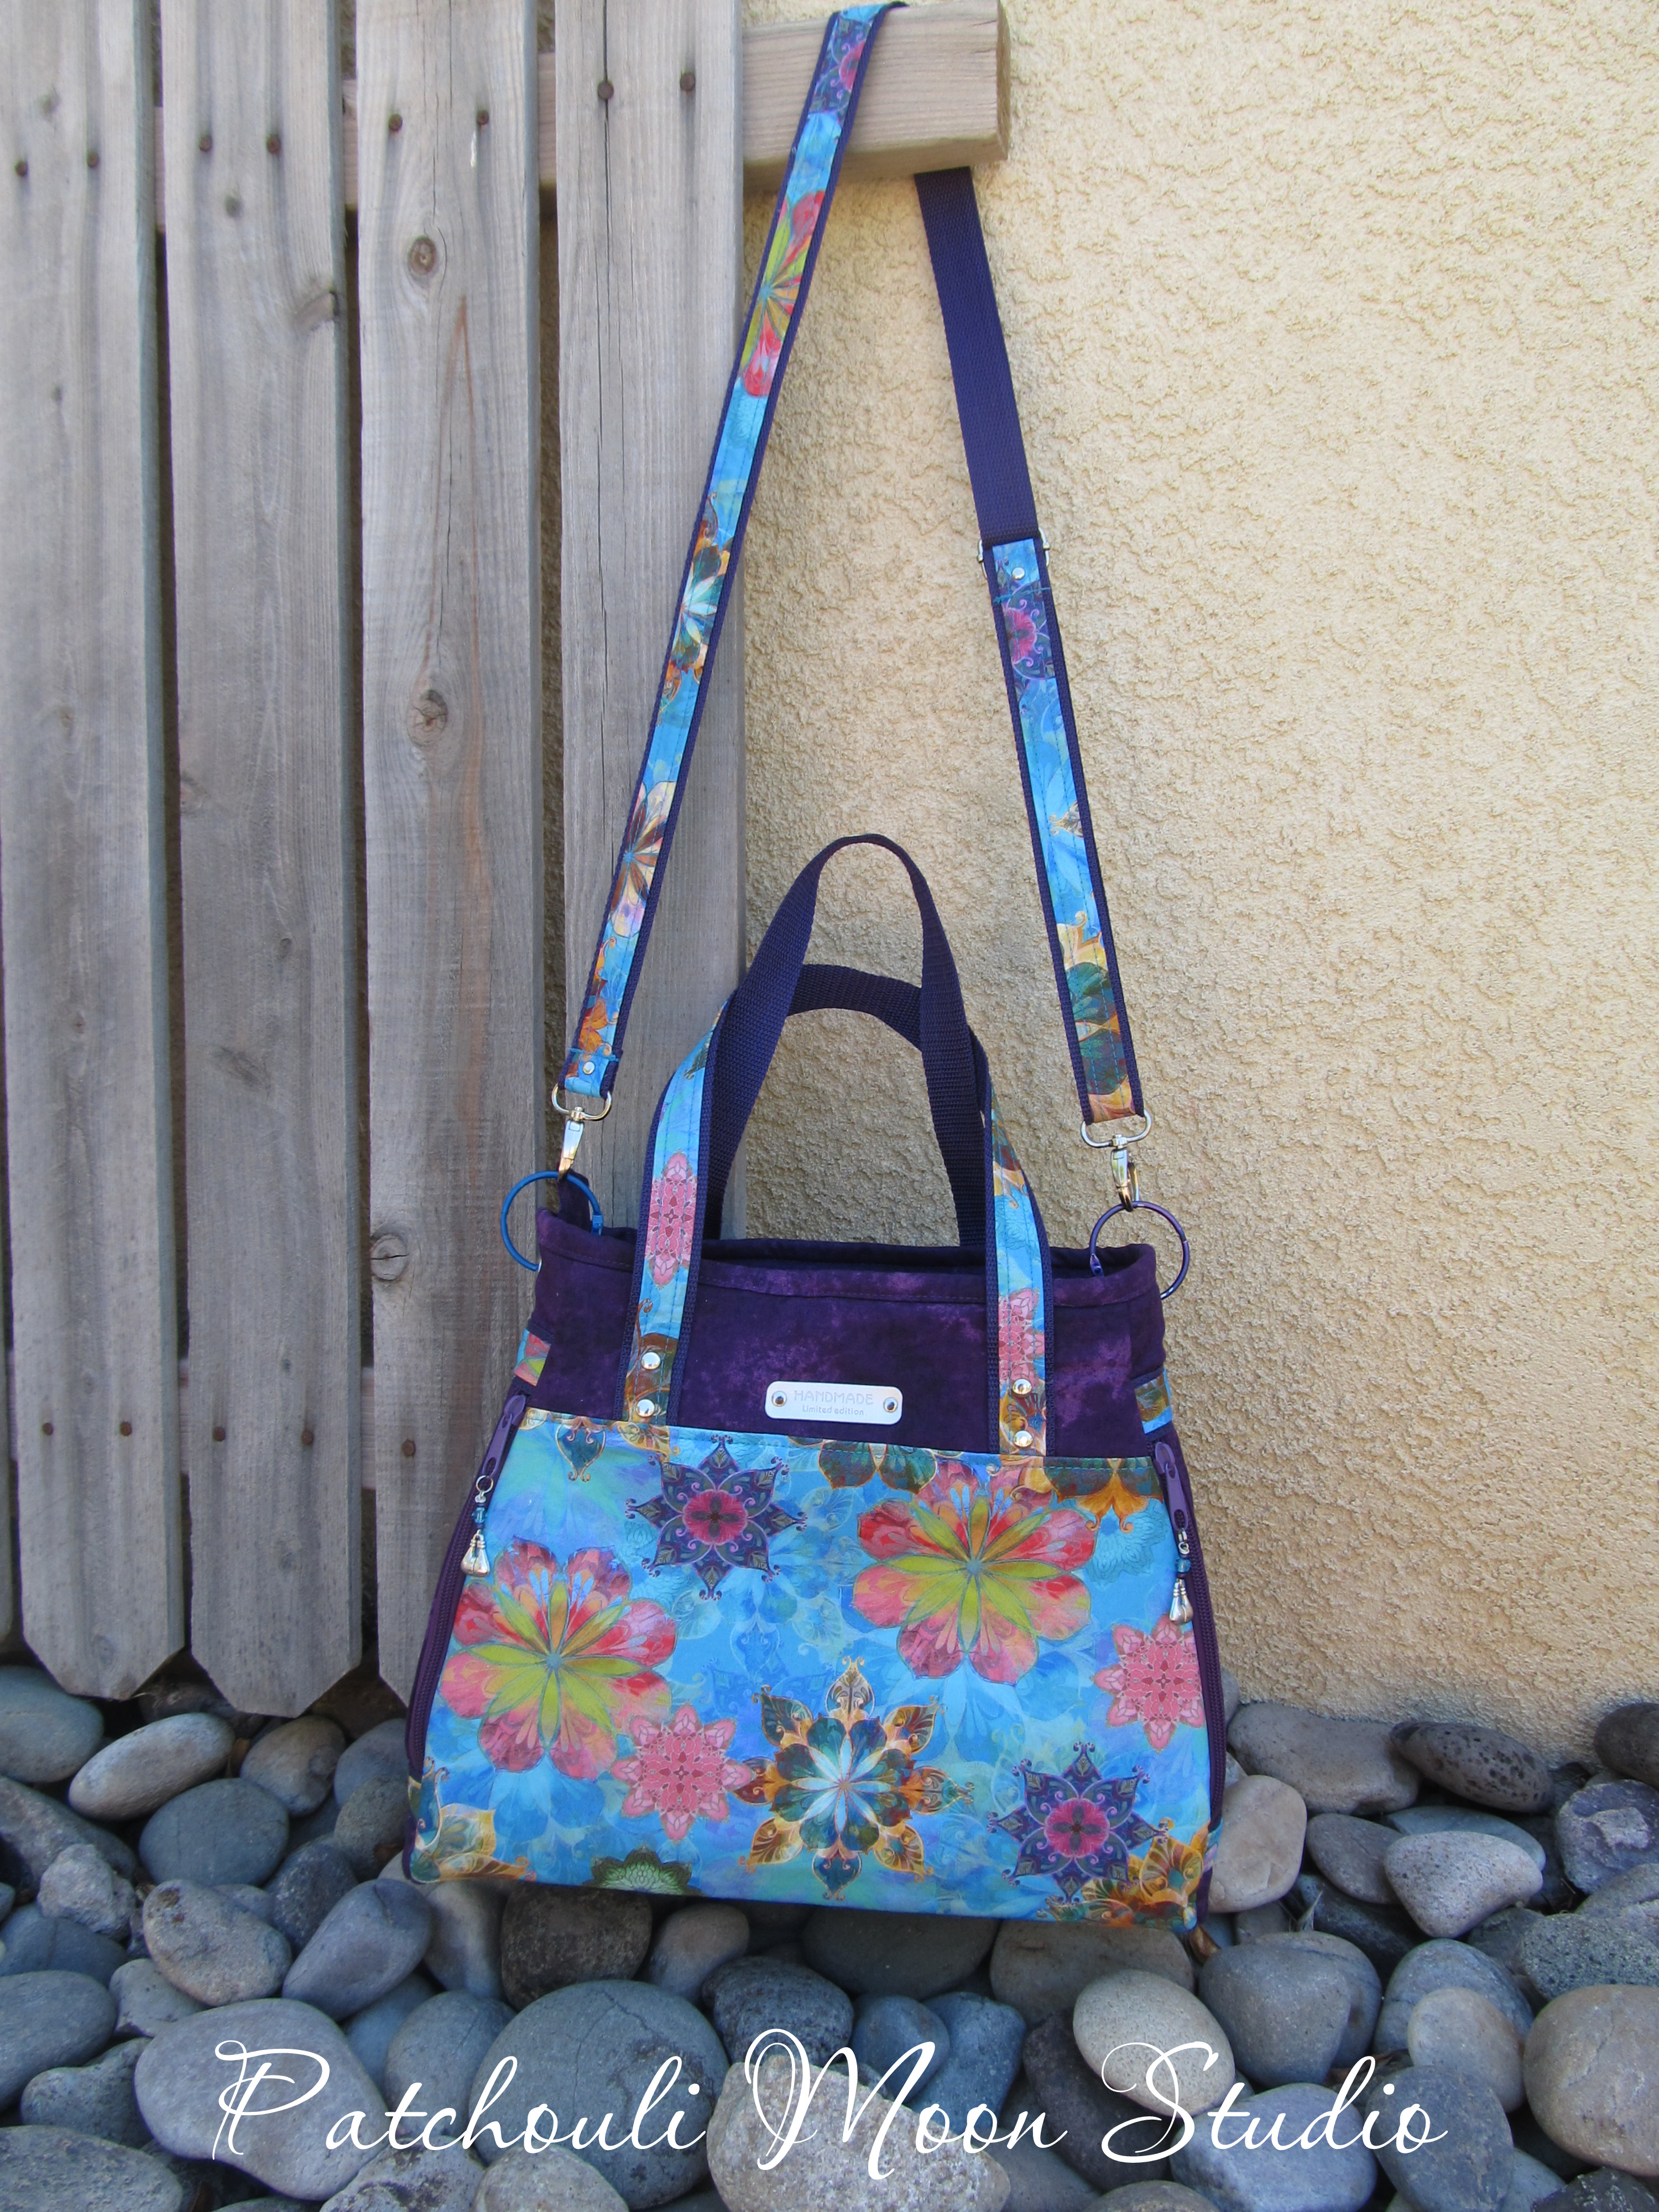
The lovely Christine of ChrisW Designs has created a new lovely bag design again! I tested her newest bag design, The Phoenix, and this is my version of the bag. 

The Phoenix is a stylish handbag with two external zipper pockets in the side gussets and a quick access, hidden phone pocket in the back. (I love her phone pockets)!
 
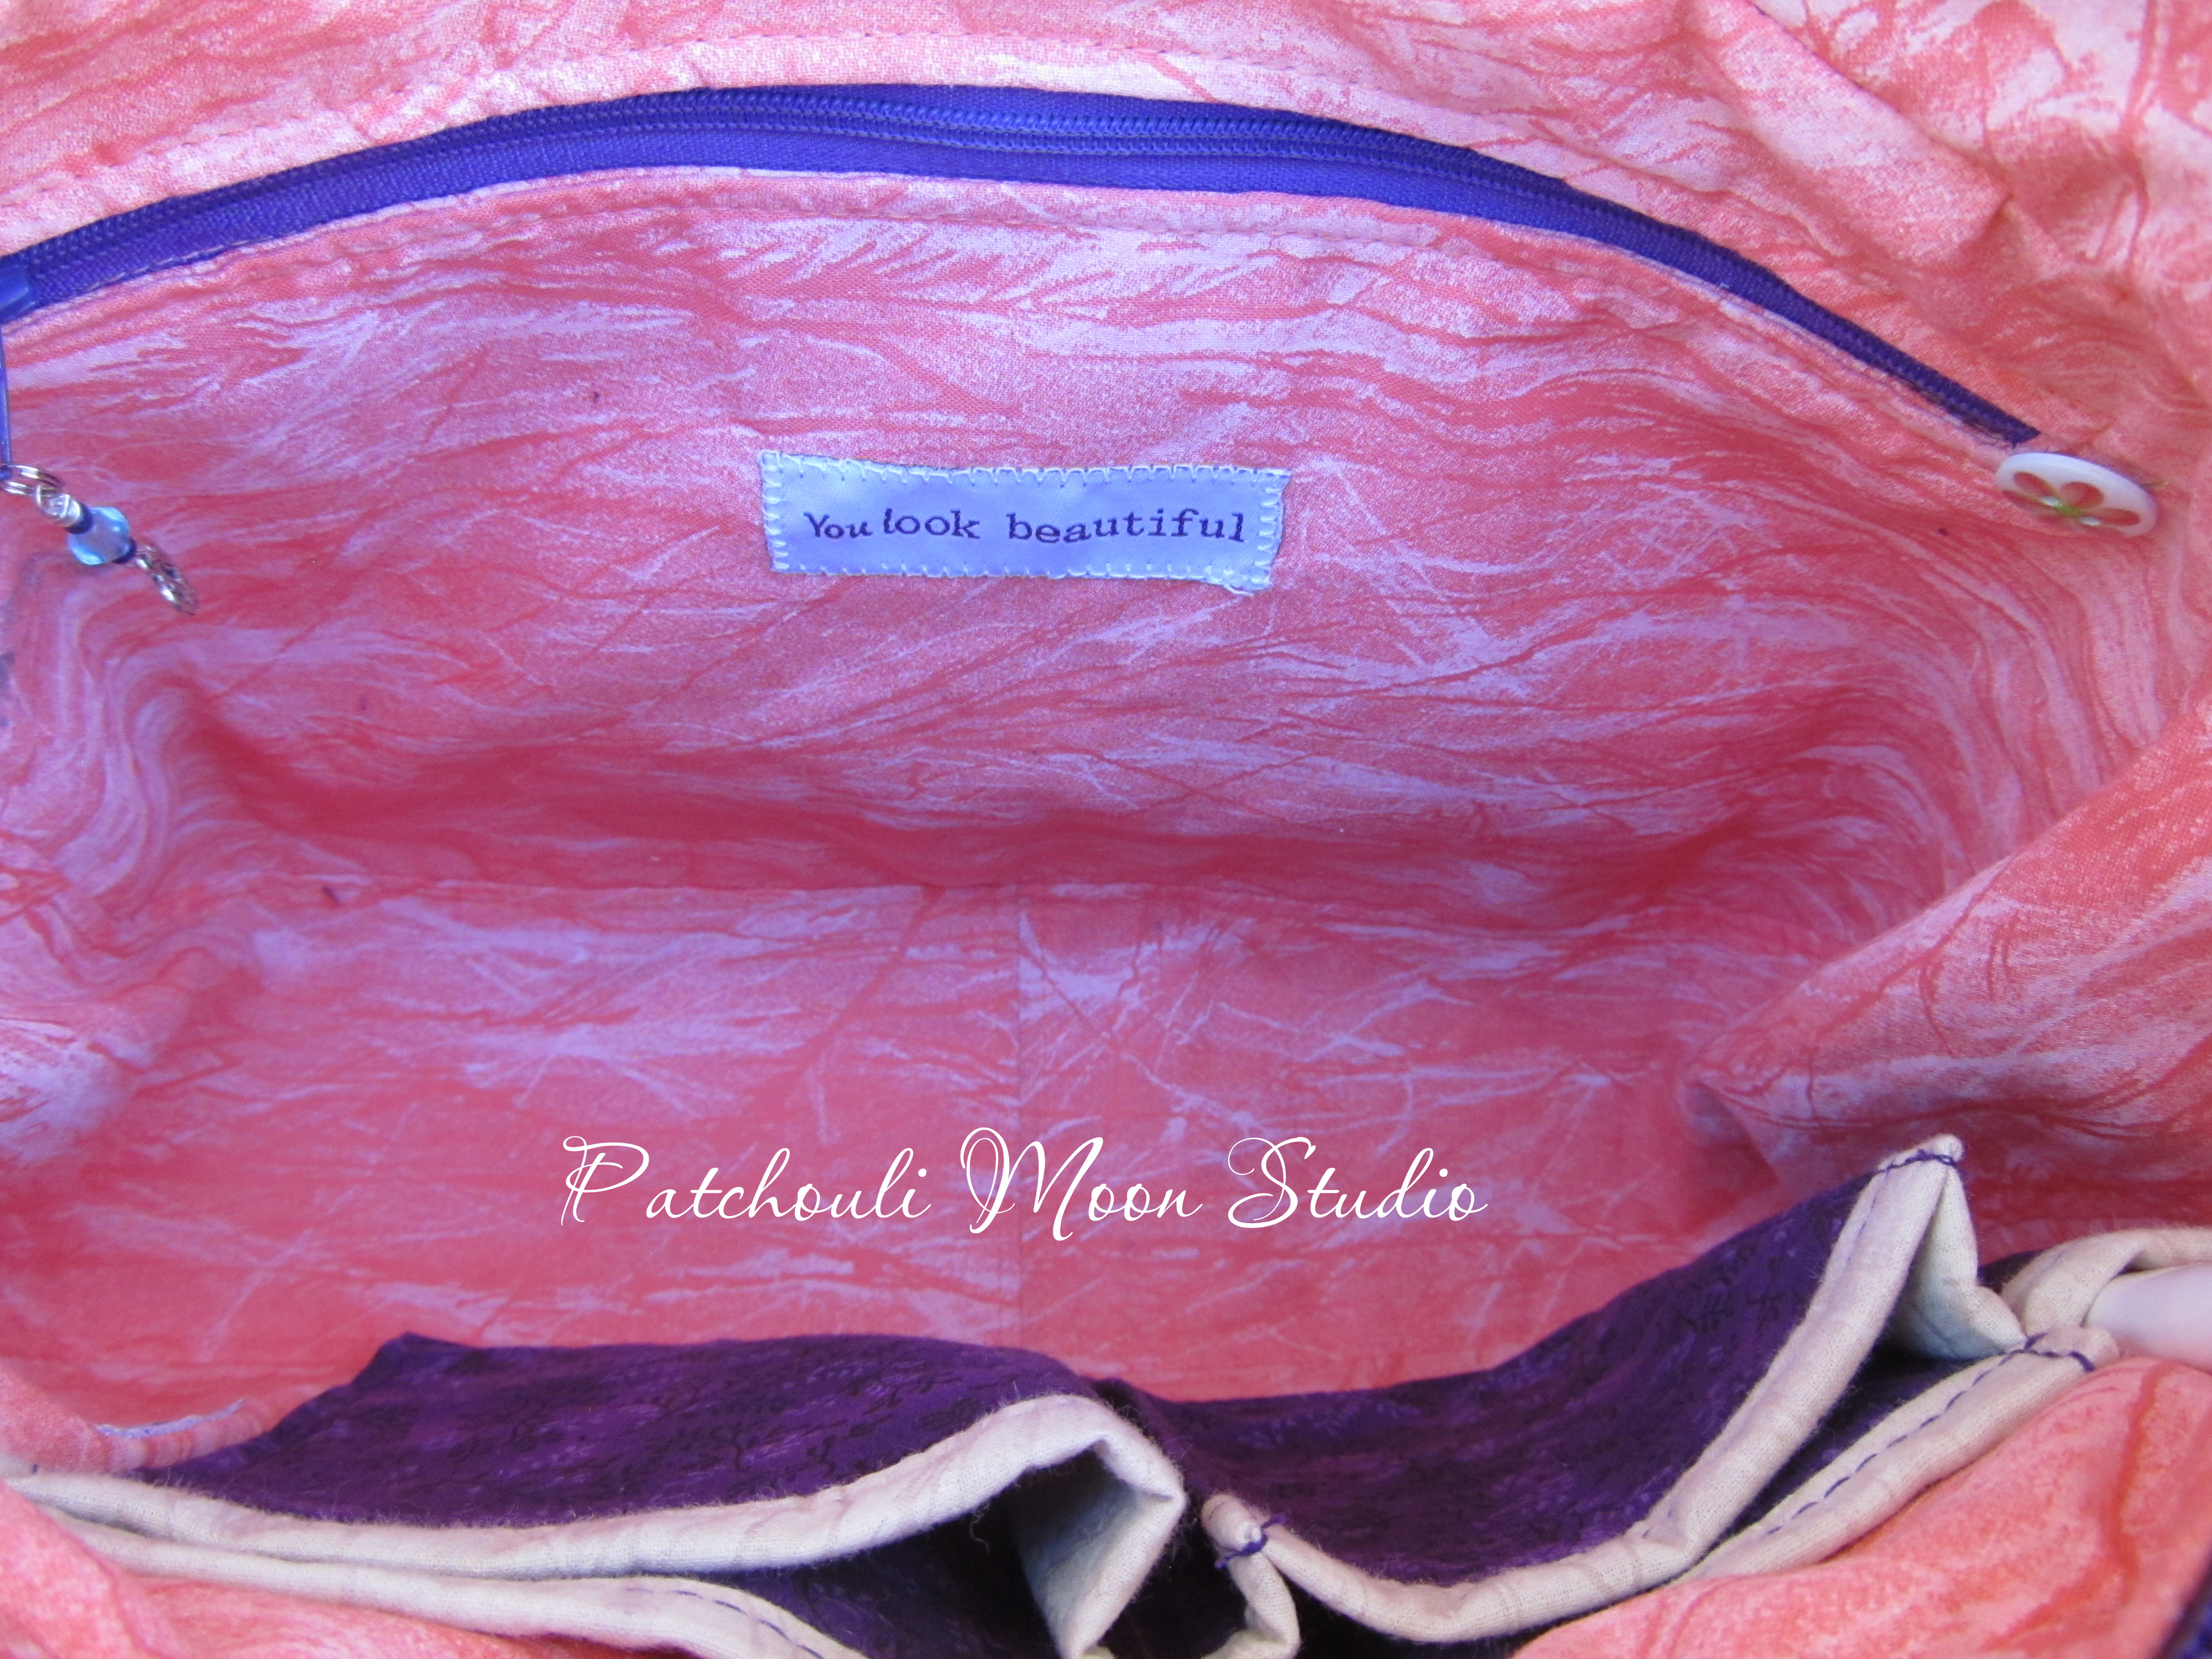
Open up the recessed zipper pocket and you’ll find a roomy main compartment. The pattern includes another zipper pocket in the lining and if you are looking for even more compartments inside, Christine's Pocket Supplement A slip pockets are a great fit for this bag. The instructions include how to tailor the slip pockets to fit perfectly in your Phoenix. 
 
Style The Phoenix your way with two handle straps as well as a removable cross body strap.

I made mine in quilting cotton fabrics and since I didn't have faux leather or the handle hardware, I decided to use webbing and fabric for my handles and straps. I like the webbing and fabric look. 


This is the Pocket Supplement A here. Lots of pockets to hold your stuff.


A recessed zipper closure.

Those binder rings are temporary for the photo. The gate rings are much nice looking, but I didn't have any to use for the photos.

Check out some of the tester's versions here. And a video is being edited right now to make this bag too! Plus if you sign up for Christine's newsletter you will get alerts when she releases a new pattern and all newsletter subscribers get a code to use for 20% off off the pattern.

Happy bag making!
Pin It Now!

Thursday, September 8, 2022

Sew Powerful Purses #102-117 (for 2022)

Hello all you Sewers or sewists or whatever you want to be called, lol! September is National Sewing Month and Sew Powerful has a Sew-a-thon going on all month long to challenge us to sew as many purses as we can this month. It goes along with their fund raiser they are also having all month long where you can make a one-time donation in any amount to Sew Powerful by choosing your favorite purse maker in the pull down menu on their donation page. So you would find my name (I am your favorite Sew Powerful purse maker, aren't I?) in the pull down menu and click on my name and then make your donation. The funds help to support all the feminine hygiene products that they fill the purses with and to pay wages to the women they employ in Zambia who make the uniforms, soap and pads for the girls. 100% of anything donated now or ever goes to this program and I love that!

Please go here to read about how you can donate to this worthy and worthwhile cause during the month of September. And THANK YOU to so many of you who already made a donation to Sew Powerful. 

Okay, so I have completed 16 purses for the Sew-a-thon this month so far. I spent 3 1/2 days testing a bag for a bag designer too! So yesterday I had to catch up and sewed a lot! This is the result of what I accomplished the first week of the SAT.


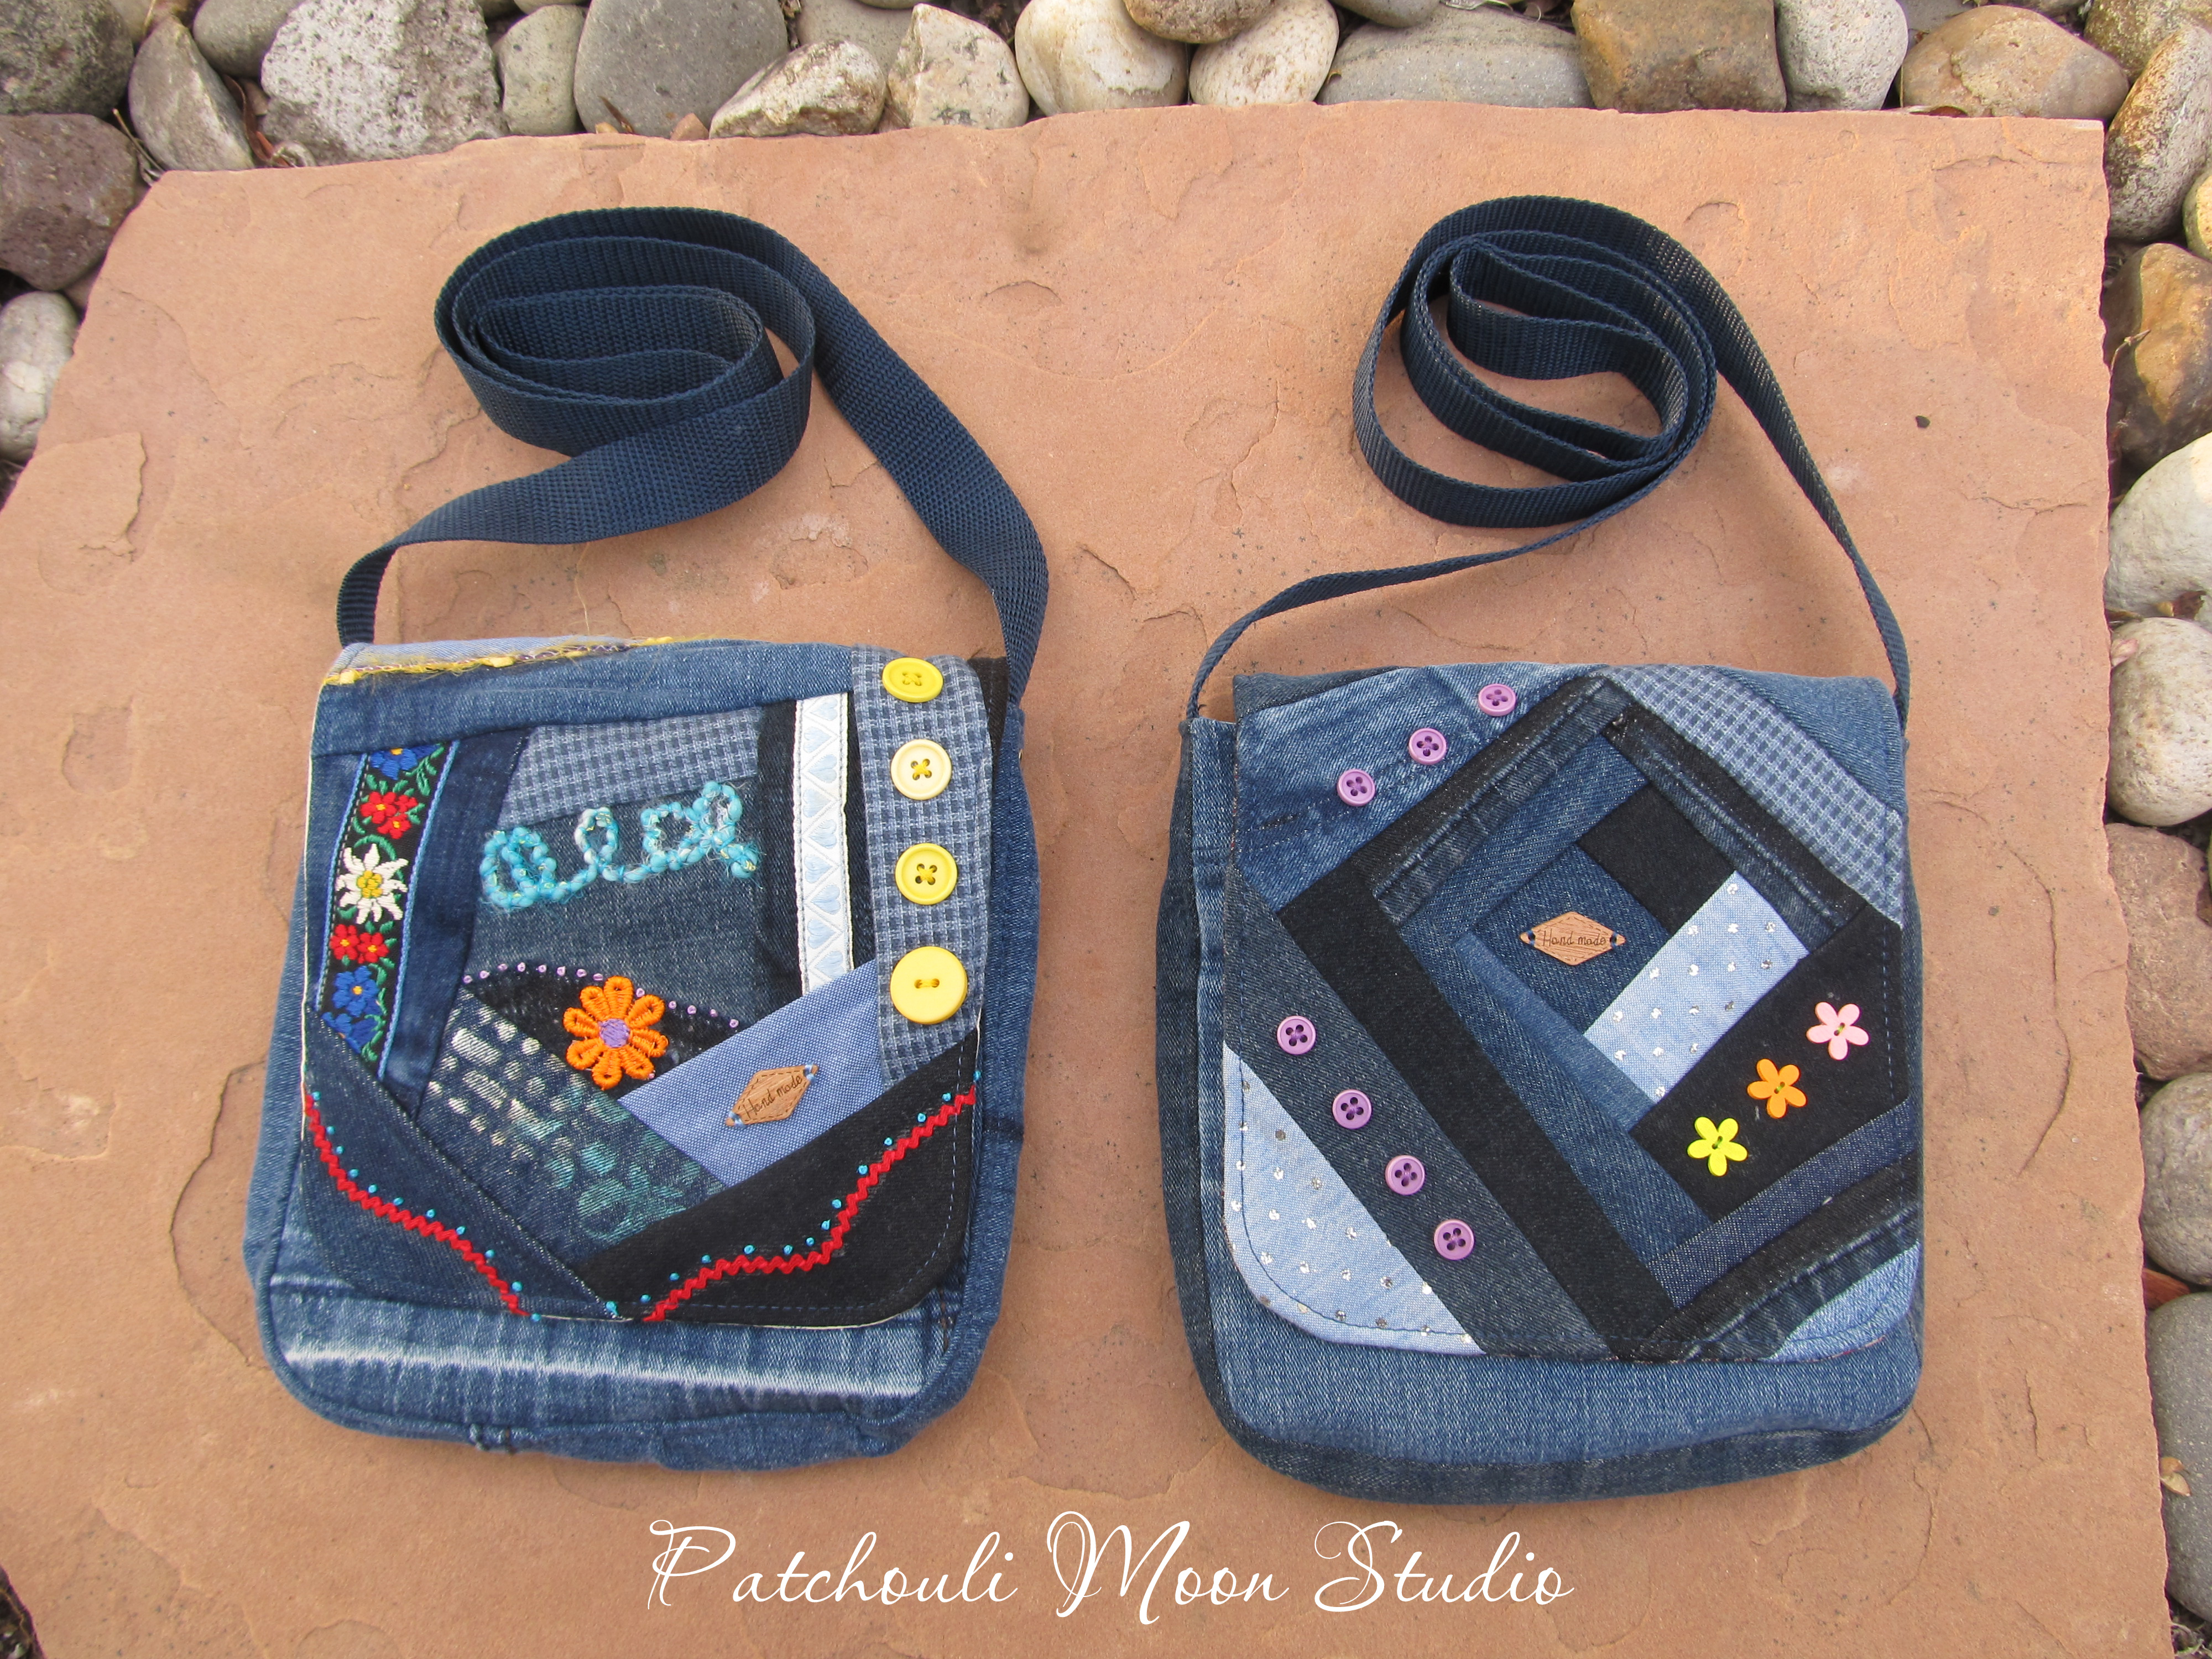
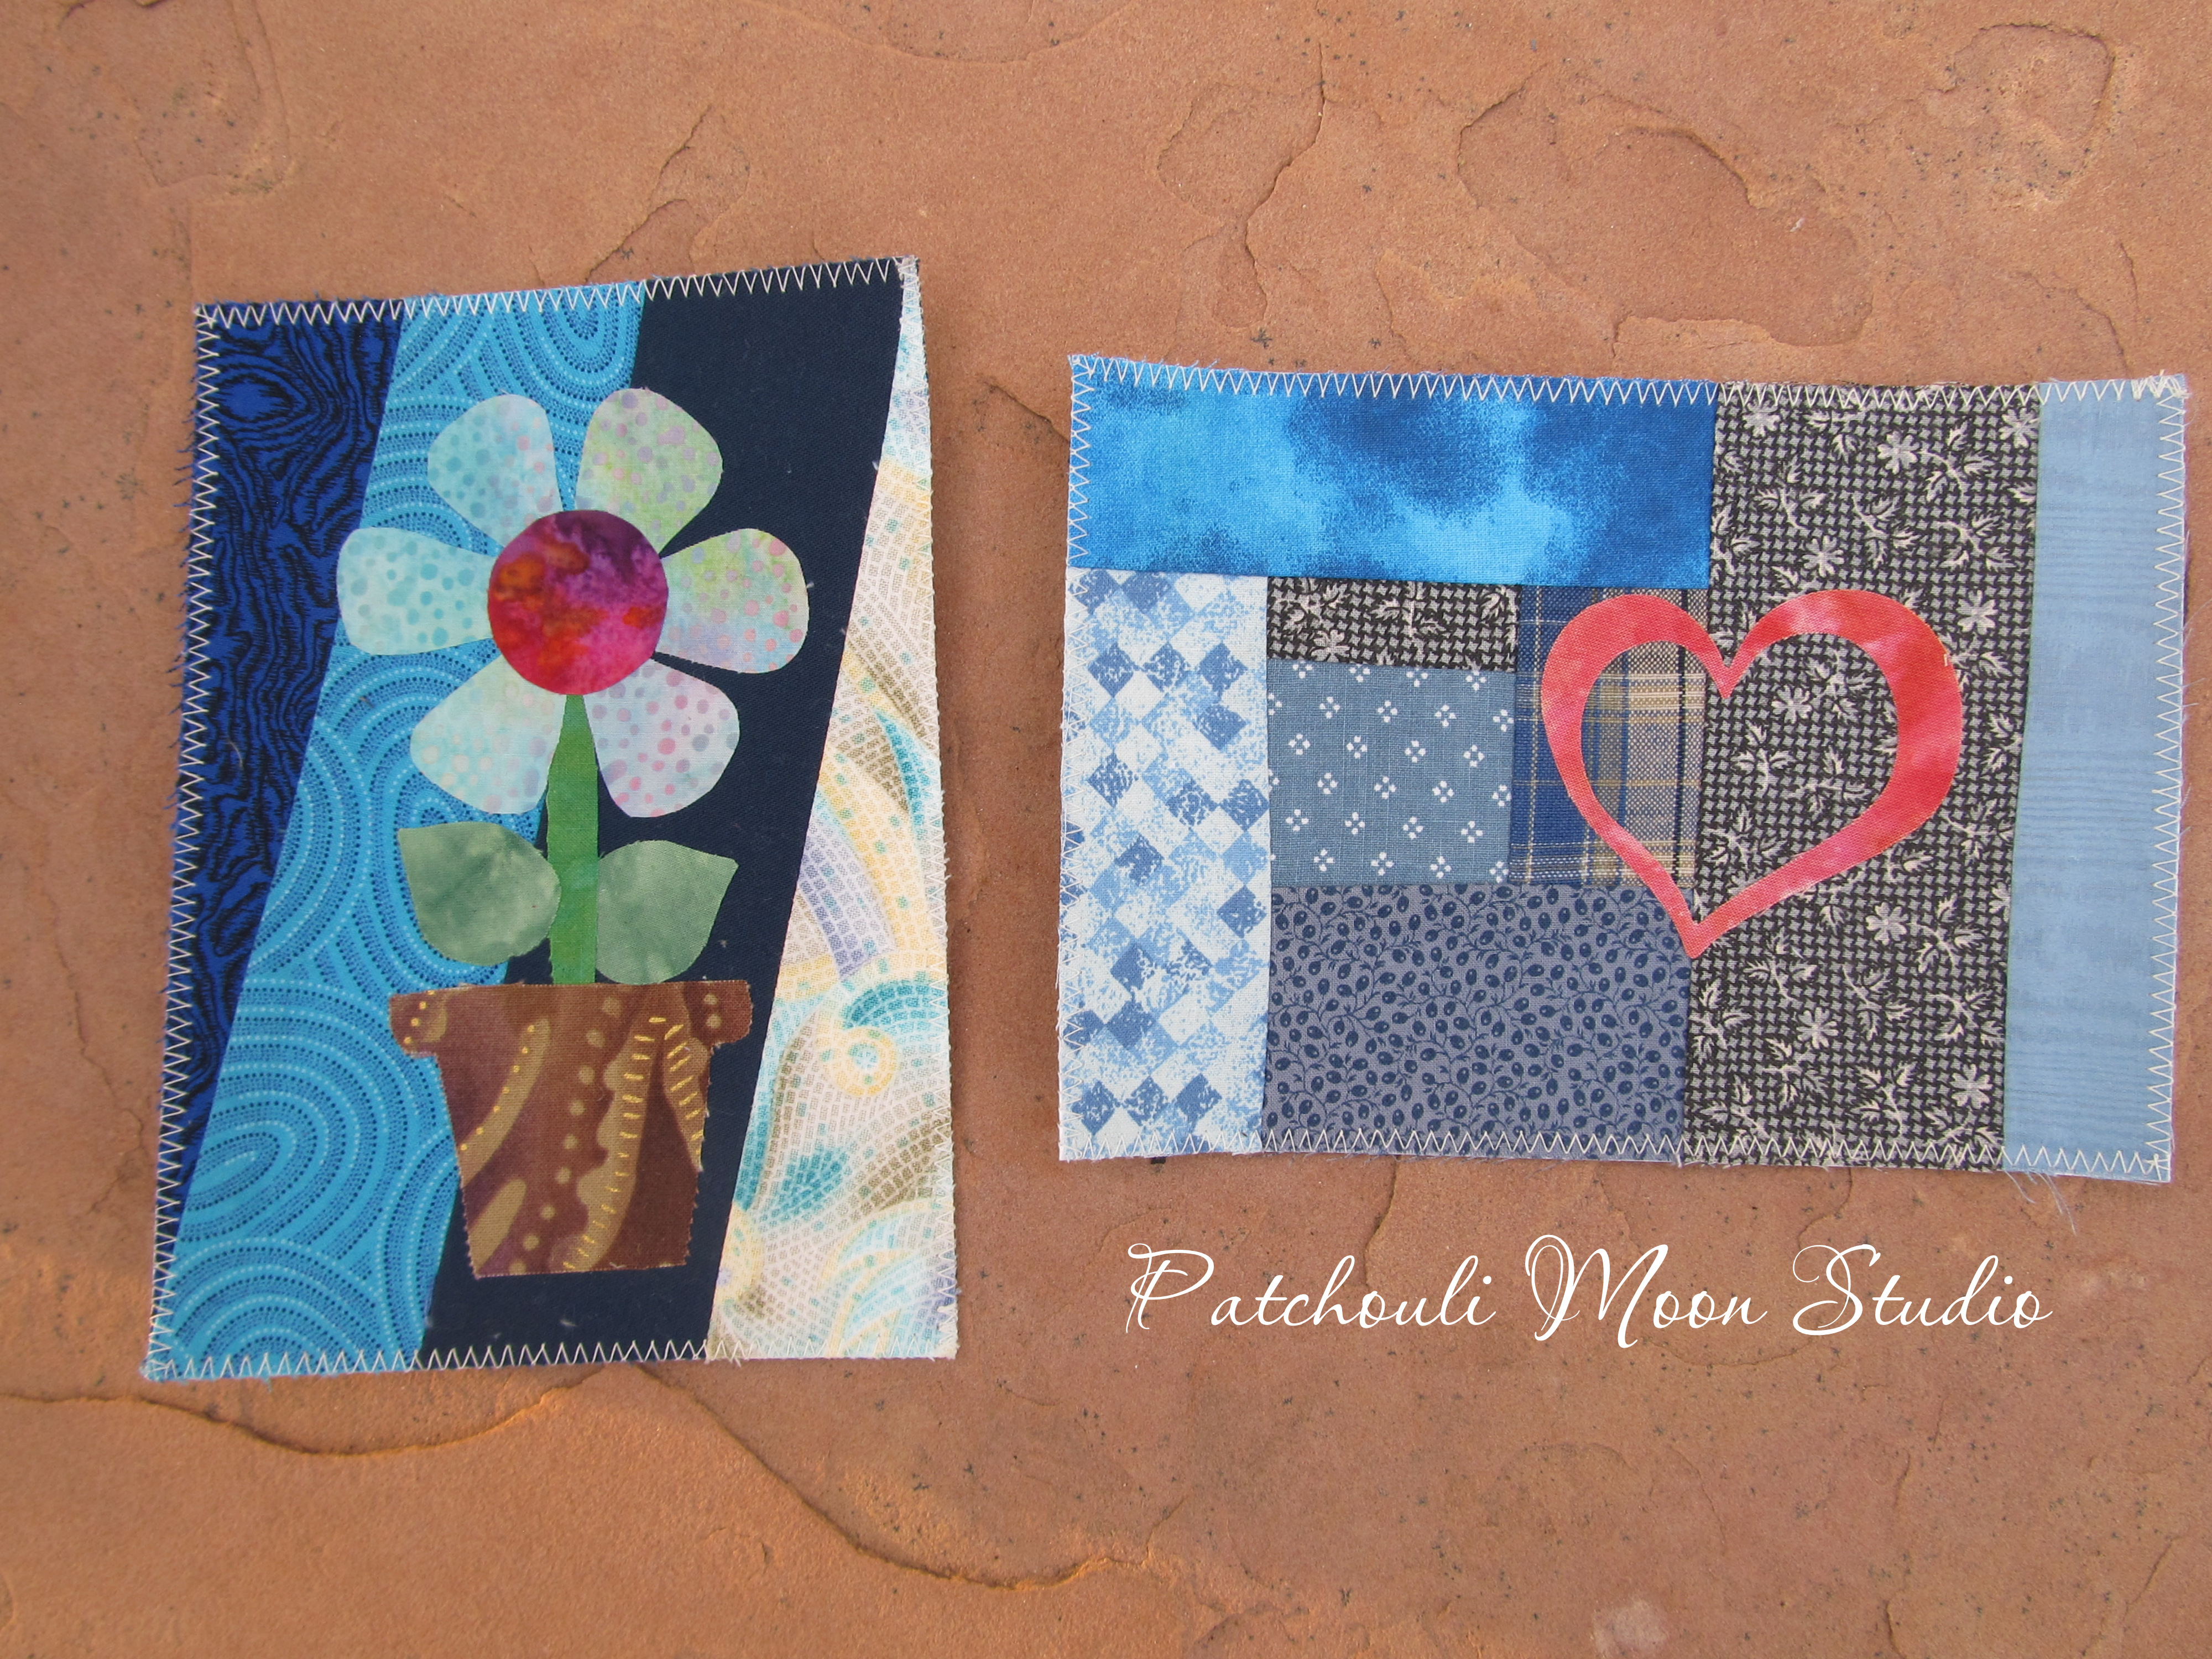
I even started using my scraps to make fabric postcards too. We have to include a notecard in the pocket for each purse and I got to thinking, why not sew up the scraps to make postcards (5" x 7" size). I glued cardstock to the back and zigzag stitched around the cards. Many postcards I made have fabrics that match the purse I made like the one above. But I didn't make all to match. I just grabbed some yellow and orange scraps to make several and to reduce my ever-ending bag of scraps. I barely notice the reduction!


Thanks Julie H. for giving me this fabric. I used it in several purses for the lining. It was perfect. Too light for the exterior as it would get dirty too quickly, but made great linings! The print is purses!


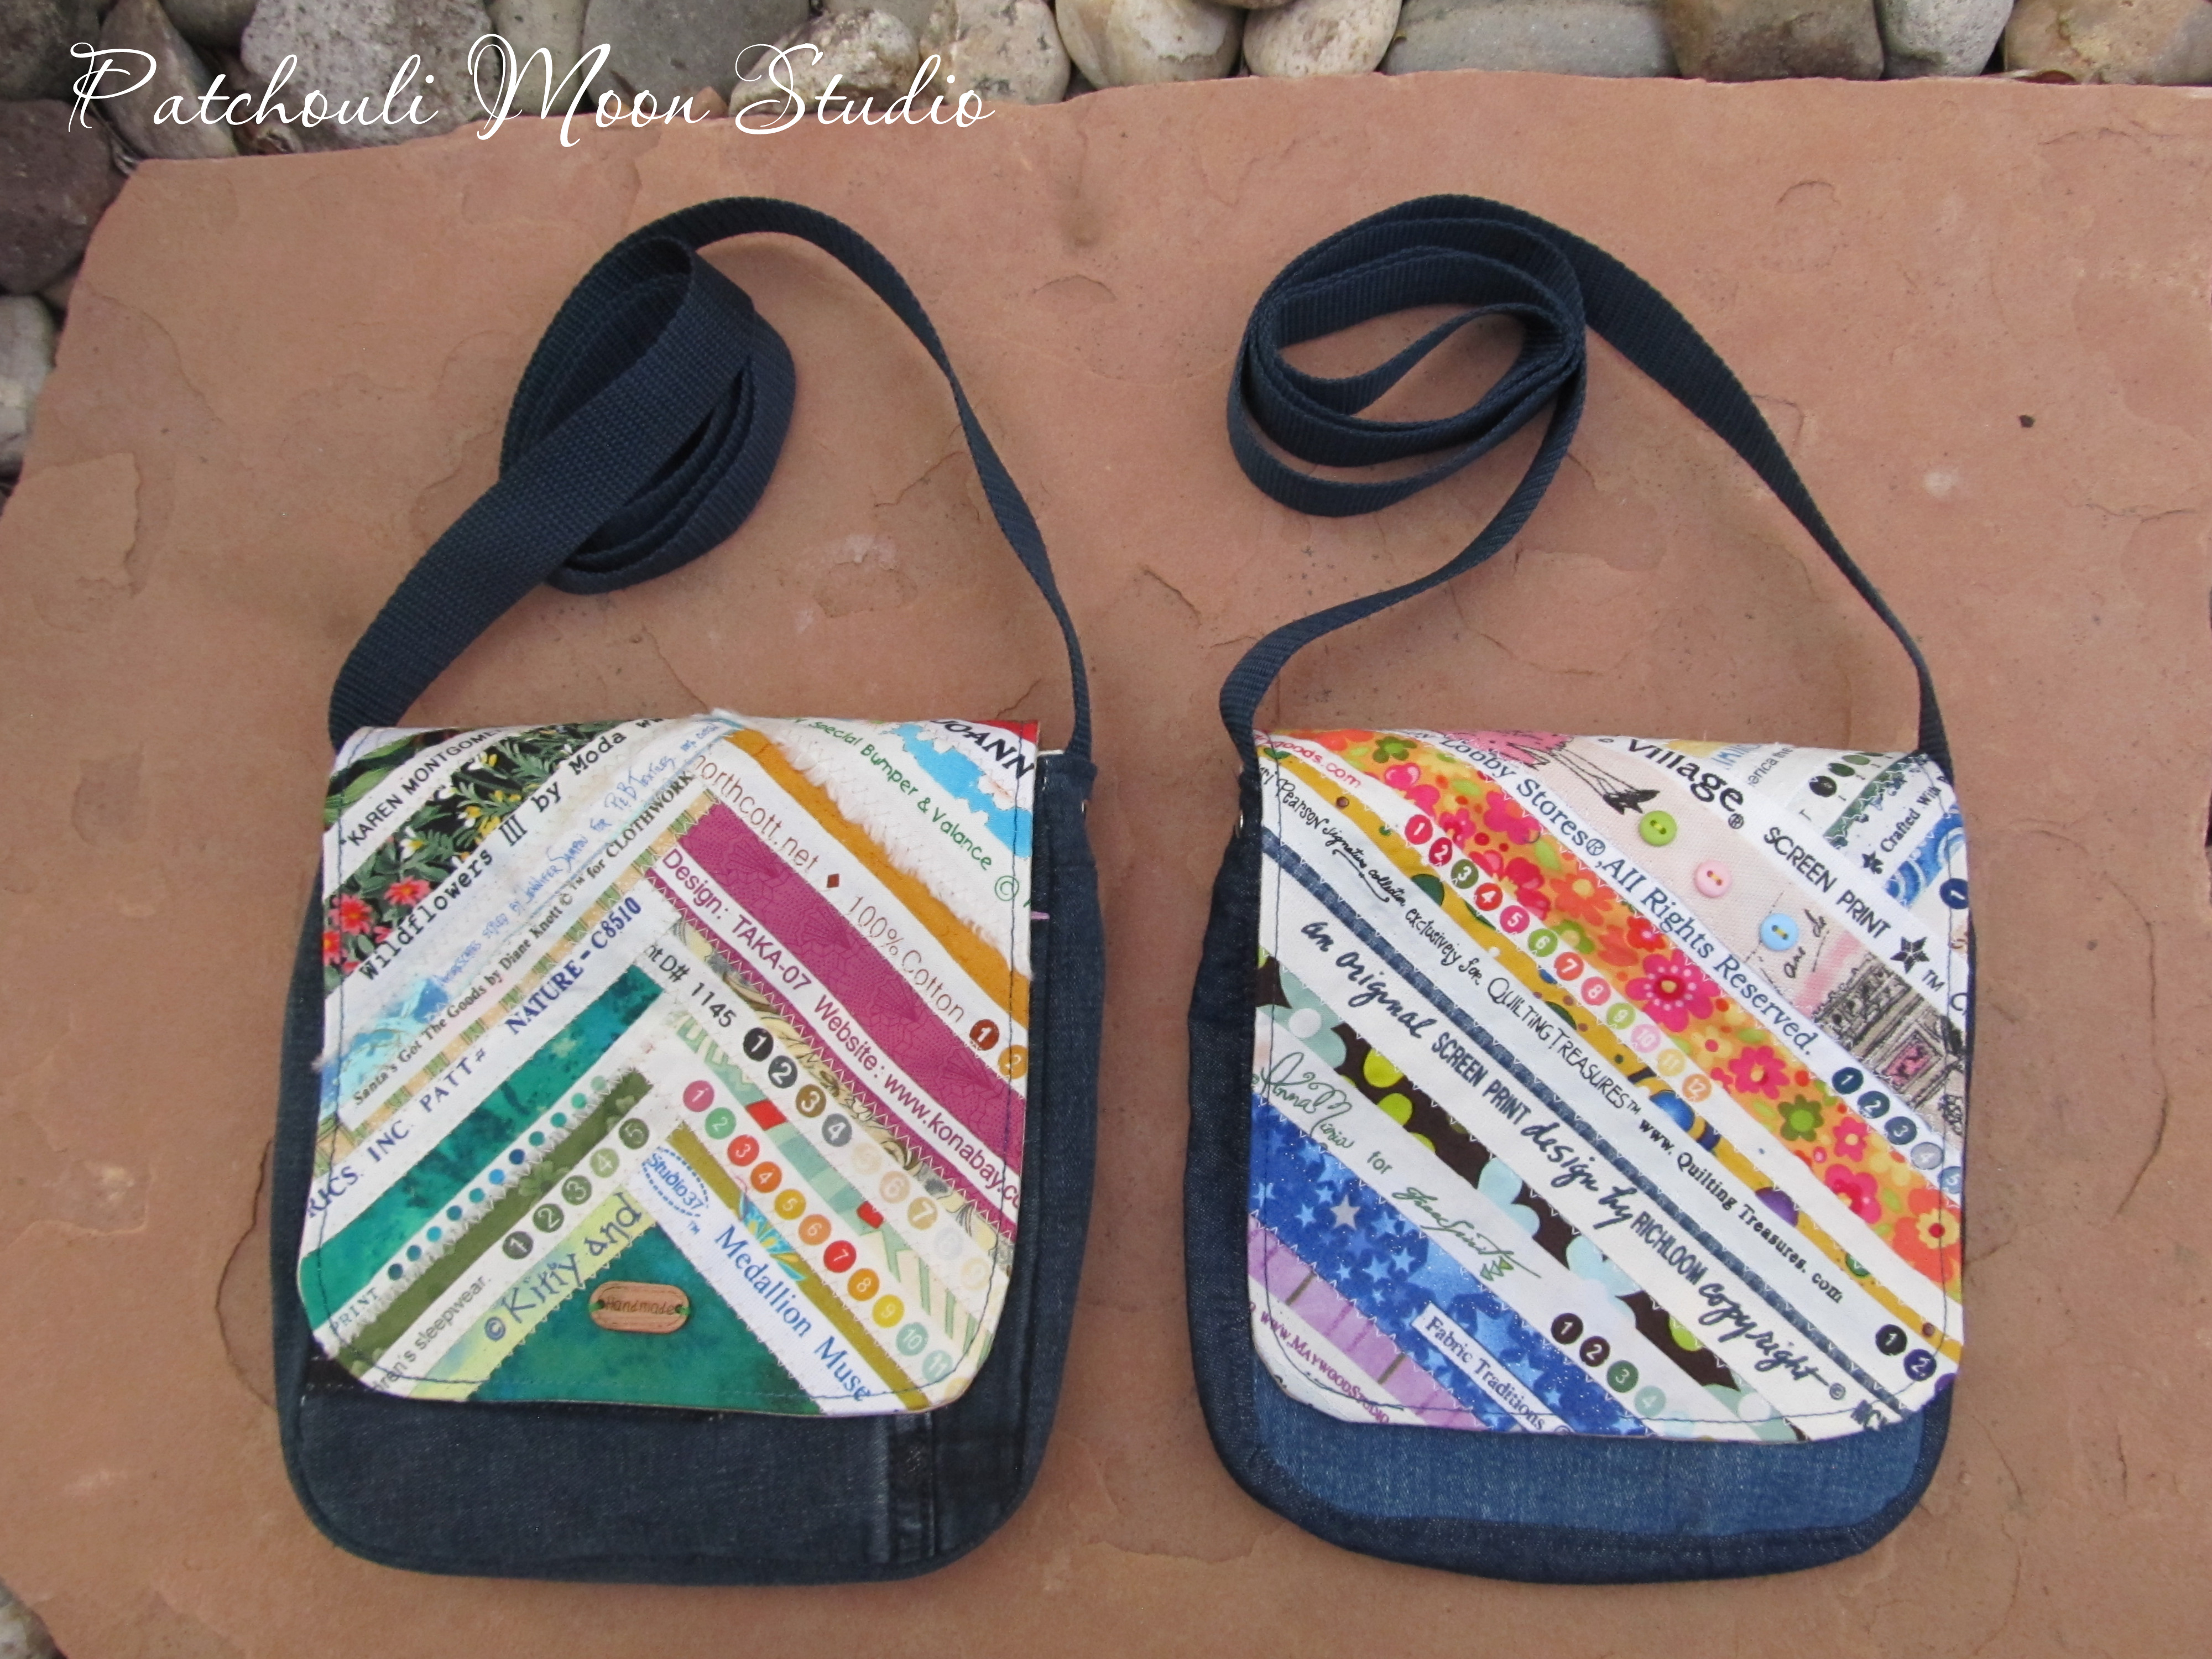
I used selvages on these flaps.

A few of the denim jeans I used for the purses, I also used the front pockets for the back of the purses.


A few more fabric postcards I made. I made over 50 of them, so will only show you a few now.

A few more fabric postcards. I was able to fuse on some appliqué I had and never used before on some of these to add a bit of pop to the cards.

Okay back to sewing more purses!
Pin It Now!

Monday, August 29, 2022

Little Tulip Bag in Size Large

Hello lovely people. I tested this bag recently, called the Little Tulip Bag for Little Mint Designs. It is a cute drawstring bag with handles and slip pockets both inside and out. There are 3 sizes included in the pdf and I chose to make the large size, which isn't too large, but to me more of a medium size. It's a nice size for a medium size knitting project. The smaller sizes would be the right size for a child or to use as a lunch bag. Check out the link above to see all 3 sizes together than Jean made.

I chose to use my favorite Echinacea Glow fabric designed by Anna Marie Horner. I have this beautiful coneflower fabric in 3 colorways (I think it comes in 4 colorways). This fabric was out of print for years and has been printed again probably because it is such a popular print! Coneflowers and sunflowers are my favorite flowers so that's why I love this fabric!

I tried to fussy cut the pockets on the outside so they would blend better into the print, but I just couldn't get it right and wasted some of my precious fabric, so I just did the best I could. There are 3 choices for making the handles included in the pattern. I chose to use webbing and fabric both for a 2-color handle. I love how that looks!

I added 3 other colors to make this a bright bag: yellow, orange and dark pink. I love how the colors look on this bag. I also added lots of rivets on my handles.

The lining is a gray polka dot fabric and my current knitting project is inside.

Inside there is a slip pocket on each side. I don't know why my lining looks so wrinkled on the bottom? Maybe because the lining wasn't interfaced? I made as per pattern, so no interfacing on lining fabric; but I think I will add interfacing on the next bag I make to see if that works better?

The gnome statue measures 17" tall x 9" at it's widest, just to give you an idea how the large size Little Tulip Bag compares in size. 
Pin It Now!

Friday, August 19, 2022

Colorful Sky of New Mexico Hot Air Balloon Quilt

Hello all you Hot Air Balloon aficionados. Here is a quilt I designed and wrote a pdf pattern for years ago. I never finished quilting it, so here it is, finally done.
If you would like to make your own, Colorful Sky of New Mexico Hot Air Balloon quilt, you can find it in my PayHip Shop here or on Makerist here. 


If you make this quilt, please tag me as I would love to see it. You can tag me on Facebook or Instagram: @patchoulimoonstudio or contact me or email me. Thanks for your support, I appreciate it!

I have this actual quilt for sale at the Blue Portal gift shop in Old Town Albuquerque now in time for the annual Balloon Fiesta which is coming the first weekend in October and lasts for 9 days. This is the fiesta's 50th anniversary too! 


Pin It Now!

Sunday, August 14, 2022

Ice Cube Zipper Pouch

Hello sweet people trying to stay cool during this hot summer. I have a cool project to share with you. I made a bag to store ice cubes in the freezer. Now you might wonder why I would need such a bag? Well let me tell you. For years we had no freezer at all. We have a small refrigerator, but it has no freezer. We didn't think we would really need a freezer as it would only encourage us to buy frozen desserts! LOL!! 

A couple of years ago we thought it might be nice to have a freezer and we got a chest style freezer on sale that was the right size to place in our kitchen. So we got it. It has one long basket inside, but no shelves. Making ice was a challenge as where could we put the ice cubes trays? The basket was full of food and I would place ice cube trays on top of frozen bags until they were frozen enough to empty into a Ziplock plastic bag where I stored them. 

I happened upon a couple of silicone ice cube trays at a thrift shop that had a metal rim around them and got them. They were shorter trays, but fit perfectly straddling the basket in the freezer. Plus I love how easily the ice pops out of the tray by pushing on the back side. The ice is more of a tube shape than a cube, but they are great for adding to water bottles. 

The plastic Ziplock bag was getting heavy with use and it was hard to get the ice into the plastic bag when it is empty as the bags are flat without any bottom to stand up. I thought I should make a zipper pouch that has a bottom and roomy inside and that can stand on it's own to make it easier to add the ice into the bag. So I searched online to find food safe fabric to use for the lining of the bag. I bought a yard of it (choose the one on sale) in a pretty pale yellow fabric. I had not idea what type of food safe fabric to buy as there were many to choose from. The one I got was thin and rather slippery to work with. It was 2mil and I wasn't sure what mil would be best? 

While I was waiting for the lining fabric to arrive, I choose the fabric and the pattern I decided on using. Looking through my batik fabric, I found I had this snowflake print, which I thought was a perfect choice. I paired it with a yellow batik print. I quilted the blue fabric to fleece in a triangle mountain peak sort of design I drew. Hard to see it in the photos though. I knew I wanted to appliqué the words "Ice Cubes" on the front of the bag, so I did that first. I chose to use the Scooter Pouch by AllSewPetite, but I eliminated all the straps and hardware and the zipper pocket. I also added a tab at each end of the zipper to grab on to when zipping and unzipping the bag as well as a grab handle at one end. It turned out great! And it's so useful too. If we had shelves in our freezer, then we could have just used a plastic bin to store ice cubes in, but this is at great solution for us and it's so much prettier, don't you think? You could also use the Isabella Pouch as well, since it is the same basic shape as the Scooter Pouch. Since I had tested the Scooter Pouch for Monika, I used it. Both bag patterns have a free video tutorial. Check out Monika's YouTube channel here for all her patterns (she does a video for her all her patterns, whether they are free or you pay for the pdf with templates). Her instructions are always great! So whether you want to follow the pdf or the video or both, you can do it either way.

The snowflake batik was a great choice for this pouch, along with the "Ice Cubes" appliqué.

Top view.

The pretty yellow food safe lining fabric in yellow.


The other side. I quilted the blue fabric in a triangle mountain peak sort of design I drew. Hard to see the quilting in these photos.

Full of ice cubes. Or they look more like ice tubes, lol!!! That makes me cooler just looking at that bag full of ice!

Stay cool my friends!
Pin It Now!
Related Posts Plugin for WordPress, Blogger...