Tuesday, April 10, 2018

Home Sweet Home Row Quilt

This is the 2016 Row by Row Experience Block that was from the Stitchin' Post in Sisters, Oregon. It was designed by June Jaeger (Jean Wells' sister). Jean is the owner of the Stitchin' Post. You can still purchase the pattern here.

 I started it over a year ago and then it sat waiting for me to quilt it. I got most of it quilted, except for the sky, so it sat a few more months. I am so glad I got this one finished! I just love it. It reminds me of my visits to Sisters and Bend, Oregon to visit my friend there and attend the Sisters annual Outdoor Quilt Show.

I used batik, hand dyed and commercial fabric in this quilt. It was a bit time consuming to trace the pattern shapes to fusible web, cut them out, fuse them down and quilt around everything. I did not do my usual blanket stitch around the shapes, instead I quilted around some shapes close to the edge and do other quilting to hold it all in place. I was a bit nervous about doing this, because I have had issues with thread breakage while quilting recently and if you rip out on a fused down piece the holes will show. I did have a few places this happened.

This is hanging in our bedroom and Mr. P really loves it too!

I love this Sisters, Oregon scene.

The snow is white fabric with silver glitter in it, so perfect for snow. The mountain is batik fabric.

Batik fabrics were used for the cabin,

I didn't have the right green for the trees in batik, so the trees are a commercial fabric.

I used a hand dyed brown (I dyed myself) for the binding.

I just couldn't see this going into a quilt with other rows, because this beauty needed to stand on it's own!

Pin It Now!

Monday, April 9, 2018

(Don't Worry) Bee Happy Quilt

When I saw the Bee Happy quilt on Lori Holt's Blog, Bee in My Bonnet, I knew I wanted to make this quilt. I loved all the separate little blocks each by themselves, but all together it was quite a quilt! Plus I knew I would make more blocks and use them for other projects later on.

I did fusible applique using fusible web instead of Lori's needle turn method with interfacing. I machine blanket stitched around each applique, matching the thread color to the fabric color. I did not add a final plain border around the hexagon border, as this was getting quite large for a wall quilt. My husband did not like the wording on the quilt "Bee Happy", so I added a few birds there in it's place. Once I got the top done, it went off to the quilter. I chose a quilting design called Tweet Tweet, which has flowers and a bird and was not too densely quilted. I also chose a buttercream yellow color of thread because it would blend the best with all the colors and not pop out too much. It worked well. Although you cannot see the bird part of the quilting very well because of the busyness of the quilt, I like it anyway.

This quilt is mostly applique, but there are a few pieces blocks too, most with an applique on them. I used mostly all scraps of fabric to make this quilt. All the applique and pieced blocks were from my scrap bags. I had to use up some fat quarters and yardage for the background fabrics after I ran out of the scraps for the background.


2 pumpkins.

The Picnic Basket. I added a ribbon instead of fabric on the basket.

Love these 2 chickens.

Pieced flag with applique star.

Bee and a bird, so cute. The bird's wing is a fabric from my mom's quilt shop back in the mid-70's! I just had a few scraps left of this fabric. Since my mom passed away in October of 2016, I wanted to add some memory of her to this quilt. She would have loved to be able to see this quilt. A couple of the ribbons I used she had given to me decades ago too.

Nice floral block.

I love the different Churn Dash blocks, each with a different applique in the center. Just love this chunky bee.

3 flowers in pots.

3 flowers in one pot. I used a polka dot ribbon for the top of the pot rather than cut fabric. I used different ribbons in various blocks, which was a great way of finally using up some of those decades old ribbon! The watering can and the flag bunting also I used ribbon on (no close-ups of those).

The Bee (instead of Ball) canning jar made into a pincushion. The black gingham is a ribbon too.

Single chicken is looking for those other 2 chickens.

3 trees.

The truck, trailer and dog with the 5 little birdies I added below instead of the Bee Happy wording. My little birdies must have been moving around, so they are not aligned up very straight! The red with green dots on the truck bumper area is also ribbon.

3 spools of thread.

On top are the canning jars. The 1st one and the last one I used ribbon instead of fabric (those 2 ribbons were given to me by my mom decades ago). I also used rickrack for the stem of the flower.

A single flower in a pot.

2 cupcakes with double stacked button cherries.

Ah, a cool glass of lemonade with a straw and cherry, just the thing for a hot summer's day!

I hope you like my version of Bee Happy, I know I sure do.

There are many more blocks I did not get close-ups of, so look carefully at them all.

Pin It Now!

Thursday, March 29, 2018

Small Arabesque in Blues

I made another small Arabesque Bag in blue fabrics and I added a back zippered pocket too. This is a free pattern from Sara of Sew Sweetness. I reduced the size of the bag to about 80% of the original bag size. I also sewed vertical, rather than horizontal stripes. I think this is a really nice size bag and a great looking bag too. I have this bag in a gift shop right now, so I think it might sell soon. If anyone would like me to make a bag like this in colors of their choice, just email me and let me know and we can discuss the colors and price.

This is the front of the bag.

Side view showing the bag's depth. I also quilted it in wavy lines too.

Bag has a zippered closure and I added a handmade charm to the zipper pull.

The view from the other side of the bag.

This is the back of the bag.

I added a zippered pocket on the back of the bag, along with a homemade zipper pull. I also added some rivets on the strap band on the front and back of the bag too.

Inside the bag there is a slip pocket that I divided to add a pen pocket. Love this cheerful lining fabric!

Pin It Now!

Tuesday, March 27, 2018

Jade Bag

I made this Jade Bag a few months ago. I am so behind in blog posting! The Jade is a free pattern by Liz of Moments Designs. I made this Jade with an adjustable strap, rather than a fixed strap since I am selling this bag and I don't like straps to be too short or too long for someone.  I prefer making them adjustable so the person purchasing the bag can decide how long she wants the strap and if she likes wearing it on her shoulder or across her body. I also used fleece instead of the suggested foam for making this bag. It is a surprising roomy bag.


The side view to show the depth of the bag.

View from the other side,

Inside are a few slip pockets and a zippered pocket too.

A homemade zipper pull.

The front slip pockets are pleated giving you more space for items and the pockets behind them are regular slip pockets.

The back of the bag.

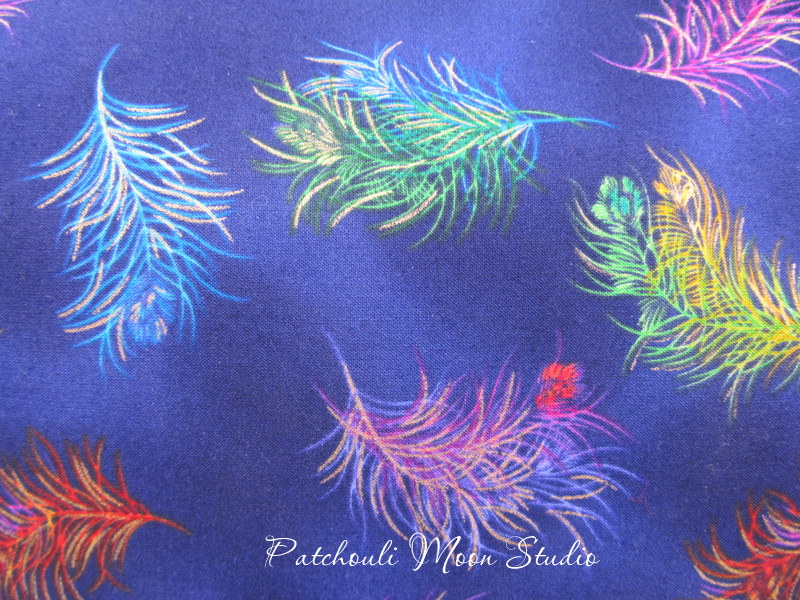
Close-up of the feather print fabric.

Looking down on the zippered closure of the bag with a handmade charm added to the zipper pull.
This bag sold on 4/22/18
Pin It Now!

Monday, March 26, 2018

Rover Passport Wallet

This was actually the first Rover Passport Wallet I made. I had forgotten to take a photo of it when I took it to the gift shop last year. Well it didn't sell and everyone had to take all their items back that hadn't sold at the beginning of the year because the building needs extensive renovation. The gift shop still has not reopened and may not until April or May. So I was able to photograph this passport wallet and show it to you. The Rover Passport Wallet is a pattern by Genycartes Sewing Patterns and you can find all her patterns on Craftsy. She has some free patterns as well some you pay for, so see them all here.

I purchased the Rover Passport pattern last year and have made a few of them. They are fast and easy to make and you can use up small bits of fabrics too. I really like this pattern. It's smaller than the other passport wallets I have made, but still has pockets to hold passports, cash, ID and more.

A nice big flap with a magnetic snap folds over to keep items secure.
This is the back of the wallet.


Opened up to see you have a pocket on the left and the right large enough to hold a passport on each side or cash. Another pocket where the red fabric is can hold ID's or cash.

I love the look of the angled and curved pockets. You can use all one fabric or several smaller fabric pieces, making it scrap friendly.

Opened up showing the back of the wallet.

You could add a zippered coin pocket on the back or inside if you wanted to. Or use Velcro to close instead of a zipper. Lots of other ideas for making changes to customize it for yourself, or just make as instructed too as it is a fun sew and makes a great gift.
Pin It Now!
Related Posts Plugin for WordPress, Blogger...