Friday, December 31, 2021

Happy New Year 2022 & Email Subscriptions to My Blog


I want to wish you all a wonderful New Year (let's hope it is) in 2022.

I also wanted to let you know that I finally got the Follow.it email subscription to work on my blog. I tried to install it before but wasn't techy enough to understand some of the steps and how to do it right. Thank goodness for techy blog people who write great tutorials because I was finally able to follow this great tutorial to get it to work. Thanks so much SofanMax!

The email subscription box is on the right sidebar with the turquoise/pink/purple color. Just type in your email address (make sure you typed it correctly) and click subscribe. Follow.it will email you to activate the subscription to my blog and you just need to click on that. Then when I post you get the full blog post in your email inbox. 

Thank you to all my followers (however you follow me), I greatly appreciate it. 

Being on both the Crafter's Edge Design Team and the Therm-O-Web Design Team is certainly keeping me busy creating and I hope that you like what I create and are inspired by it to create something of your own. 

I also appreciate those who have purchased some of my creations from me too. Even if I don't list some items I make for sale, I may want to sell them. I often have some of my works in a gift shop to sell too, so if you see something I have made and would like to inquire about whether it is something I have for sale, please email me and ask. My email is on the right side bar too or use the Contact Form. Same goes for having something custom made, like a bag, please contact me. 

Cheers!
Pin It Now!

Thursday, December 30, 2021

Valentine Heart Dream Catcher

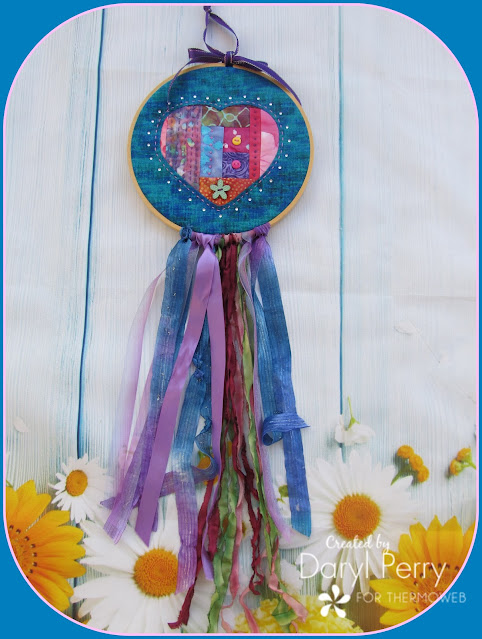
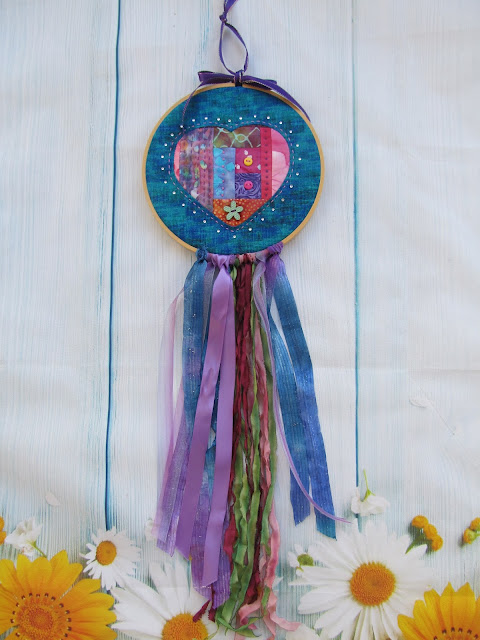
It's Love is in the Air week over on the Therm-O-Web blog.  I am thrilled to be on the Therm-O-Web Design Team and this is my first Therm-O-Web project that I made to share with you. I created this Valentine Day Dream Catcher using a small embroidery hoop and a bit of fabric, ribbon yarn and crystals. You can check out the full tutorial on the Therm-O-Web blog.

The heart is a reverse appliqué technique and the scrappy piecing is a great way to use up small bits of fabric. Choose the size embroidery hoop you want to use to make this Dream Catcher. While not a traditional Dream Catcher, this embroidery hoop art has the feeling of a Dream Catcher.


I added hotfix crystals, buttons, a bit of hand embroidery in straight stitches and French Knots.

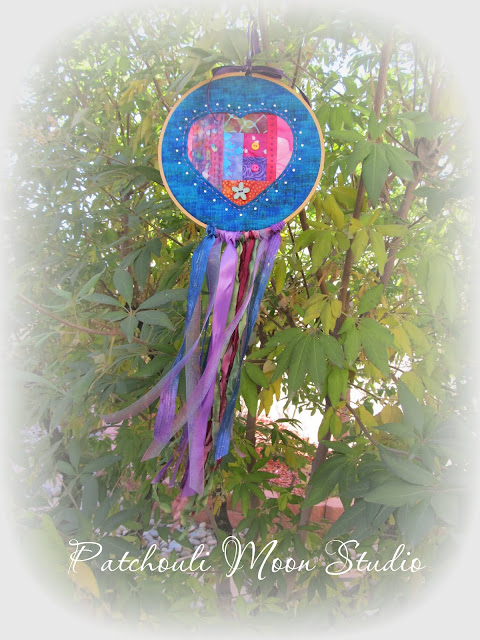
Looks great blowing in the breeze on a tree.


Please check out my tutorial on the Therm-O-Web blog.

https://follow.it/patchouli-moon-studio?action=followPub Pin It Now!

Wednesday, December 29, 2021

2 Neck Pillows

A few months ago I made a couple of neck pillows. The reclining chair I sit in came with a flat pillow that attaches to the back of the recliner, but it didn't feel right or offer neck support. In fact, I felt like my head was pushed forwards in an awkward position. I took that pillow off the recliner, but it didn't help or feel comfortable at all. 

Then along came Sew4Home Newsletter in my inbox one day with these 30-Minute Therapeutic Neck Pillows that looked like just the ticket. It's just another great FREE tutorial from Sew4Home. (Be sure and sign up for their newsletter). I made one and loved it and made a another one for Mr. P., although he preferred his travel pillow, so I use the second one in bed when I am lying down and reading because it supports my neck and feels so good.

The first one I made in a soft cotton flannel fabric and the second one I made in a lightweight denim fabric. The flannel is soft and warm, so I will probably switch to using the denim in the warmer Spring & Summer months as my neck will be too hot with the flannel. But these are so fast and easy to make, it isn't a problem to make more than one.

These pillows are a fun dog-boned shaped pillow, which is great because no matter how you grab it and put it behind your neck, it is always in the right position.

The neck pillow in flannel. The ribbon at the sides is for grabbing on and it really is helpful to have the ribbon.

This is the lightweight denim version. I used a Twill tape for the ribbon.

Both together side-by-side.
Pin It Now!

Monday, December 27, 2021

Extra Large Podlet Fabric Basket

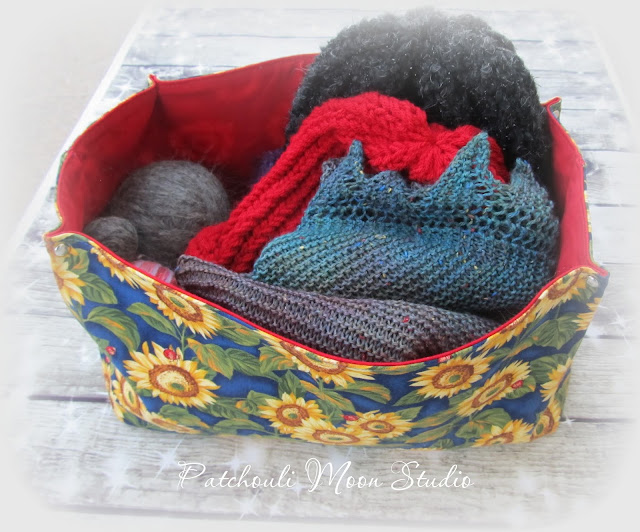
I wanted to make a large basket to hold my wool balls that I use in the dryer when drying clothes (in lieu of fabric softener). I was using the large size Podlet basket (Free pattern by Spencer Ogg) that I made to hold the wool balls, but it wasn't large enough, so I experimented in making an extra large size Podlet. It came out larger than needed, so I also toss in my mittens and hats and scarf in the basket this time of year too. The basket sits on top of my dryer.

Since I wasn't sure what size to make, I doubled the measurements of the large Podlet, but after fusing the interfacing on the back pieces and noticing my cutting wasn't quite straight, I trimmed the pieces down enough to make them all the same size, so it wasn't quite double size, but close. 

After making this size basket, the basket wasn't quite as rigid as I would like. I think that was due to this larger size and that I used woven cotton interfacing only. Because of how this basket is constructed, I couldn't really add a heavier stabilizer to it or it wouldn't fold or would be too thick in the seams to sew. I decided to add rivets to all four corners to help to keep the shape of the basket a bit. That helped, but still not perfect. Oh well, it does the job and was so quick and easy to make.

I have seen people on the Spencer Ogg Facebook Group show off their Podlets of various sizes and some have made huge Podlet baskets, so I thought this one I made would be fine. Maybe they used stiff material or different interfacing? 

My extra large basket measures 12" wide x 7" high x 6" deep.

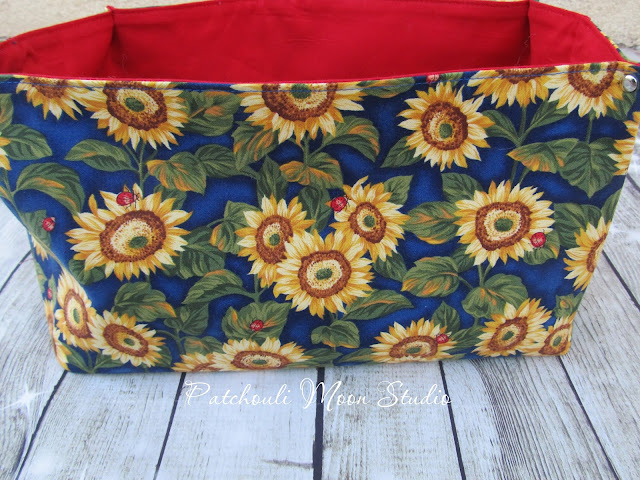
Lots of room in this basket.


If you look closely at this fabric, you will see there is a direction to the fabric. The stem and leaves are the main thing that have a direction. So I had to cut the fabric in half and place them in the correct orientation, but I didn't quite have enough fabric so....

...I had to sew a strip of blue fabric on the bottom. Now the leaves and stems will be the correct way on both sides of the basket and not upside down on one side.

The wool balls, hats and a scarf fit into this basket that lives on top of my dryer.
Pin It Now!

Wednesday, December 22, 2021

Scrappy Sock Yarn Knit Hat

I knit this hat using up my leftover sock weight yarn. It's a fun scrappy looking hat. The hat came out a bit too large, so I donated this one to the library's Giving Tree too.  


I kind of like the scrappy look of this hat, so I might make another one, but knit in  a smaller size. The hat would have a different look each time it was made, depending on the yarn colors that were used.

Pin It Now!

Monday, December 20, 2021

Close to You Hand Knit Scarf #3 in Blue-Green Variegated Yarn

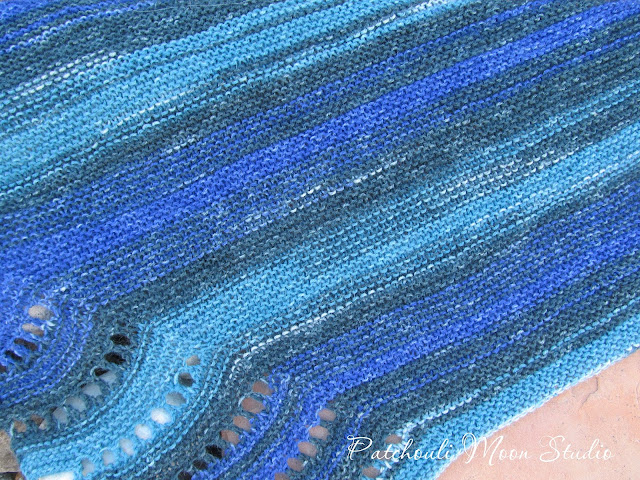
I love knitting this scarf. This is the 3rd one I have knit. It uses fingering weight yarn and looks great in so many colors and types of yarn. The first one I knit was an alpaca/wool blend in a soft variegated pastel blue-violet colors. Then I knit a solid pink 100% alpaca one and this one is a wool/acrylic blend. 

On the first one I knit, I followed the picot bind off, but the last 2 I did a regular bind off without the picot edge. It was much easier and I personally didn't think the picot added anything to the scarf. This is a free pattern if you want to knit your own scarf. You can find the pattern here on Ravelry.


I am starting a different knit scarf tonight. I just finished a hat knit with cables last night. Happy Knitting and keep warm.
Pin It Now!

Saturday, December 18, 2021

Loom Knit Hats & Hats Knit with Knitting Needles

I wanted to make some hats quickly to donate, so I thought I would buy a set of round looms for knitting that come in 4 size looms. The round looms will knit size newborn to adult, depending on the size loom chosen. I made one newborn size (the smallest loom), a couple of adult sizes (the largest loom) and a couple in the second largest size, which can fit a teen or smaller adult head (like mine).

Well maybe it's me, but these hats didn't knit up as quickly as I thought or as others online said they would. Most people say it takes about an hour to make a hat. Well the newborn hat was quick to make, but the 2 largest size loom hats took me hours to make! 

Loom knitting uses bulky weight yarn (or 2 strands held together of a worsted weight yarn to = a bulky weight yarn). The knitting on the loom is easy to do, but I found hurts my hands after a while, especially holding the largest loom. It also uses more shoulder power as I was using my entire hand and arm to lift the yarn over the pegs. I came to the conclusion that my regular knitting on knitting needles is much more satisfying and easier on my body. Plus, if I knit normally in a bulky weight yarn, it knits about as quickly as loom knitting.

There are certainly pros and cons for loom knitting versus knitting needle knitting. I will list these below. This is only my personal opinion after having tried loom knitting and you may be a die hard loom knitter, so please continue loom knitting if that is your thing.

Loom Knitting versus Knitting Needle Knitting 

 Pros of Loom Knitting:                                     

  1. Easy to do for the basic knitting
  2. Quick to learn the basics
  3. Loom set of 4 is inexpensive
  4. No need to knit a gauge first, just choose the size round loom that will knit the size hat you desire
Cons of Round Loom Knitting:
  1. Hard to hold and use for long periods of time
  2. Harder on your body to knit, especially for long periods of time
  3. Knitting other stitches is awkward and more tedious to do
  4. Takes up more room to store than knitting needles
  5. Awkward to take with you to knit when traveling or in a group
  6. Only uses bulky weight yarn
  7. Hats are less fitted on the top as there are no decreases (yarn is drawn together like a drawstring bag, leaving the top looking bunched)
  8. Will only knit in the round (I am sure you can probably knit back and forth instead of round and round, but could be harder to do?)
  9. The hook tool can sometimes be hard to lift the yarn over the peg
Pros of Knitting with Needles:
  1. Knitting needles come in a ton of various sizes, lengths, materials (wood, nylon, bamboo, metal, aluminum and plastic) and types (straight, circular, double pointed)
  2. Easy on your body to use as you mainly use your hands and you can bring your hands close to your body so as not to stress your arms and shoulders
  3. Can use any size/weight of yarn (just need to choose correct needle size to yarn weight
  4. Portable to take with you when traveling on a plane, car, etc. and to a knitting group
  5. Can knit dozens of different patterns for texture
  6. Can knit in the round or knit flat, depending on what you are making
  7. Needles don't take up as much space unless you own hundreds of needles, but even then you could place them all in a small box or bag

Cons for Knitting with Needles:
  1. Must knit a gauge for anything that needs to fit, such as a hat, sweater, mittens, etc.
  2. More expensive if you will knit using various yarn weights, since you will need to have the correct size needles 
  3. Needs more tools such as a yarn gauge, stitch makers, stitch holders, cable needle, etc.
  4. Knitting in the round requires either double-pointed needles in various lengths, or 2 circular needles in the same size, or one long circular needle (doing the Magic Loop method), which means buying or having a lot more knitting needles on hand
  5. Costs more money due to the variety of needles you need to have and the tools you need to have on hand
Again, those are only my opinion and I have been a knitter using knitting needles for a much longer time, so perhaps I see the advantages of knitting needles more than as a beginner Loom knitter?

I knit this hat using knitting needles. It was a cable knit hat, but because this is a bulky weight yarn that was very soft and fuzzy, the cable stitches really didn't show up. I knew better, but I guess I wanted to knit this hat anyway.


Another fuzzy yarn that I knit with knitting needles, but no cable stitches.


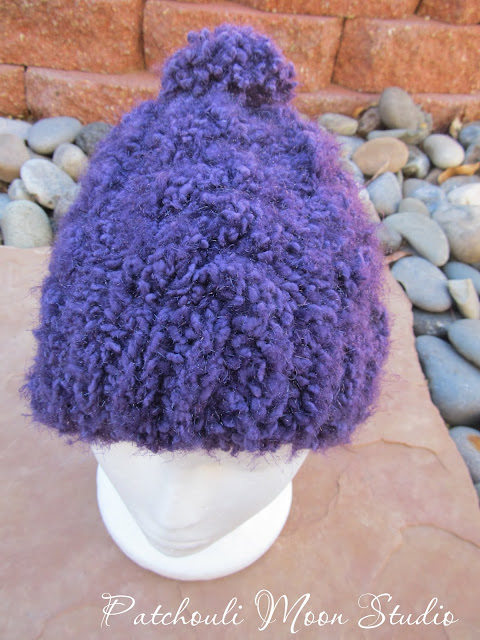
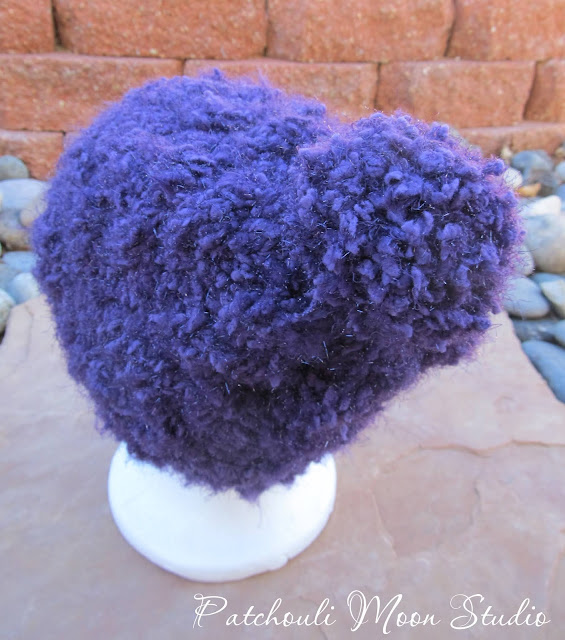
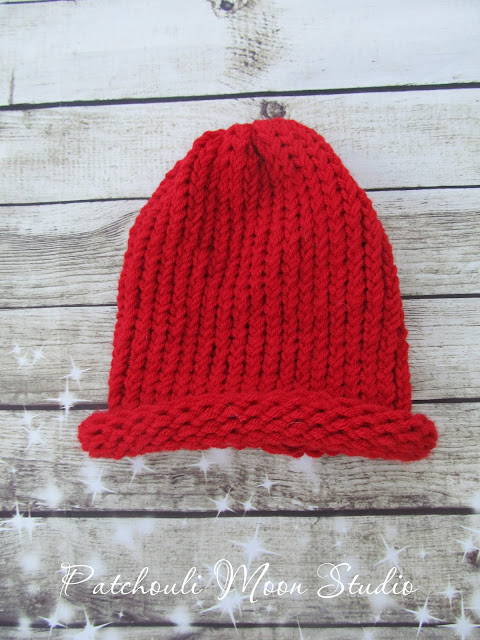
These are my first two loom knit hats. I started with the smallest round loom and knit the baby hat on the left. Then I knit the largest round loom in red yarn (I doubled a worsted weight yarn) and folded up the cuff and knit it in. I think I should have knit more rounds before making the cuff.

This yarn is bulky with a sparkle to it, but not bulky enough, so I added a fuzzy yarn and knit both together. I loom knit this hat. The double weight was harder on my hand s to loom knit.

You can see the sparkle and fuzzy yarns together here, even though the sparkle doesn't quite show as well on camera.

I used a double yarn of worsted weight to create a bulky weight and loom knit this hat. I let the bottom curl on this one, rather that make a brim.

I only had a bit of the purple yarn (leftover from the first hat above), so I knit the brim in purple and then added the black yarn to finish the hat. This is loom knit.

My last 2 loom knit hats together. 

I will go back to knitting needle hats for now, but it's nice to know I can easily knit a loom hat when I want to. Do you have a favorite method of knitting or do you have a favorite look?

I donated these hats, along with other scarves and hats I had knit to the Giving Tree at the local library to give to the local food banks. 


Pin It Now!

Tuesday, December 14, 2021

3 Car Trash Bins

I made 3 car trash can/bins. I made one for our car, one for a friend and one for my daughter. These are fast and easy to make and very large too!
I used cotton fabric for the exterior and fused woven interfacing to the exterior pieces. I used a waterproof canvas for the lining, so they are easy to clean. Instead of using Velcro I added a plastic Kam snap. These snap around the head rest of the car, or through the head rest opening. Our head rest is wide, so I snapped it through the opening in the head rest, but I was able to snap it around the base of the head rest in my daughter's car. The pdf and video is by More Me Know and it's free.

I had just enough of this fabric left to make this one. Since hubby commented he liked this fabric, I decided to use it to make this one for our car. 


Gray waterproof canvas for the lining.

I made this one for my friend, Tara, who has been working so much and in her car a lot. It's such a nice big size that she decided to use it to put her books on tape into this, since she listens to them while driving all over the state.


Tara asked for Jewel Tones and this fabric had those colors, so I chose the fuchsia waterproof canvas lining to pick up the pick of fuchsia color in the print.


I made this one for my daughter. She wanted a burnt orange, but didn't like any of the orange fabrics I had. So I showed her some yellow and she liked this one. 

I love how this one turned out!

A bright yellow waterproof canvas for the lining makes the fabric print pop more. I could have used gray lining, but it would have toned down the print more. 


These made some great & useful gifts. 


Pin It Now!
Related Posts Plugin for WordPress, Blogger...