Showing posts with label fabric scraps. Show all posts

Thursday, March 3, 2022

Mini Scrappy Fabric Round Wreath

I made a mini size round fabric wreath using the leftover 1" fabric strips I had already cut out when I made my Heart Shaped Fabric Wreath. I cut out a lot of strips initially because I wasn't sure how many I would actually use. I still have a few strips left after making this mini version.

The wire wreath foundation came as a 2-pack that I bought at Dollar Tree for $1.00 + tax. Dollar Tree is now charging $1.25 for everything in their store and I noticed when I was out the other day that the sign that used to be under the Dollar Tree sign is now covered up. It used to read, "Everything is a Dollar (or something like that). Prices just keep going up everywhere. 

Anyhow, back to the wreath. On the heart wreath I tied the knits on the wire frame in a loop fashion by folding in half and placing the raw short ends through the loop and wire and pulling. On this wreath I just tied once like you would do if you were tying a shoelace, before making the loops in the laces, make sense? The mini wreath looked fuller making the knots like I did, where as the loop method has a bit more space around each fabric because the loop takes up more space I suppose.


This is a great scrap stash buster to use up small pieces of fabric. For this and the heart wreath I cut 1" strips, using my Crossover II die cut machine by Crafter's Edge and the 1" die cut strip and then I sub cut the strips into 6" long. You want vary the width and length of the fabric pieces to suit your taste. I used batik strips on this mini as well as the heart shaped wreath. Batik fabrics fray less when handled, but some people like that frayed edge look, so keep that in mind if you make your own wreath.

I used the 1" Strip die cut here.

The Crafter's Edge Crossover II Die Cutting Machine


Pin It Now!

Friday, January 21, 2022

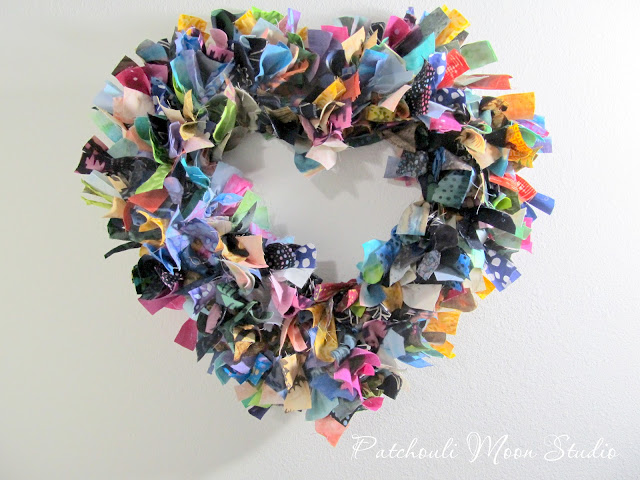
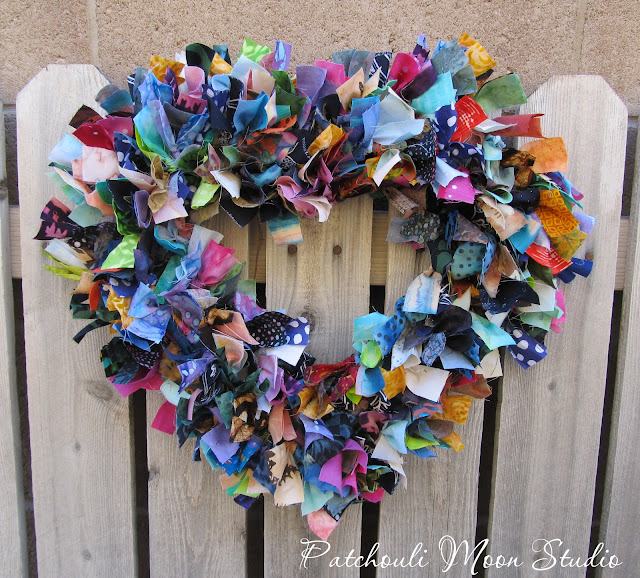
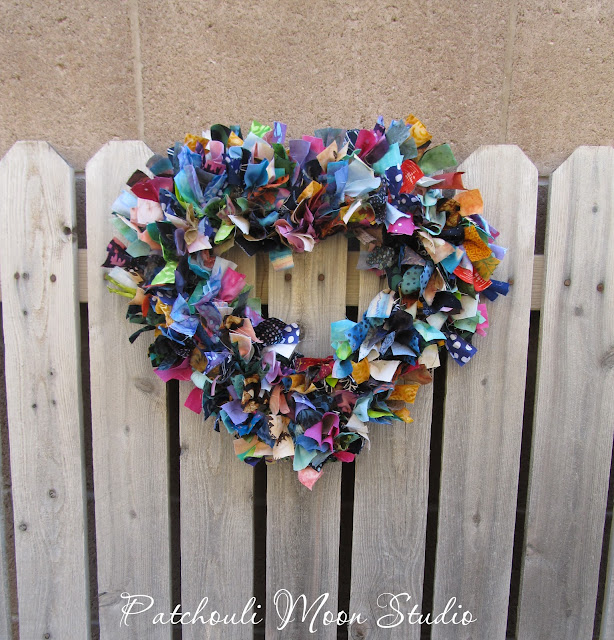
Heart Shaped Wreath with Scrappy Batik Fabrics

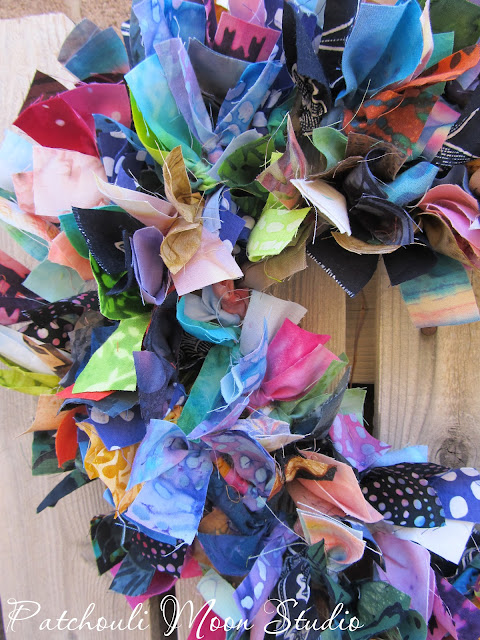
Recently I saw a beautiful round wreath on Instagram that was made with fabric scraps. I loved the look and thought it was a wonderful idea for using up small bits of fabric scraps. The woman who made her wreath said she cut 1-inch x 6-inch strips of fabric and tied the strips onto the wire wreath frame and packed them tightly. So I decided to use my batik fabric scraps and cut them into the same size strips. I cut everything in my scrap bag that was at least 6" long. I counted the strips as I went (just curious as I had no idea how many strips it would take). I had 755 strips in total, but I didn't cut up the larger scraps in my scrap bag just yet. I placed the strips into a small fabric basket I made and I didn't even use up 1/4 of the strips I cut to make this heart wreath.

I went to the Dollar Tree (DT) store because I remember seeing wire wreaths there. The local DT had a set of 2 round mini size wreath wires only. I bought them since that's all they had. Then while I was out that day, I stopped at another DT to see if they had a large round wire wreath, but they had a heart shaped one and the set of 2 mini rounds ones. I bought the heart shaped one. Maybe one day I will find the large round one, but I did like this heart shaped wreath too. 

I didn't want to use only red, pink or purple fabrics because that would look too Valentine's Day only and while I like those colors, I wanted something I could keep up all the time, so scrappy colors I thought would work best.

I read lots of tutorials and watched YouTube videos about making these fabric wreaths. Each did things a bit differently. Not only did I see the wire wreaths being used, but one person actually bent a wire hanger into a round shape and kept the hook of the hanger in place to hang it up by. That was a great idea and you only had one wire to cover instead of 3 to 4 tiers of wires as in these wire wreath forms.

I also saw some use green Styrofoam round wreaths and tie longer and wider cut strips to the wreath. I saw some cut squares of fabric and push a pin into the middle of the fabric and attach to the Styrofoam so each square had a gathered fluffy look. I liked that look too. FYI: DT also sells the Styrofoam wreath, but they are more medium size.

All the tutorials I read or watched cut different widths and lengths of fabrics, so I guess you have to decide what to cut based on the look you want the size wreath form you buy, etc. 

Then there were several ways of tying the fabric strips on too. There is a simple tie like the first part of tying your shoelaces, just cross the fabric on top of the other and pull it under, that's it. Another method was to tie a square knot: right over left and left over right and pull. There was the loop knot, folding the strip in half and putting the 2 ends of fabric through the loop (around the wire) and pulling. I decided to do the loop method for my first wreath here. What I also read was the loop method isn't as fluffy as the others, but it seemed easier to do. I think on the next wreath, I will do the first method I mentioned above.

I do love how it turned out and I really packed on the strips tightly too.


So there you have it, a great fabric scrap busting project. No sewing involved and it only cost $1.00 for the wreath form at DT. 

To make the fabric cutting easier, I used my Crossover II Die Cutting Machine and the 1-inch strip cutting die to cut a variety of scraps into 1-inch widths first, then sub-cut to 6". It's not an exact science, so if some widths or lengths weren't exactly to size, you wouldn't know in this project.
I used my Crossover II Die Cut Machine.

I used the 1-inch strip cutter.


Pin It Now!

Monday, September 3, 2018

Sew a Scrappy Background Tutorial

I have been working on writing a few patterns and today I am sharing a FREE tutorial on how to Sew a Scrappy Background with you that can also be used as the background for the Patchwork Fabric Folder, that is my newest pattern.


We all have scraps piling up and sewing them together to create a background adds interest to your quilt or other small project as well as a great way to use up that never ending pile of scraps!


Not only can you use this scrap sewing method as a background for applique, but by using darker fabrics and prints, you can create a unique quilt all by itself. My tester Maria did just that and will be turning her scrappy creation into cushions.

Maria's Scrappy Blocks.

Make your blocks any size that you want. Sew more than one block together to create a larger piece, it's all up to you and your imagination.

Go to Craftsy and download your FREE Sew a Scrappy Background Tutorial and start using up those scraps today.

Pin It Now!

Tuesday, February 18, 2014

The Rose MacClare Batik Fabric Knit Bag

Recently, I cut my batik and hand dyed fabric scraps into 1/2" wide strips (on the straight of grain). I blogged about that here. Then I spent hours and hours and days and days knotting those strips together to create a huge ball of yarn. I knotted fabric strips together while I binge-watched all 3 dvds of season 4 Downton Abbey and still I had only knotted about two-thirds of the fabric scraps. I watched other dvds too while I continued to knot the scraps together. Finally I had a huge ball of fabric yarn made. Since most of the yarn was made while watching Downton Abbey, I thought perhaps I should name the bag I knit after one of the characters. Since the batik fabrics are bright and kind of wild, the character I thought of, of course, was Lady Rose MacClare. So I named this bag that I knit The Rose MacClare Bag. Rose doesn't like to be called "lady" as you know. I couldn't just name it Rose because you might think I named it after the flower or the color and there are certainly more colors in this bag than just rose.

I used batiks because they do not unravel as much as other fabrics do and the color is the same on both the front and back of the fabric too.
I wanted to line this bag and when I made the lining it came out a bit too small width-wise. So I suppose now I will have to make another bag that will fit the lining, lol!!! I will try and measure the lining fabric correctly so that I will be able to line this bag too.
This is the other side of the bag. As you can see it has a variegated look because I had soooo many scraps! I knit i-cord handles.
I even had enough batik yarn leftover that I knit a small purse-style bag. I need to finish it and I will post it when it's done. I really like how this bag came out and what a great scrap-busting project it is too.

Pin It Now!

Tuesday, February 4, 2014

Batik Scraps and a New Project

I am probably crazy for cutting up 100's (or is it thousands?) of batik scraps into 1/2" wide strips, but I have an idea and I wanted to start by using my scraps rather cutting up perfectly good batik yardage (in case this idea doesn't work out as planned). Plus I want a scrappy and colorful look for this hair brain I mean brilliant idea! Okay it all started when I was reading a blog I follow called Made by Me in Red. Marcy had knit a couple of bags made out of batik strips. That of course got me thinking. I have a book about knitting with fabric strips, so I took it out and as I was looking at the book, the wheels started churning and I thought I could cut up that huge bag of batik and hand dyed fabric scraps that I have into 1/2-inch strips and use those to create the yarn I needed to knit a bag. I am not sure what bag style I will knit, but this will be a great way to use up those batik scraps and if it comes out great and if I want to make another knit bag, I might save myself a lot of time and cut up batik yardage. But if it doesn't work out the way I plan, then I will have invested only my labor. After all I will continue to acquire fabric scraps with my quilt making and other bag making projects anyway and this could be a great way to use up some of those scraps. This is going to take me quite a while to slit-knot all these strips together to create a huge ball of yarn, but the knitting should go quickly. I hope to line the bag with some pockets as well. But for now at least the strips are cut.
My basket is overflowing with 1/2" wide batik strips of all different lengths.
This will make a very colorful bag...if I ever get all the strips slit-knotted together into one huge ball of yarn. See what you started Marcy? Lol!!!
  Pin It Now!

Monday, June 11, 2012

More Scrap Bags

I made some more bags to hold my various scraps. I use the scraps to make the bags and then fill each bag with the type or color of scraps that I used. I made a label for each bag too that I printed using the computer printer. I finished these bags yesterday. Today I'll be working on my pink, purple, white/off-white bags, and a couple of small bags where I just used my scraps to make the bags. I'll post those tomorrow. I also came up with a slightly different way to sew the zippers, which is easier and better. I'll try and remember to take photos for a future tutorial for the zipper sewing. My previous bag posts are here and here. The tutorial is here.
This one is full of batik and handyed fabrics. So full I should have made the bag even larger than it is and it's pretty darn big already. Okay better get to work using more of these scraps.

Back of batik/handyed scrap bag.

See how full it is inside.

When I laid this bag down and because it's so full of scraps, I think it could actually double as a pillow in a pinch.

Here is the orange/rust & yellow/gold scrap bag.

Back of the bag.

I made this Mulitcolor Scrap Bag bag smaller, but it's stuffed full of scraps.

Back of the bag

Pin It Now!

Thursday, March 15, 2012

What to do With Fabric Scraps

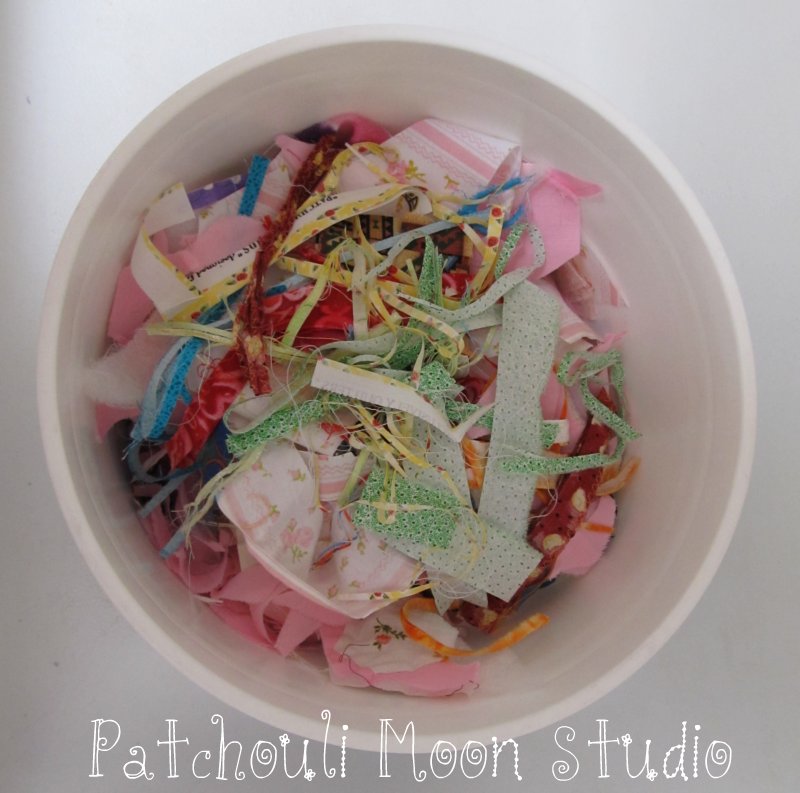
I am a scrapaholic and save every single piece of fabric. The larger fabric scraps I use in something creative like a quilt or bag, but the tiniest scraps end up here in this bucket.
Here is my bucket of scraps. I throw all the tiniest scraps of fabrics into this bucket. You know all those trimmings from whatever I am sewing. Plus all the thread snips and then there are the batting scraps and tidbits of yarn. What do I do with these you might ask?

I make pet beds out of whatever fabric I might have that is sturdy enough for the exterior fabric. This one is a polar fleece fabric. I have used upholstery-type fabric and old blue jeans that I cut the legs off to make a pillow and sew it into a bed. I donate the beds to a no-kill cat shelter. I stuff the beds with all those fabric/thread/batting scraps that I toss into the bucket. The beds can be easily washed and the stuffing doesn't all lump together into a blob like polyester stuffing does if you have ever tried to wash a pillow stuffed with poly stuffing.
If you want to make a pet bed and stuff with your fabric scraps, just follow my tip for making a pillow HERE and stuff with scraps, sew the opening closed and that's it. Simple, huh? Plus you will be recycling, upcycling and re-purposing all at the same time! Pin It Now!
Related Posts Plugin for WordPress, Blogger...