Recently I saw a beautiful round wreath on Instagram that was made with fabric scraps. I loved the look and thought it was a wonderful idea for using up small bits of fabric scraps. The woman who made her wreath said she cut 1-inch x 6-inch strips of fabric and tied the strips onto the wire wreath frame and packed them tightly. So I decided to use my batik fabric scraps and cut them into the same size strips. I cut everything in my scrap bag that was at least 6" long. I counted the strips as I went (just curious as I had no idea how many strips it would take). I had 755 strips in total, but I didn't cut up the larger scraps in my scrap bag just yet. I placed the strips into a small fabric basket I made and I didn't even use up 1/4 of the strips I cut to make this heart wreath.
I went to the Dollar Tree (DT) store because I remember seeing wire wreaths there. The local DT had a set of 2 round mini size wreath wires only. I bought them since that's all they had. Then while I was out that day, I stopped at another DT to see if they had a large round wire wreath, but they had a heart shaped one and the set of 2 mini rounds ones. I bought the heart shaped one. Maybe one day I will find the large round one, but I did like this heart shaped wreath too.
I didn't want to use only red, pink or purple fabrics because that would look too Valentine's Day only and while I like those colors, I wanted something I could keep up all the time, so scrappy colors I thought would work best.
I read lots of tutorials and watched YouTube videos about making these fabric wreaths. Each did things a bit differently. Not only did I see the wire wreaths being used, but one person actually bent a wire hanger into a round shape and kept the hook of the hanger in place to hang it up by. That was a great idea and you only had one wire to cover instead of 3 to 4 tiers of wires as in these wire wreath forms.
I also saw some use green Styrofoam round wreaths and tie longer and wider cut strips to the wreath. I saw some cut squares of fabric and push a pin into the middle of the fabric and attach to the Styrofoam so each square had a gathered fluffy look. I liked that look too. FYI: DT also sells the Styrofoam wreath, but they are more medium size.
All the tutorials I read or watched cut different widths and lengths of fabrics, so I guess you have to decide what to cut based on the look you want the size wreath form you buy, etc.
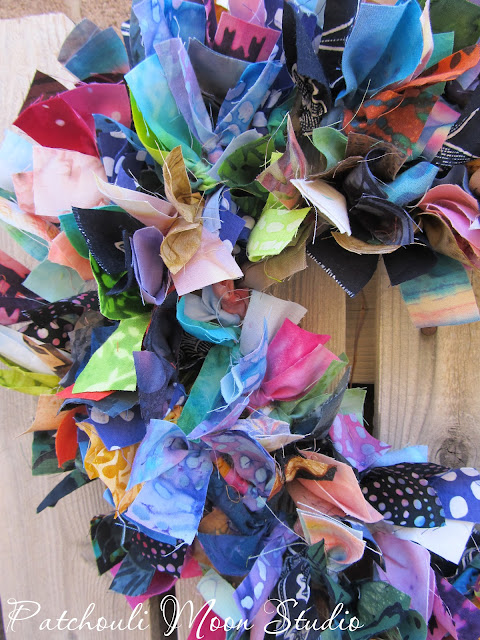
Then there were several ways of tying the fabric strips on too. There is a simple tie like the first part of tying your shoelaces, just cross the fabric on top of the other and pull it under, that's it. Another method was to tie a square knot: right over left and left over right and pull. There was the loop knot, folding the strip in half and putting the 2 ends of fabric through the loop (around the wire) and pulling. I decided to do the loop method for my first wreath here. What I also read was the loop method isn't as fluffy as the others, but it seemed easier to do. I think on the next wreath, I will do the first method I mentioned above.
I do love how it turned out and I really packed on the strips tightly too.
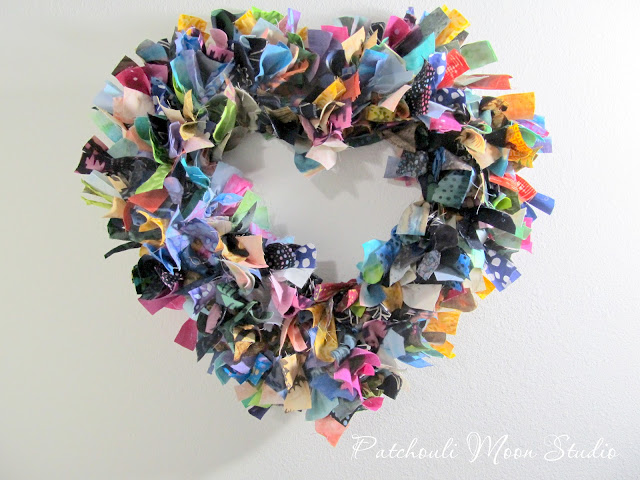
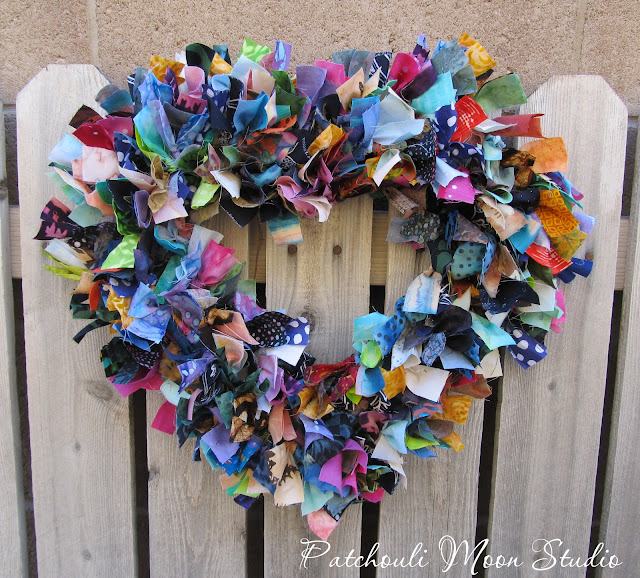
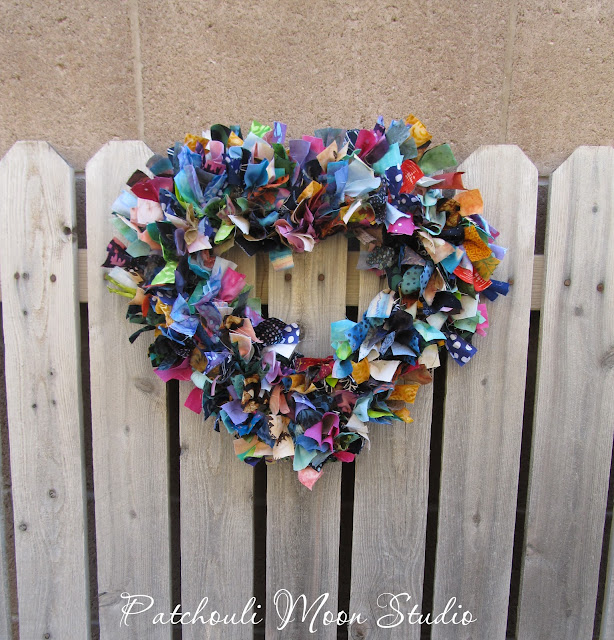
So there you have it, a great fabric scrap busting project. No sewing involved and it only cost $1.00 for the wreath form at DT.
To make the fabric cutting easier, I used my Crossover II Die Cutting Machine and the 1-inch strip cutting die to cut a variety of scraps into 1-inch widths first, then sub-cut to 6". It's not an exact science, so if some widths or lengths weren't exactly to size, you wouldn't know in this project.
 |
| I used my Crossover II Die Cut Machine. |
 |
| I used the 1-inch strip cutter. |