Monday, March 9, 2020

Twister Tote

I made this Twister Tote last month. The pattern is from Around the Bobbin. It is a fun bag to make and I love the Twister look as it's fun and playful. This is a good size bag too. It measures 15" H x 15" W x 6" D.

Lisa's instructions are excellent. If you don't have the Twister ruler or don't want to make the Twister section on the bag, Lisa shows you how to make it with just fabric instead; like using a fun novelty fabric would look great. The pattern is available in pdf or paper form. Your local quilt shop may sell Around the Bobbin patterns too, so have a look next time you are there.

And as usual I made some changes to the bag. First, I chose to use batik and hand dyed fabric instead of solid fabrics. Then I added purse feet to the bag, riveted my handles to the outside of the bag and folded over the center of the handles to form a tube-like handle for easier grabbing. Inside the bag I added a zippered pocket and a shorter slip pocket on one side and the larger pocket on the other side. I added Kam snaps to keep the slip pockets closed, since they have a wider opening.


Back of bag.

Inside is a large slip pocket on one side and a zippered pocket with a shorter slip pocket across from it. Bag closes with a magnetic snap.

I added these 2 pockets, the zippered and slip pocket with a divided pen pocket.

On this slip pocket I added a pen pocket on the left, but the remaining pocket was too small to divide it again and a bit too large as is, so that's why I added a Kam snap to keep the pocket closed when not in use or when small items are inside. If something fits that is large and sticks out the top of the pocket, that's okay.

This pocket was part of the pattern and you were supposed to make 2 pf them, but I made one and the other pockets above instead. I didn't want to divide this pocket in half as then the 2 sides would be too narrow and not as useful, so I added the Kam snap here too to keep it closed.

I added a heavy interfacing to the bottom of the bag and then added purse feet to help keep the bottom clean. 


Lisa has another Twister bag called Simply Charming Twister Tote and I hope to make that one sometime in the next few months. It's really cute too. It is a little smaller than this one. These Twister totes are so much fun to make the Twister part and so useful to turn them into a bag. It satisfies both my patchwork-quilting and bag making creativity.
Pin It Now!

Wednesday, March 4, 2020

Carry it All Tote

I tested this Carry it All Tote recently. It was designed by Daywalker Customs. There are a lot of options you can add to this tote or not, so you can really make this bag your own.

To see a variety of looks and options, check out the tester bags here.

I chose a Paris canvas style print fabric and I really love how this tote turned out.

This bag measures 16" wide x 12 1/2" high x 4" deep.

One of the options was to add an accent bottom fabric and side bottom gusset fabric, which I did because I didn't want the lighter print to get dirty.

On the back of the bag you could add a cell phone pocket or a large pocket. I decided to choose the large pocket and instead of dividing the pocket in half, I added a Kam snap and left it a large pocket that snaps closed. I placed a folder and a theme notebook in the pocket and it fit nicely.

Here is Kam snap closer.

It opens nicely and is easy to snap and unsnap.

The slip pocket inside I divided and added a pen pocket and then divided the remaining pocket in half.

On this side is a zippered pocket and I added the cell phone pocket below the zipper. As you can see this bag closes with 2 magnetic snaps, which allow this bag to open up nice and wide, yet snap closed to be secure.

I like to fold the handles in half and sew again for a few inches to create a sort of tube effect that makes it easier to grab the handles and it feels nice in the hand too.
Some of the other options were to add a chevron just above the accent bottom fabric, or to not add the accent bottom and just the chevron. I was going to add a chevron in the solid dark pink, but it just looked too busy on this bag.

Pin It Now!

Monday, March 2, 2020

Sunshine Cross Body Bag in Orange Floral & Blue

This is the second Sunshine Cross Body Bag I made. It's a free pdf from Bagstock Designs. On this bag I added another zippered pocket on the back of this bag as well as the front, and a slip pocket inside too. I love this bright orange floral fabric with the green leaves and touch of blue, so adding the blue accent fabric with a tiny paisley print for the sides and strap went so well with the floral print.


This is the back of the bag with another zippered pocket.

Inside is a zippered pocket and the added slip pocket.

I used 3 fabrics to make this slip pocket, which includes a pen pocket division and a snap, since the rest of the pocket is wider.

Unsnapped pocket is wide.


I will be bringing this one with me to sell at a small craft show in the middle of the month. If you would like to buy it before I attend the show, please contact me.
Pin It Now!

Friday, February 28, 2020

Serendipity Hip Bag in Triangle Print Fabric

I made this Serendipity Hip Bag (a ChrisW Design bag) last year. I have been making them with a straight across top instead of the curved top because it seems that most of the people who buy this style bag, prefer the straight top. I have had this fabric for so long, that I just had to use it in a bag and Serendipity Hip seemed the best bag for this print.

There is a zippered closure, zippered front pocket, and a hidden cell phone pocket behind the zippered pocket.

A zippered pocket in the front.


Back of bag.

Inside is a zippered pocket and credit card pockets with a cash pocket behind it.

Pin It Now!

Monday, February 24, 2020

The Strapfield Convertible Size Small Bag

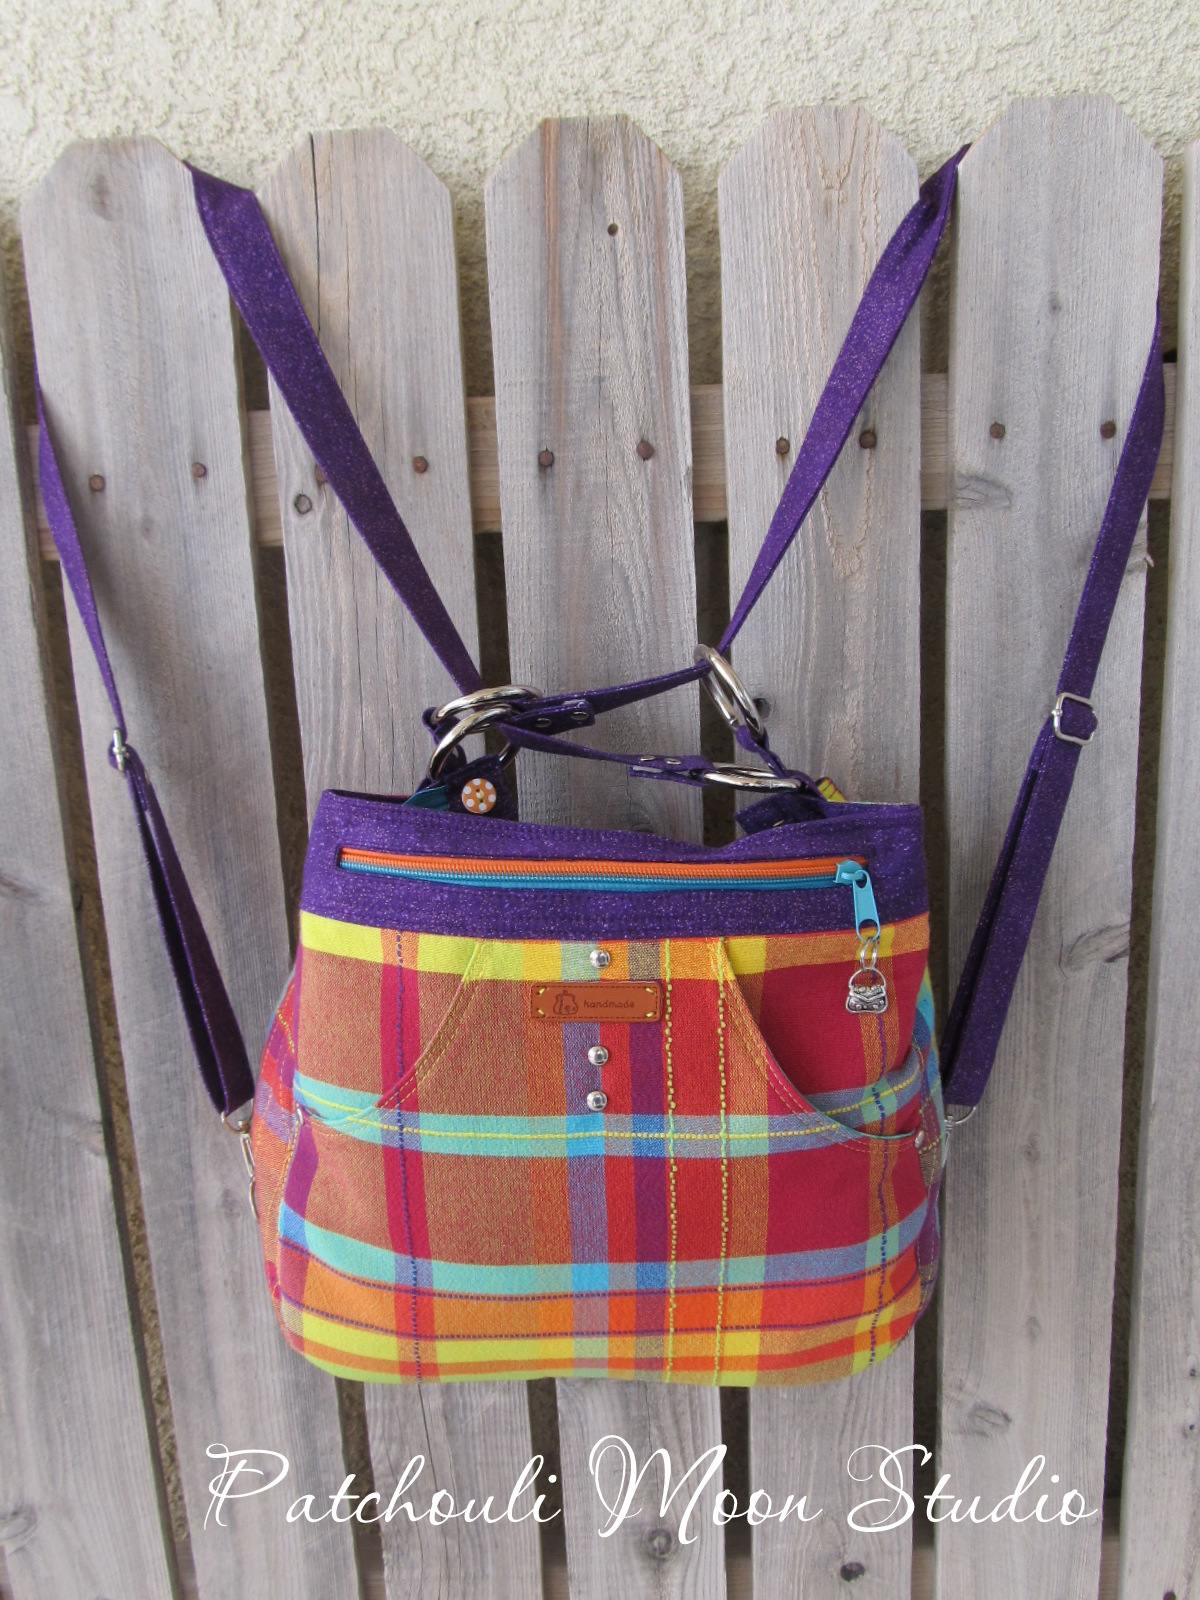
I tested the large version of the Strapfield Convertible Bag (denim with koala applique) recently and I wanted to make the small size too, so this is my small version of the Strapfield. The pattern (and video available too) is a ChrisW Design pattern.

The convertible part of this bag is that you can wear it on one shoulder, or as a backpack, or unhook the hook and re-hook into the upper rings on the bag and now it becomes a cross body bag. There are adjustable straps so you can fit it to how you like to wear the bag.

I made this one for myself, so I decided to go bright! I started with a woven plaid material (it was once a table cloth because I bought it at a thrift shop). I love this bright plaid and all the colors in it, so I wanted to use as many of the colors in this plaid in the bag itself.

I also wanted to add some of my own variations and touches to this bag. One thing I did was I took apart 2 zippers, one in turquoise and one in orange and then zipped them back together using one side of each of the colors. That added a bit of whimsy to the bag.
I added 3 rivets on the top front pocket instead of dividing the pocket in half. I used different colors and prints of fabrics for the strap, lining and the pockets too. It's so fun and makes me smile when I see how colorful it is.

So here she is, my small Strapfield Converible Bag:

The zipper I made with an orange and a turquoise zipper that I took apart and made using the 2 colors. I didn't get a close photo of the zipper end, but you can see that orange and white polka dot button I sewed onto the zipper tab end sticking up.


Like the front zippered pocket, the zippered closure I made with 2 halves of different colored zippers (turquoise and orange).

The cell phone pocket on the back of the bag is so handy and Christine has an updated way of making this pocket that is great!

Bag back.

I wanted to use all the colors that are in the plaid and so I used 2 different fabrics inside the front zippered pocket,

Inside the bag the gusset is a purple-periwinkle color and one lining side is turquoise and the other lining side is orange.

On the orange lining side, I added a turquoise pocket with a yellow binding at the top.

I quilted the bottom and side gussets. I wanted to make sure the heavy interfacing stayed in place on the bottom.


My stuff inside.

Closer look at my stuff inside. 

Straps how it would be worn as a backpack. 

Pin It Now!
Related Posts Plugin for WordPress, Blogger...