Donating this to Wrap the World with Quilts.
 |
| Top measures 45 1/2" wide x 59 1/2" high. |


Handmade Quilts~Bags~Knits & More
|
| Top measures 45 1/2" wide x 59 1/2" high. |
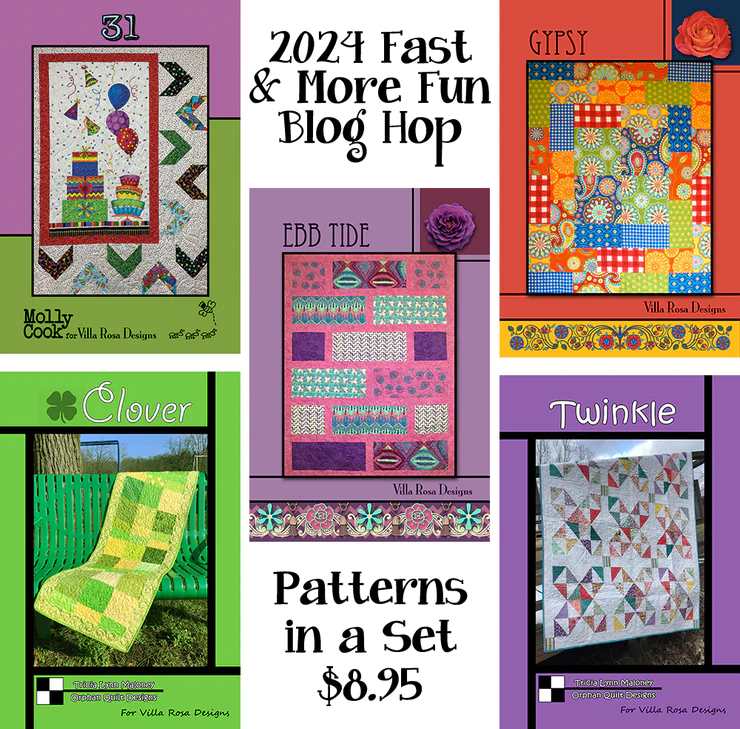
You can purchase a set of these 5 patterns. Or visit Villa Rosa website for even more great Rose Card patterns (over 600 of them). Or you might just win a set, (scroll down below for prizes).
-001.JPG "Patchouli Moon Studio~ Birds, Bears, Bunnies in Hot Air Balloons Quilt") |
| This is a perfect quilt for a baby born in New Mexico (where I live), since Albuquerque is home to the annual International Balloon Fiesta, the largest hot air balloon festival in the world, happening every October for 9 days. |
-001.JPG "Patchouli Moon Studio~ Birds, Bears, Bunnies in Hot Air Balloons Quilt") |
| I made a label and named this quilt: Birds, Bears, Bunnies in Hot Air Balloons. |
-001.JPG "Patchouli Moon Studio~ Birds, Bears, Bunnies in Hot Air Balloons Quilt") |
| Quilted in a gridded diamond using a variegated thread. |
-001.JPG "Patchouli Moon Studio~ Birds, Bears, Bunnies in Hot Air Balloons Quilt") |
| Closer look at the cute birds, bears and bunnies. |
-001.JPG "Patchouli Moon Studio~ Birds, Bears, Bunnies in Hot Air Balloons Quilt")
-001.JPG "Patchouli Moon Studio~ Birds, Bears, Bunnies in Hot Air Balloons Quilt")
-001.JPG "Patchouli Moon Studio~ Birds, Bears, Bunnies in Hot Air Balloons Quilt")
-001.JPG "Patchouli Moon Studio~ Birds, Bears, Bunnies in Hot Air Balloons Quilt")
-001.JPG "Patchouli Moon Studio~ Birds, Bears, Bunnies in Hot Air Balloons Quilt")
-001.JPG "Patchouli Moon Studio~ Birds, Bears, Bunnies in Hot Air Balloons Quilt")
-001.JPG "Patchouli Moon Studio~ Birds, Bears, Bunnies in Hot Air Balloons Quilt")
-001.JPG "Patchouli Moon Studio~ Birds, Bears, Bunnies in Hot Air Balloons Quilt")
-001.JPG "Patchouli Moon Studio~ Birds, Bears, Bunnies in Hot Air Balloons Quilt")
-001.JPG "Patchouli Moon Studio~ Birds, Bears, Bunnies in Hot Air Balloons Quilt")
Thursday, March 14
https://villarosaquilts.com/
Friday, March 15
1. Kathleen McCormick -- https://kathleenmcmusing.com/
2. Cheree H -- http://livelylatte.blogspot.
3. Roseanne Nelson -- https://www.homesewnbyus.com
4. Wendy Tuma -- https://www.piecefulthoughts.
5. C&T (Valerie) -- https://www.ctpub.com/blog/
Saturday March 16
1. Bernie Kringel -- https://needleandfoot.com/
2. Sandra Walker -- https://www.mmmquilts.com/
3. Linda -- https://www.texasquiltgal.com/
4. Debbie Huber – http://time4stitchn.blogspot.
5. SIY (Branyn/Jennifer) – https://siysewityourself.com/
Sunday, March 17
1. Carolyn -- https://quarterinchcapers.
2. Emily (Norton House) -- https://www.
3. Gail Sheppard -- https://quiltinggail.com/
4. Susan Slaton -- http://wazoonewsbits.blogspot.
Monday, March 18
1. Nann Hilyard -- https://
2. Jaftex (Jennifer) -- https://scottfortunoff.com/
3. Jan Altomare -- https://www.cocoaquilts.com/
4. Tricia – http://quiltwithaview.
Tuesday, March 19
1. Joy -- https://shout4joy-shouting.
2. Emily Leachman -- http://thedarlingdogwood.
3. Vicki S -- www.knitbug2.blogspot.com
4. Rose Mikulski -- https://somethingrosemade14.
5. QOVF (Lexie) -- https://www.qovf.org/
.tif)
Grand Prizes~
4 awesome grand prizes this year –
1. Kaffe Fassett Precuts Collection
2. $100 digital gift certificate for Hancock’s of Paducah
3. A Big Mystery Box of Quilting Goodies
4. Download of Electric Quilt 8 (this prize will be chosen by Electric Quilt)
Sponsor Prizes~
3 – Sponsor prizes
1 – Set of Blog Hop patterns from Villa Rosa
Here’s the Important Stuff you need to know:
Everyone is eligible to win prizes. Please note that winners outside the USA will receive a digital set of the 2024 Blog Hop Rose Card pattern collection.
There are several opportunities for you to win prizes during the blog hop:
WOW! That’s a lot of prizes!
Please note that to leave a comment on this blog to be registered for prizes, you will need to click on the comments link below. After you click the comments link, you need to leave your own comment. I do MODERATE comments, so please only leave one comment. Duplicate comments will be deleted. Also: if you are an anonymous or no-reply (meaning you do not have your email registered), make sure that you write your first name and last initial as well as write out your email address in the comment, otherwise you will not be entered to win if I cannot get ahold of you. Thank you & good luck!
NOTE: Comments will close on March 24, so get your comments in before then please. Winners will be chosen the 25th.
I want to take a moment to thank all of our incredible sponsors, who donated all kinds of quilting goodies for you to win. Thank you Sponsors!

https://hoffmancaliforniafabrics.net


https://www.northcott.com/home.aspx


https://www.hancocks-paducah.com

https://foxchapelpublishing.com


Okay, now all you bunnies get to hopping! Blog Hopping that is, lol!

.JPG "Patchouli Moon Studio~ Rainbows & Unicorns Panel Quilt with Frame & Twist Border")
.JPG "Patchouli Moon Studio~ Rainbows & Unicorns Panel Quilt with Frame & Twist Border")
.JPG "Patchouli Moon Studio~ Rainbows & Unicorns Panel Quilt with Frame & Twist Border")

.JPG "Patchouli Moon Studio~ Rainbows & Unicorns Panel Quilt with Frame & Twist Border")
.JPG "Patchouli Moon Studio~ Rainbows & Unicorns Panel Quilt with Frame & Twist Border")
.JPG "Patchouli Moon Studio~ Rainbows & Unicorns Panel Quilt with Frame & Twist Border")
.JPG "Patchouli Moon Studio~ Rainbows & Unicorns Panel Quilt with Frame & Twist Border")

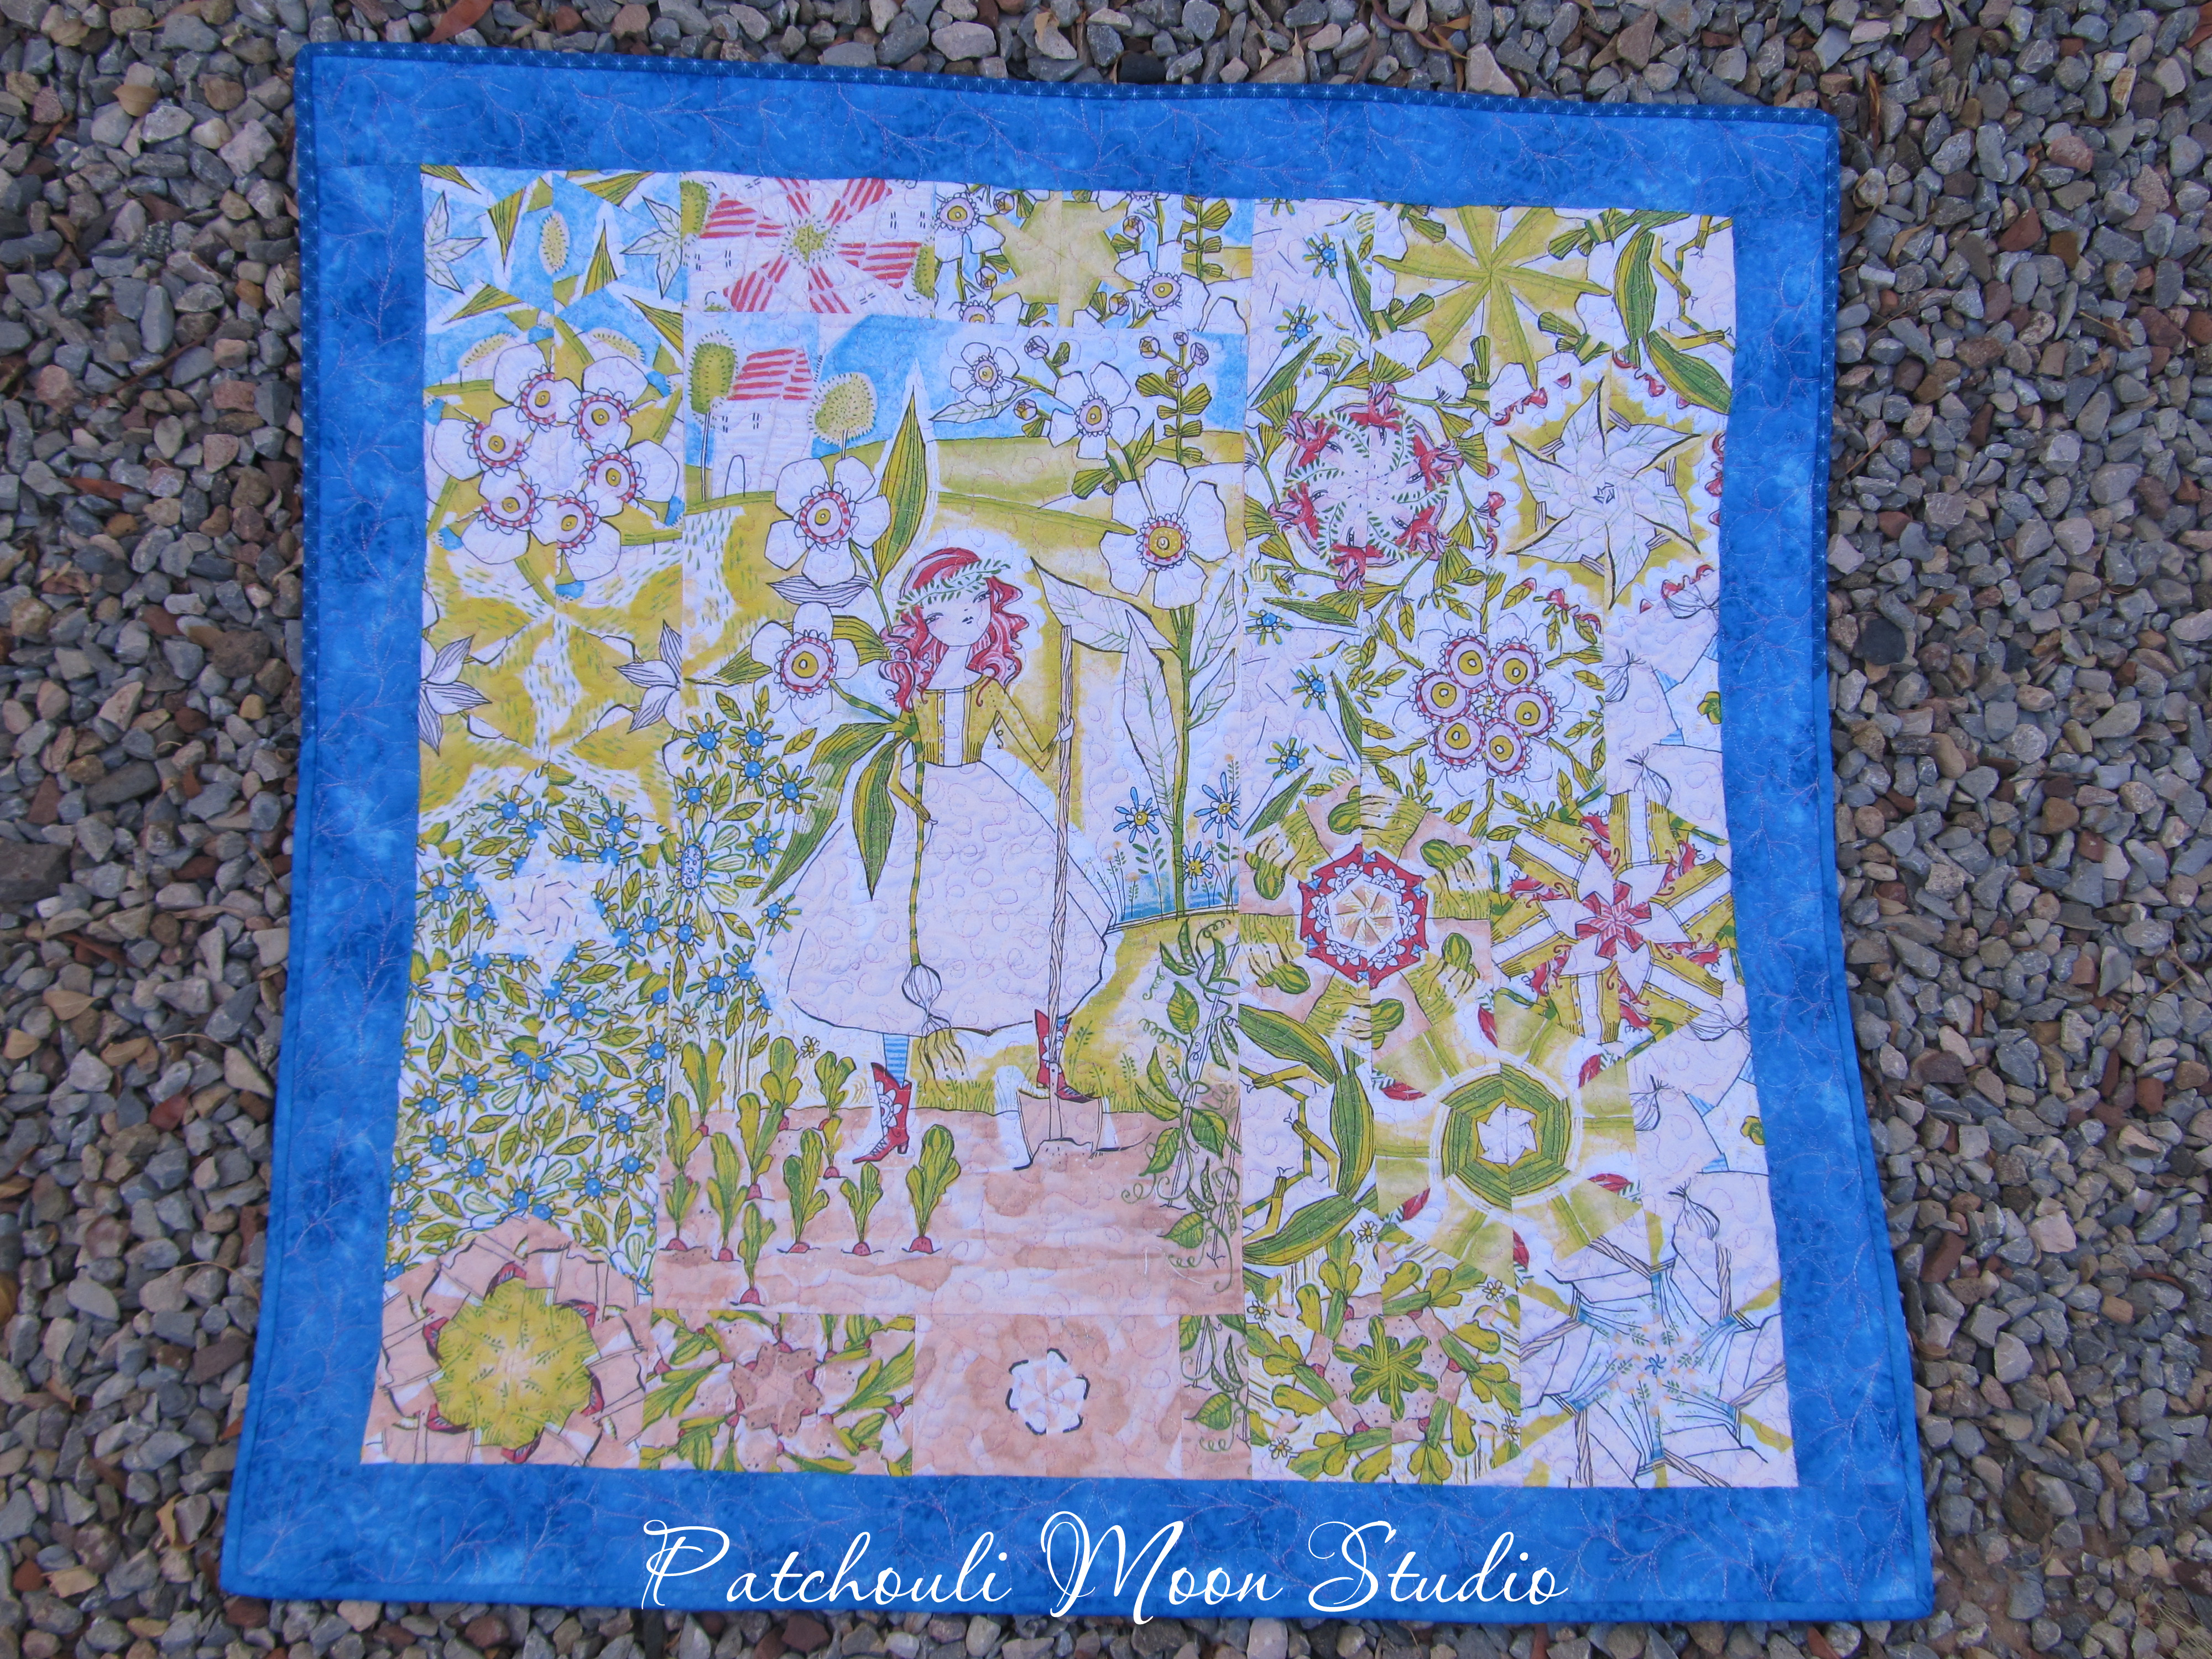 |
| Can you see the panel? |
 |
| This is the panel I started with. |
 |
| I love sewing the hexagons to form a kaleidoscope look. You never know how they will look and you can turn the triangles 3 times to see which block looks best before you start to sew them. |
 |
| Here on the left you can see the block sewn and the right is the panel where those flowers were cut from. Placing the blocks near the panel looks as though the flowers danced out of the panel alongside it. I will try this technique using 4-patch blocks next time and see how I like it that way. Still need to quilt my larger OBW that has been around for years and years now.  This is how I felt working on the OBW quilts!!!! |


 |
| Ah, Plumeria flowers (known as Frangipani in some places of the world); I can almost smell their sweet scent. I loved seeing the trees covered in these beautiful flowers when I was in Hawaii years ago. I love the pink flowers as well as the yellow flowers. |
 |
| Hibiscus flowers are so pretty too. |

 |
| I think this is and orchid of some kind. |
 |
| Bird of Paradise. I remember we had these growing in our yard when I lived in California. |

 |
| The quilting pattern is called Plumeria and was a perfect choice for this quilt. |


 |
| Plumeria quilting design. |

 Pin It Now!


