Showing posts with label extra large tote bag. Show all posts

Friday, November 7, 2025

The Organized Traveler Bag

The Organized Traveler Bag is an extra large bag loaded with pockets to keep you organized. I tested this bag for Around the Bobbin Patterns and it's a great bag! Finished size is approx. 13″ H x 16″ W (22″ at top) x 6.5″ D.

The pattern is on sale Friday-Sunday (November 7-9) for 20% off using code: ORGANIZED, so grab your pattern now while it's on sale.

bag front
While the pattern called for using 2 exterior fabrics, I chose to make the bag in one as this was a large print and I didn't want to cut off the woman's head by using 2 fabrics. See all the tester bags here.

zipper closure
Zipper closure keeps contents secure, especially great while traveling.

bag bottom
I added purse feet to help keep the bottom of the bag cleaner. The directions do not have purse feet, but you could add them if you want to.

other side of bag
I quilted my bag too using a serpentine stitch and quilted it in a diagonal grid. The back side has a zipper pocket.

inside bag with lag water bottle in water bottle sleeve
Inside has a ton of pockets to keep you organized. A water bottle sleeve to hold you water bottle in place. I show a wide water bottle here. Plus, divided mesh pockets on both sides of the interior, which helps you to see what is in the pockets. Across from the water bottle is a pen/pencil pocket. Behind the mesh pockets on one side is a large pocket for a tablet or slim laptop with a narrow flap closure and behind the other mesh pockets are fabric pockets. There is also a key leash to hook you keys too so you can easily find them.

inside of bag with empty water bottle sleeve
The water bottle sleeve empty here.

inside of bag with smaller water bottle
I placed a smaller water bottle in the sleeve here. You can see the space around the water bottle, since it is smaller, yet the sleeve will still hold the bottle upright.

She would look great traveling to Paris, n'est-ce pas?


side view
Adjustable crossbody strap to clip on or remove as needed.

Pin It Now!

Monday, February 20, 2023

2 Dancing Diamonds Gem Bags

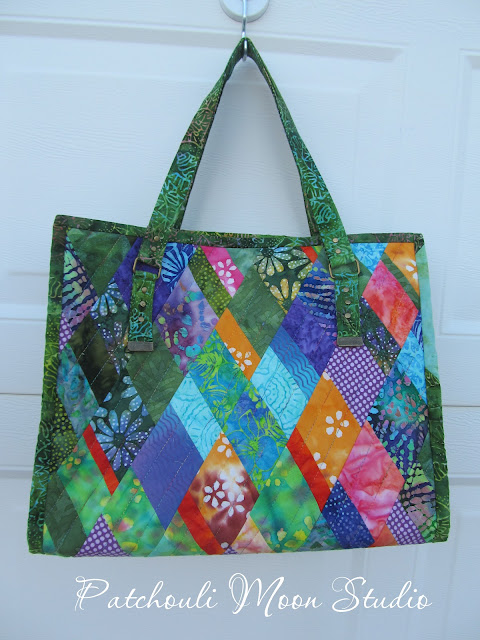
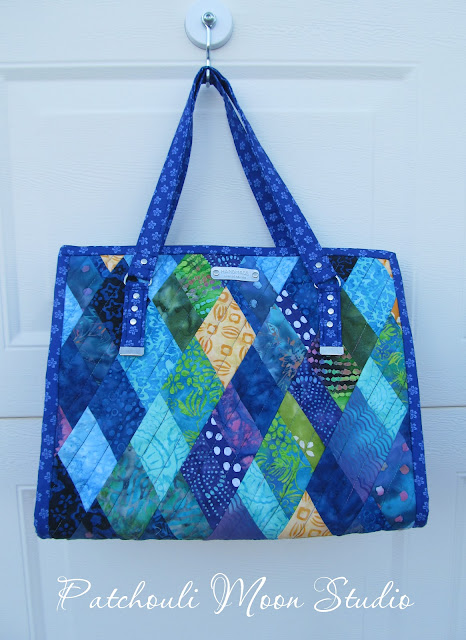
I had a custom order to make 2 Gem Bags, one with green accents and one with blue accents, but the patchwork was to include other bright colors. So I chose to use batik fabric for the bags exteriors. The green one is made with all batik fabric and the blue I used a commercial fabric for the lining, straps and sides as this blue looked the best with the bag.

I made some modifications to the bags. The noticeable change I made is that I added strap connectors with metal hardware and normal straps and also added strap ends and rivets for extra strength for the straps and connectors. The pattern inserted grommets and then made a long narrow strap that threaded through the grommets and was tied with a knot to keep the straps in place. Well that not only looked less than desirable to me, but one good yank of the strap and I could see the straps popping out of the grommets and damaging the bag. I think what I did looks so much better and will function better too.

Another change I made you cannot see, but I added a heavyweight stabilizer on the bottom of the bag, inserted between the lining and exterior and then I quilted the entire bag, which keeps the bottom stabilizer in place. I also added additional interfacing on the lining piece too. I used fusible fleece rather than foam too. It has the same look and stands up like foam does, but without the squishy feel of foam. Some people love foam, others don't. I like some of the properties of foam, but I prefer fusible fleece with added interfacing to achieve a similar structure and costs less too. There are other more costly materials to use for structure such as Decovil light and heavy, but it's the most costly to use.

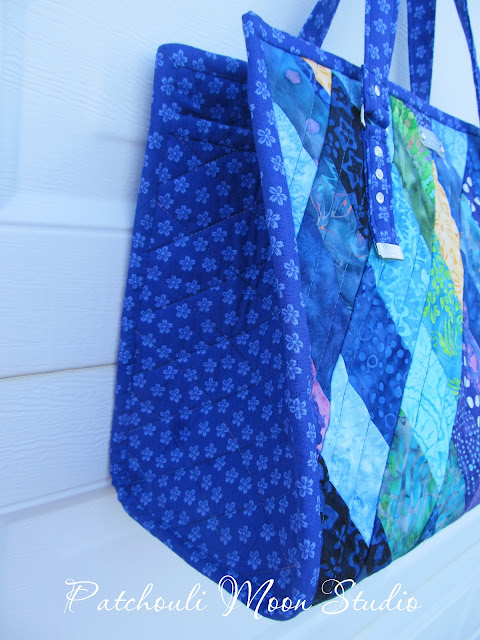
I also curved the bottom of the side pieces instead of sewing darts there. I thought it would be easier to do and it was. 

I am really pleased with how these bags turned out. I will be delivering them to the woman who ordered them later today.
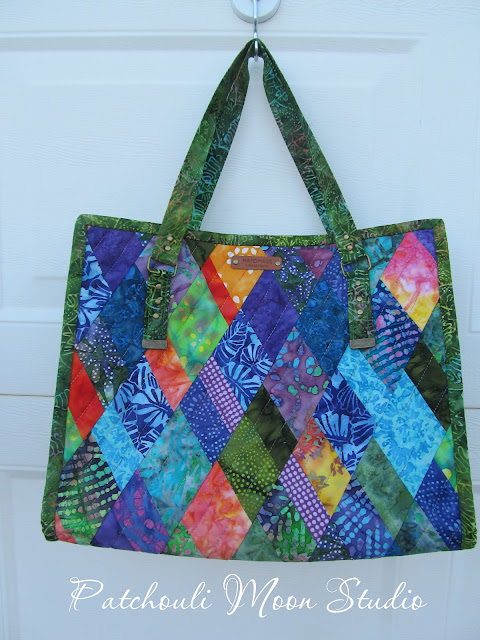
Front of the Gem Bag with green accent.

Side view with rounded bottom for sides. As you can see in the upper left, I ran out of this green batik print so added a piece of the green lining fabric there to make up for it. I like that look, especially for straps.

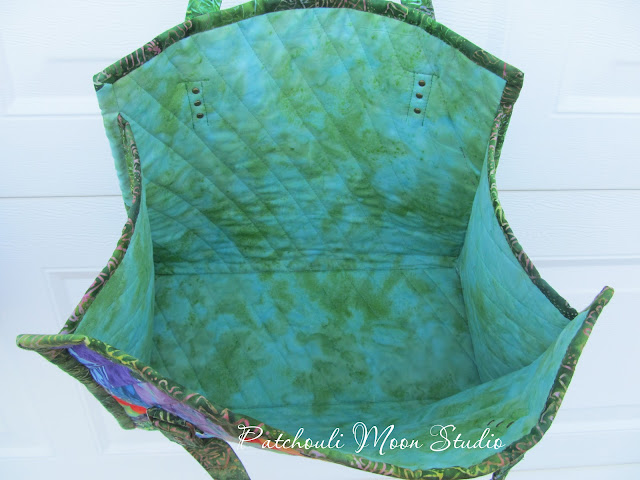
It's a big roomy bag inside. The bag exterior and lining are quilted all together and then the sides and binding is sewn to cover up all the raw edges.

The back side of the bag.

The blue accent bag.

Side view.

Back side of the bag.

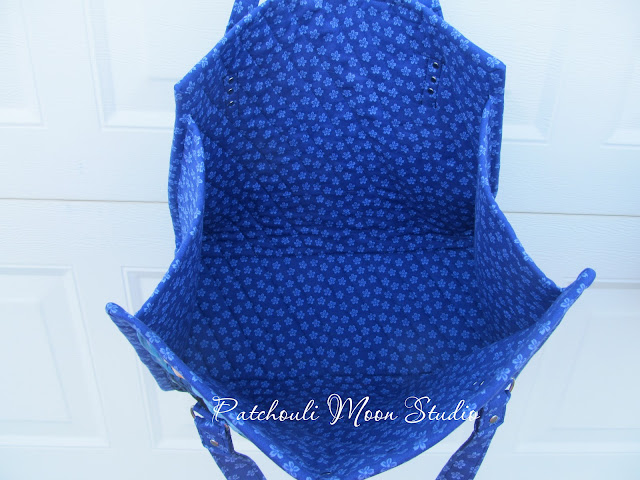
Inside the roomy bag.

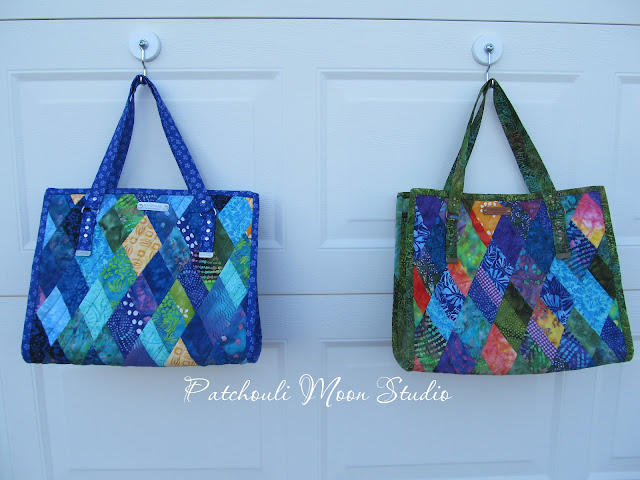
Side by side the green & blue versions.

Pin It Now!

Monday, October 5, 2020

Large Tote in Wildflower Fabric

I was commissioned to make a few bags from a friend in my quilt guild last year. (Can't believe I forgot to post the bags!) She had purchased some patterns and fabric, but never made the bags (she attempted to start one of them) and that's when she asked me to make them for her. So I did. I will post about the others in the next few days.

I made a lot of changes to the bag pattern she had. I knew I would add more pockets and hardware that the pattern didn't call for, so I mostly made this one up myself. She had given the wildflower fabric to me to make this bag, but I used the blue print that I had to add to the wildflower print. I also used fabric I had for the lining. 

I made a slip pocket on the front and the back of the bag looks the same with a pocket too.

The longer zipper allows the bag to be opened up fully.

Here is the inside with a divided slip pocket and a zippered pocket.


I used interfacing and foam stabilizer so the bag stands up nicely. I think I also added purse feet, but since I didn't take a photo and I made this last year, I am not certain, lol!
Pin It Now!

Monday, September 21, 2020

Southwest Pottery Fabric Print Large Tote

I made this extra large tote bag with a zippered top to keep all the contents secure. The Southwest Pottery print paired well with the cork fabric print.

I added a slip pocket to the front of the bag between the strap connectors. I fussy cut the fabric to match perfectly, so you can't even see the pockets.


Zips closed to keep items secure.

Opens wide to see everything you have inside this bag.

Inside zippered pocket.

Inside slip pocket with a pen pocket.

Purse feet on bottom.


Pin It Now!

Sunday, August 25, 2019

Large Craft Bag for Sewing-Knitting-Crafts

I bought a paper pattern to make this large craft bag. It is the Crafty Carrier Bag by Ellie Mae Designs. It turned out nice and I wasn't sure if it was a bag I would make again. I used foam stabilizer (even though the pattern didn't call for using it), because for such a large bag, I wanted this bag to be able to stand up on it's own, especially fully loaded with stuff.

This bag sold at a craft show last year. So glad she will be using this one.

The small white dots on black ribbon running horizontally across the bag is to hold tall tools like scissors. You place scissors in the ribbon tab and the bottom of the scissors goes into the pocket below. I used ribbon, but the pattern has you make this from fabric. (See the very last photo showing scissors). The 2 front pockets are pleated so they will hold a lot of  thick or bulging items.

I added extra padding and purse feet on the bottom of the bag.

Inside is nice and wide and I also added a zippered pocket.

The other side of the bag also has a ribbon that is divided to hold long tools (scissors, knitting needles, ruler, etc.)

The side each have a pocket too.


Here is the cover photo on the pattern envelope showing how the scissors fit in the tab:
Pin It Now!

Tuesday, June 18, 2019

Large Bag for Knitting

I made this large bag with the intention of having it for a knitting bag. I had a cute printed fabric of an owl knitting and thought it would make a great pocket for the front of the bag. I added a zippered pocket on the back of the bag and slip pocket inside the bag. This bag is my own design as I made it all up, using a few ideas from other bags I have sewn. I didn't write a pattern for it, but will make more if someone wants one in colors of their choosing. Since this bag is very large and costly to make, I won't make more unless I get orders to do so. I will use this bag to show anyone wanting a large knitting bag. Of course if this bag sells, I do have these photos to show them for taking orders.


Wide depth of bag. 

Back of bag has a nice big zippered pocket. Best to put zippered pockets on the outside of knitting bags, instead of inside the bag so yarn doesn't get caught on it. Inside there are only slip pockets.

Added button to zipper tabs.

The back side of the bag.

The bottom of the bag has purse feet.

Cute print of owl knitting made a great pocket for the front of the bag.

I normally don't use double zipper pulls, but since I had this zipper with the double pulls already, I used it. I make my beaded zipper pulls with charms, and I love the skein of yarn charm! So perfect for this bag.
Open wide, extremely wide! Lots of room in this baby. Pockets on both sides, one large pocket and across from it divided pockets.
One large slip pocket is large enough to fit an 8 1/2" x 11" sheet of paper or a pattern booklet that size.
I will be taking this to show at my knitting group and see if anyone wants this one or to order one. Otherwise it will be for sale at a craft show later this year. I could try and sell on Etsy, but it's so large that shipping will be costly.
Pin It Now!
Related Posts Plugin for WordPress, Blogger...