As a Design Team Member for Crafter's Edge, I am making a project each month using the Crossover II Die Cut Machine by Crafter's Edge and one or more of the die cuts that I have. This month I used several circles from the
0.5" Increment Circles die cuts (there are eleven sizes of circles in the Circle Die Cut set) and I also used the 1-inch strip die cut, which comes in the
1 and 1.5" Strip Cutters.
I wanted to create a fabric bin container to hold my die cuts, foundation plate, cutting plate and top clear plates for using the cutting dies, as well as the instruction booklet. This way all my items for cutting are in one place and easy to find. I used gallon size clear plastic zip bags to place each die cut in, along with the cardboard information and photo of the die for each bag.
So here is what I created and I am very pleased with how cute it looks as well as how functional it is too.
 |
| The circle die cuts made it quick and easy to cut several circles in various sizes at once. I also cut 1" strips for the stems (I will show at the end how I did the stems). I cut the leaves the old fashioned way by hand, lol! |
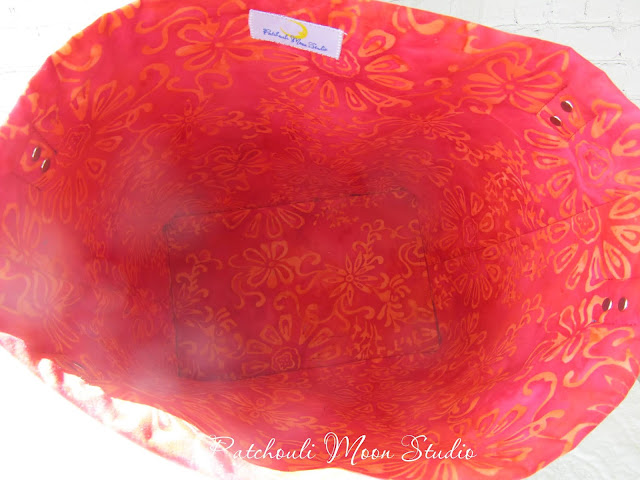 |
| Inside the fabric container is very roomy. I made a sleeve that I placed a heavyweight Peltex stabilizer inside of to stiffen the bottom a bit. |
 |
| This is the other side of the container with more flowers and butterflies I cut out from a fabric print. |
 |
| I added purse feet on the bottom. |
 |
| I love that background fabric and thought it was perfect for this project. |
 |
| Here is one of the die cuts I received, the Gingerbread House, that now lives inside the container. (Stay tuned for a project that I am working on using the Gingerbread House die). |
 |
| Here are the Circle die cuts that I used. I placed this die cut inside a clear plastic gallon zip bag to keep the die cuts and information for it together. I did the same for each different die cut that I received and they now all reside in their plastic bags inside the container I made. I can thumb through them to find the die cut that I want to use. |
 |
| The plates and dies in their zip bags residing in their new home. |
 |
| I can flip through them to find the die cut I need to use. |
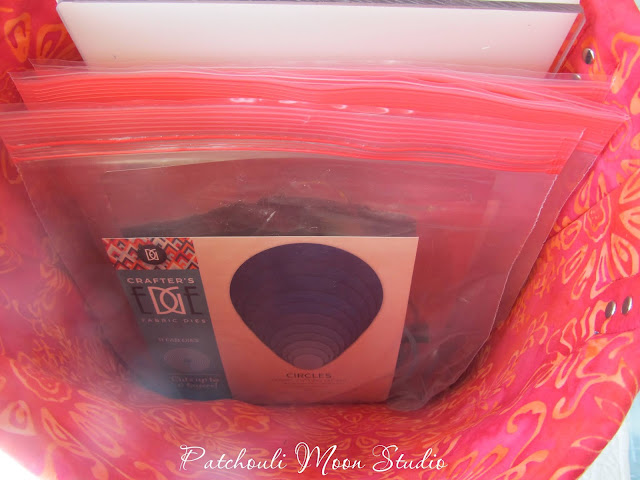 |
| There is plenty of room for more dies inside. |
 |
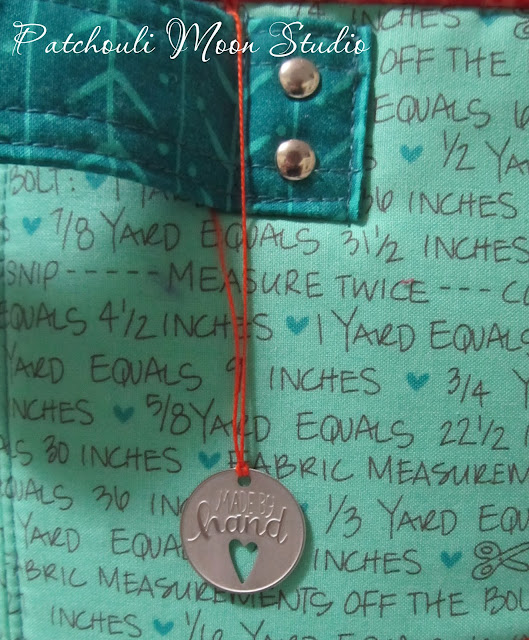
| I also added a couple of handles to the container to be able to grab it and carry it when needed. A couple of rivets I also added to each side of the handle as well. |
Here is how I made the stems~
 |
| I cut the 1" strips for stems and pressed 1/4" to the wrong side. I use Elmer's purple disappearing water soluble glue stick to run along the strip and then press in place. The glue holds it well, but no gumming up the needle when sewing. |
 |
| Next, I pressed the other raw edge almost to the fold on the wrong side and glued it in place too. I glued the stem in place and blanket stitched it along both sides. I could also straight stitch the edges too. |
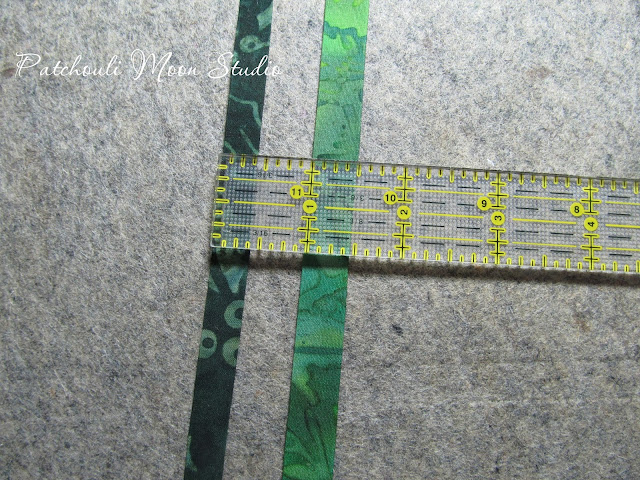 |
| I did make one stem for the larger flower wider, by pressing the raw edge to the center on both sides, so that the larger stem measures 1/2" and the smaller stem measures 3/8". |
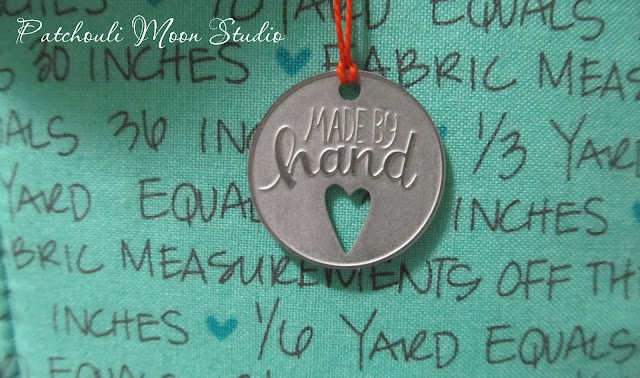
After I made this container, I decided to buy a couple of metal tags that Crafter's Edge sells on their website. This one says
Made by Hand and has a heart cutout on it. So as an afterthought, I added it on the handle with some embroidery Perle Cotton. The perfect little touch. I love my container!
My container is both functional and oh so pretty!
 |
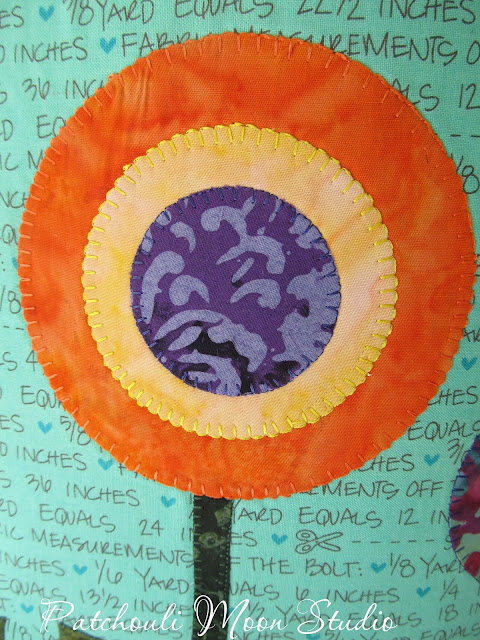
| I used the 1" strips for making the flower stems as I showed you above. |
And one of the 1.5" strips for the larger stem.
 |
| I used a variety of circles from the Circles die cuts to make the flowers. |
 Pin It Now!




What a great idea to hold your dies. That background fabric is just so perfect for the quilting room! What brand of thread do you use for your machine embroidery?
ReplyDeletewhat a happy bin, it would make me smile every time I got my die cuts out. the flowers are so whimsical and cutting a perfect circle is not easy. thanks for sharing.
ReplyDeleteTara
You are so talented at making these projects and have such great ideas! I really need to stretch myself to try more bag/basket making. I've made a couple, but it's been a while. Great job. Thanks so much for sharing your talents with the world!! I need to check out those little tags. Love them!
ReplyDeleteI enjoyed reading your explanation of your process. I have put most of my dies in plastic bags too. Now I should make a container as well. :) That's a good way to make stems, and if they were curvy the strip could be cut on the bias. Nice!
ReplyDeleteLove that container. It's so cute. The sewing theme fabric is awesome.
ReplyDeleteNice job