Showing posts with label sling bag. Show all posts

Saturday, October 11, 2025

Globetrot Traveler Sling~ A ChrisW Design Bag Pattern

A new fabulous pdf pattern (+ video) from Christine of ChrisW Designs, Globetrot Traveler Sling. This slim bag can be worn under clothing when traveling for added protection or over clothing for easy access to your phone, passport, money, etc.

Finished size: Approx. 18cm (7”) W X 28cm (11”) H X 1cm (3/8”) D

The pdf pattern is on SALE now. Check out the bag features, Tester photos, video intro, video tutorial and where to purchase the pattern, all right here.

Front view
Front with vertical zipper pocket and slip pocket to hold phone or other items.

back side
Back side of bag with zipper pocket to hold small wallet or just cash, cards, etc. This side is against your body so it's contents are safe in the pocket.

front slip pocket for phone
Looking into the slip pocket.

Back zipper pocket
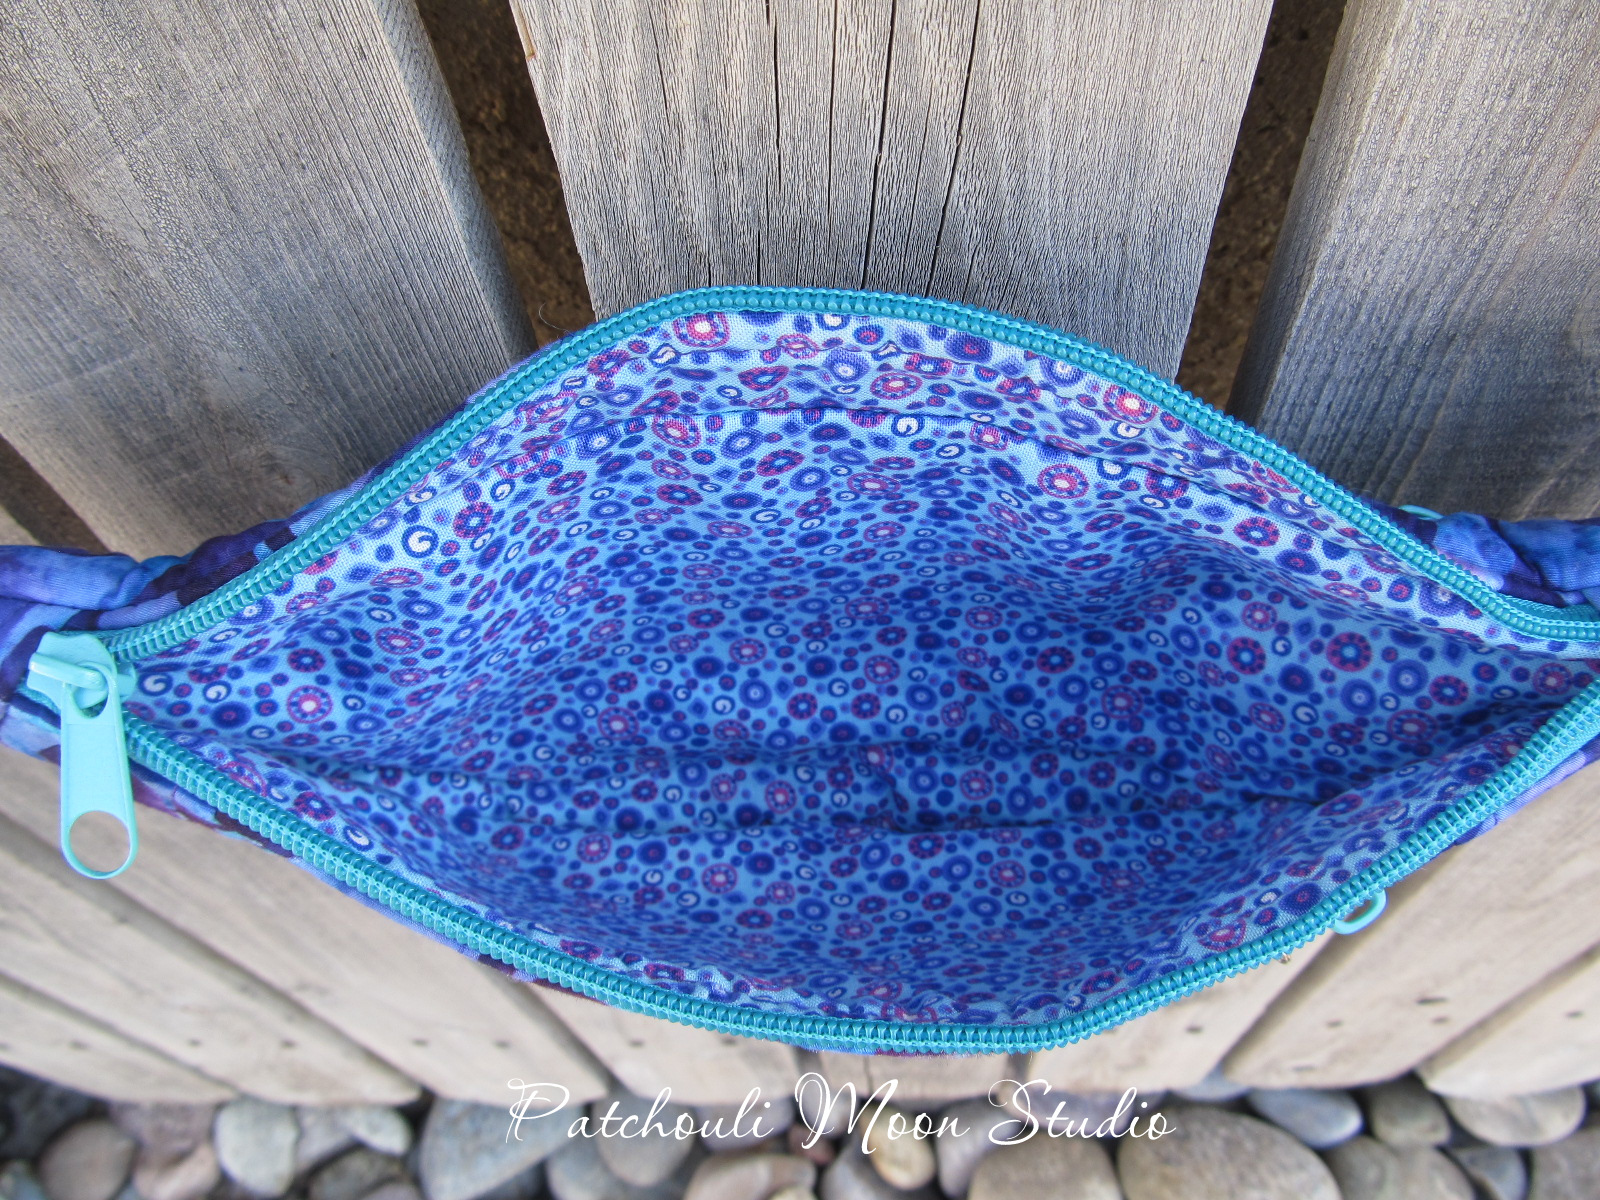
Back zipper pocket opened.

front closer view

front
I made a double sided fabric strap instead of using webbing. The instructions for the double sided fabric strap I used from another ChrisW Designs bag, the Daily Drift. I really love the double sided strap!

The Globetrot Traveler Sling was a quick and easy bag to make. It is great to use when you only want to carry a few basics. I have been using mine for a few days and love it!
Pin It Now!

Tuesday, January 14, 2025

Ava Hip Bag (Pattern by All Sew Petite)

Monika of All Sew Petite Patterns has designed this fabulous hip bag, called Ava Hip Bag. It is a great looking bag as well as being really functional. It can be worn as a sling across your front or back, a cross body or a waist/hip bag too. 

Ava has lots of space too! 4 zippered pockets: a zippered main closure, a front zippered pocket, a back zippered pocket, an inside zipper pocket which is great for cash or coins or both, plus credit card slots/pockets too inside, so no need to carry a wallet!

Ava measures 14" wide x 7 1/2" high x 4 3/4" deep. 

Ava pdf pattern is on sale at 30% off, no code is needed, so grab yours now while it is on sale. Sale is for 72 hours only! Monika is in the UK, so make sure you get it before the 72 hours are up. Monika also has a video tutorial so you can sew along with her making the Ava Hip Bag. 

I love this brown batik fabric with the Southwest turquoise turtles and thought it was perfect for this bag. The top zipper opens to the main bag compartment and the bottom zipper is a pocket for hold your easy access stuff like keys.

I chose to add one zipper pull for each zipper, rather than 2 zipper pulls. I find it is just as easy to pull one pull around than to have to zip/unzip one pull in each direction, which seems more fiddly to do for me. Some testers did add 2 zipper pulls and some did not. The double pulls do look nice when centered, but knowing me, I will never get them centered when using the bag 😜😂. To each her own.

Here I slung it over the chair to mimic how it would look wearing as a sling on your front or back. 

Back zipper pocket with zipper overlay
The back has a zipper pocket with an overlay. I unzipped it here. 

back side of bag
The back side with the zipper pocket with an overlay. 

front zipper pocket
Front pocket unzipped.

Inside front pocket with credit card slots
Inside the main compartment are card pocket slots and a zippered pocket to hold your cash and coins, since you don't need to carry a wallet (unless you want to carry a wallet) as this is like a built in wallet. Plus, there is still room to hold other items as well, like a glasses case and a fold up shopping bag or whatever you like to carry.

Top unzipped
The top main zipper unzipped.

I have been using this bag since I tested it. I prefer to wear mine as a sling. If you want to make as a hip bag that converts to a sling bag, you really need to make 2 adjustable straps with swivel hook attachments so you can adjust one shorter strap as a waist bag and a longer adjustable to wear as a sling bag.
Oh, and be sure to check out the Tester's Bags too so you can see how different they look in different fabric, colors and materials used. Scroll down to see tester's bags. Mine is the first bag shown.

I love this bag to wear as a sling bag so much that I have been using it a lot since I made it. I am keeping this one for me!!!
Pin It Now!

Thursday, August 26, 2021

Smelly Cat Hip/Waist/Fanny/Sling Bag

I made this Smelly Cat  waist bag, hip bag, fanny pack bag, sling bag or whatever the preferred term is for this style of bag, which is a pdf pattern by Sincerely Jen. The bag features a front envelope style pocket with a flap. Inside the front pocket there are 3 cards slots. The flap on the pocket closes with a magnetic snap. Above the front pocket is a zipper that opens to the inside of the bag. Inside is a zippered pocket and the main space has room to hold a few items. The waist strap is adjustable. The bag measures 16" wide x 6" high.

The bag can be worn around the waist, hips or as a sling over your should or across your body too. These kind of bags are great when you only need to take a few items with you. Great for hiking, walking, or when you wants your hands free. 

(This bag has Sold).

I added those plastic clips and adjuster rather than metal hooks because they are easier to use for this kind of bag. I also used nylon webbing for the strap.


Inside the main compartment. Zipper pocket inside too.

Front pocket with a magnetic snap closure.

3 Card slots in the front pocket, plus extra room in front.

You can wear this also as a sling or cross body bag.

And here are some Angelita Daisies in my garden. 

They are small flowers, but these daisies love the heat and are always blooming.

*FYI: All of Sincerely Jen's patterns are name after something that occurred on the old TV show Friends. Smelly Cat , was a song the character Phoebe sang. See video below.


Pin It Now!

Friday, October 2, 2020

Wayfarer Sling

I made this Wayfarer Sling (pdf from A Quaint Stitch) back in February and forgot to post it. So here it is. 

I had wanted to try making a sling bag and looked at a few of the styles out there from different designers. I really liked the look of this sling. It had 2 versions, one that had an extra zip around pocket. I made the version with one zip around pocket. 

The instructions were very good and someone even made a video tutorial for this bag, so you could follow along with the video too.

I love the look of this bag, but the stuff I tend to carry has dimension to it like sunglasses case and reading glasses case, and a large wallet are the main large items I carry. I carry smaller items too, but it appears that a sling like this is mainly made for lots of small, or somewhat flat items to be carried. If you put glasses and large wallets, the larger items will bulge a bit in the bag. Maybe that is something that won't bother you, maybe it will bother you? A phone or a tablet is flat and would fit fine in the pockets. But it got me wondering what do people carry in a sling? Do they even use all the pockets? I know I could have left off some of the pockets, but never having made or used a sling like this before I was uncertain as to how it was going to go together and which pockets would be more useful, so I added them all. I figure that whoever wants to buy this bag can choose which pockets to use and which not to, or use them all. Anyhow, I am curious if any of you have ever used a sling similar to this and how you liked it and what you carried in it?

I was thinking that I might want to use this sling myself. I like the idea of slinging it over my shoulder like a backpack or wearing it in front for easier access and safety (because as a backpack could get pickpocketed too easily). But my stuff didn't fit inside as nicely as I would have liked.
 
I used cotton to make this bag. That is faux cork on the bottom and the strap.

The hook can be attached to either the right or left side of the bag, depending on if you would wear on your right or left shoulder. The strap is adjustable too.

A zippered pocket in the front is handy for a phone.

The back side of the sling has a zippered pocket. This is the side that is worn against your body on either the front or back of your body. Perfect for carrying your wallet.

When you unhook the hook you have access to the slip pocket and the zippered curved pocket behind it.

The slip pocket has even more slip pockets on each side. 

Unzip the curved pocket and inside are more pockets! A zippered pocket, a mesh slip pocket, a padded slip pocket (good for holding a small tablet).

A better view of the mesh divided slip pocket and the zippered pocket.


I have made fanny/bum/waist bags that can be worn as a sling too and I think I prefer that style of bag to this one. My daughter bought a sling bag just before I made this one and she likes her sling. I think the only way this sling would have worked for me is to not add all those slip pockets and zippered pocket inside and just use the front and back zippered pocket and the curved zippered pocket with no pockets inside it. Then maybe my larger items would have fit inside.

It is not a bag I would make again, unless I did eliminate the inside pockets and perhaps gave it more depth at the sides to hold larger items.

This bag has SOLD.


Pin It Now!

Sunday, April 12, 2020

Ferris Waist Bags

I saw a photo of the Ferris waist bag online and thought it was really a nice looking bag, so I bought the pdf pattern. It comes in 3 sizes, small-medium-large. I made the medium and large sizes. The small size is more for a child or someone who carries very little.

The bags look really nice and can be worn as a fanny/waist bag or as a sling/cross body bag. The bag features a zippered main closure and a zippered front pocket. I also added a zippered back pocket. I feel the back pocket is a good place for storing your money and/or credit cards as it would be against you body however you chose to wear the bag.

I did run into some instruction/pattern issues with this bag. There were some pieces that didn't line up properly after they were sewn, so I had to adjust the sewing in that area to make it work. At first I wondered if I did something wrong, but when it happened on the second bag I made too, I knew there was something wrong with the pattern. Also the instructions (and some of the words used) were confusing in some parts as well. I know this bag had been tested, but how no tester found these things is a bit disturbing to me as I only buy patterns that have been tested to avoid having any issues with patterns. I did email the designer, and it took her a long time to respond back to me, but she really only gave me the line of being so busy lately and never addressed any of my concerns. I had told her I was only trying to be helpful to make her pattern better and not being harsh. I also said that it was my first experience using one of her patterns, so I doubt I would purchase another of her patterns if her other patterns might also have issues with them.

Most people will never contact the designer with what is wrong and they also will never buy from them again. As a tester for other designers, I like to give designers that I buy from a heads up if I find something that could be improved with their pattern. How else are they going to know or improve on the next one if they don't think anything is wrong? The testers she has obviously didn't bring up the issues I found.* I would rather have an honest and blunt tester than one who just gives me compliments and says nothing bad about the instructions. For instance, on some pattern pieces the word reflected  is used. As in cut one reflected. That seemed such an odd use of the word, when a better word should have been reversed or mirror image. The designer is from the USA, not another country where I could understand that things could get lost in translation if she were from another country.

*Update: I did find out from a couple of her testers that they did point out issues with this pattern and the designer chose to not change anything, so that certainly doesn't give me confidence in buying any more of her patterns. I buy patterns so I don't have to write my own because I assume since they are tested that any of the problems have been resolved. But if I have to do the changes in order to make the bag design work, then I certainly shouldn't be paying someone else top dollar for me to rework the pattern myself in order to make the bag and possibly ruining my fabric in the process.

Okay, I was just pointing out a few things I had issues with, but like I said earlier, I do like the look of the Ferris bags and I will redo my own personal pattern to make it work for me when I sew any more of these bags. This first bag I made is the medium size. I do have this one for sale in my PayHip Shop .  

The finished size of the medium is 15" wide and 7" high. The finished size of the large is 19" wide, 9" high.

Front zippered pocket and zipper closure.
I used those plastic snap thingees (don't know the technical name, lol) and a plastic adjustable slider instead of the metal hooks and rings that the pattern called for. I thought the metal would get burning hot in the summer months with having more skin exposed in the summer could be a potential burn on the skin! But then the zipper pulls are metal and I did add some rivets, so hmmm, maybe it wouldn't be much different? 

On the back of the bag I added another zippered pocket, which wasn't in the instructions.


Inside the main compartment.

Front.

Back.

Inside the back zippered pocket.

Both zippers opened.
Large Ferris bag. I also used the plastic snap and slider on the large as well.

Same as the medium bag, there is a front zippered pocket and main zippered closure.

I also added another zippered pocket on the back of the bag.

Bright green lining in the pocket.
For comparison the large on the left and the medium on the right. The large bag will fit most people of medium to large build. The strap might be too large for thin people if you wear it around your waist or hips, but if worn as a sling it is perfect.

The finished size of the medium is 15" wide and 7" high. The finished size of the large is 19" wide, 9" high.
Pin It Now!
Related Posts Plugin for WordPress, Blogger...