.JPG "Patchouli Moon Studio~ Southwest Fabric Zippered Bags") |
| Indian blanket print fabric. |
.JPG "Patchouli Moon Studio~ Southwest Fabric Zippered Bags") |
| 3 different chile pepper fabrics. |
.JPG "Patchouli Moon Studio~ Southwest Fabric Zippered Bags") |
| Kokopelli print fabric. |
.JPG "Patchouli Moon Studio~ Southwest Fabric Zippered Bags") |
| Indian Blanket fabric. |
.JPG "Patchouli Moon Studio~ Southwest Fabric Zippered Bags") |
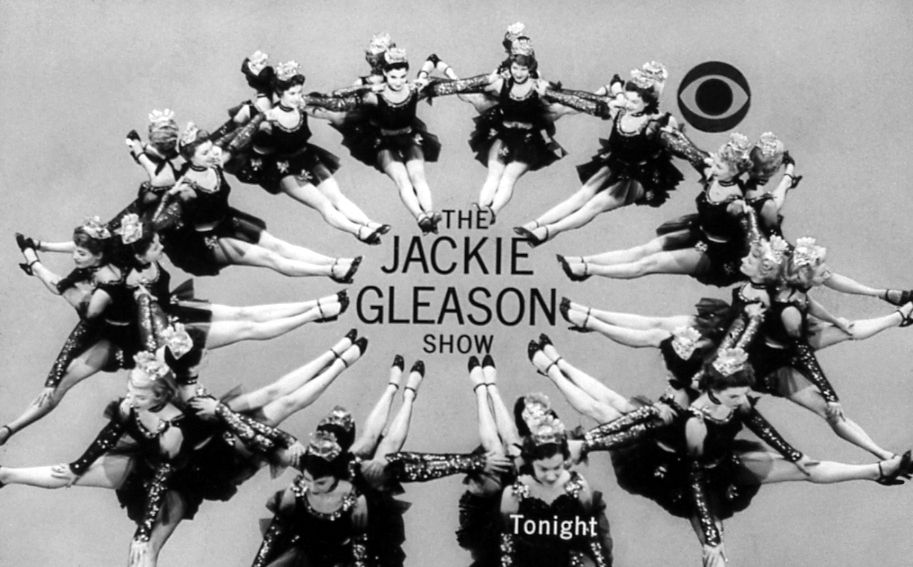
| An aerial shot of the June Taylor dancer bags, lol!!! Uh oh, I am showing my age with that one! |
.JPG "Patchouli Moon Studio~Southwest Fabric Zippered Bags") |
.JPG "Patchouli Moon Studio~Southwest Fabric Zippered Bags")
 |
.JPG "Patchouli Moon Studio~Southwest Fabric Zippered Bags")
.JPG "Patchouli Moon Studio~Southwest Fabric Zippered Bags")
 Pin It Now!

Handmade Quilts~Bags~Knits & More
|
| Indian blanket print fabric. |
|
| 3 different chile pepper fabrics. |
|
| Kokopelli print fabric. |
|
| Indian Blanket fabric. |
|
| An aerial shot of the June Taylor dancer bags, lol!!! Uh oh, I am showing my age with that one! |
|
|
Pin It Now!
 |
| I used up red scraps for this bag. Didn't care for the instructions for this bag. I got directions from a book I checked out at the library months ago. Directions were lacking and poorly written. I had to make my own adjustments to make this bag work. |
 |
| Gingham lining. |
 |
| Gusseted sides. (Those lint and thread gremlins at a it again! Every time I take a photo they jump on my creation!) I gave this little bag as a prize for a name tag drawing at one of my groups and Angela won it. I know she will use it. |
 |
| Selvage bags I made. I like the ones with the diagonal selvages better. I hadn't thought out the placement of the other 3 selvage bags very well because I didn't want them to look cut in half, but rather to have a short vertical selvages on the tops. I forgot about the boxed bottoms making the horizontal selvages shorter after sewing them. |
 |
| I sewed the lining in after the bag was made, stitching it by hand around the top. |
 |
| I love the little scissors selvage! I like other shapes on the selvages rather than just dots. |
 |
| These were made the sandwiched zippered method. I had to rip out and re-do a couple of times. Where you sew the side seams it gets too bulky at the top by the zipper and things don't lie flat. |
 |
| The other side of the bags from above. |
Pin It Now!
 |
| I made this bag for my son's girlfriend. She works at UNM Hospital and is studying to get her nursing degree. She was recently in the hospital herself as a patient, so I filled the bag with.... |
 |
| ...dark chocolates from Trader Joe's. To help her get better, don't you know. |
 |
| Remember the bags I made for holding my scraps of fabrics? (See here and the tutorial is here.) I made one for my blue scraps, red scraps, brown/tan scraps. Well I finally finished this one for my green fabric scraps and below are the turquoise and black/gray bags. |
 |
| Back of the green bag. |
 |
| These 2 are smaller bags. |
 |
| Back of turquoise and black/gray bag. |
 |
| This is one of those drawstring origami-style bags. I added stacked buttons on the front and back. I chose this bright spring fabric print I had. |
 |
| Here it is with the drawstring pulled closed. |
Pin It Now!